
A Practical Guide to Kashime Rivets and Bolt-and-Nut Pivots
By Hidenobu Toyama, CEO & Fifth-Generation Head of Toyama Hamono
When a pair of shears stops cutting cleanly, sharpening is not always the first answer. Wear at the pivot can create play between the blades, disturb blade contact, or make the action too tight. In those cases, sharpening the edge alone may not restore the way the blades meet.
This guide explains how to check and adjust the two pivot systems used on Toyama Hamono garden shears. A kashime pivot is a peened-rivet joint used on our traditional Japanese garden shears. Our spring-loaded pruning shears (also called secateurs) and pruning snips use a bolt-and-nut pivot.
The two systems work differently, so they must be adjusted differently. The goal in both cases is the same: correct blade contact, minimal unnecessary play, and smooth opening and closing.
The classifications below refer specifically to Toyama Hamono tools. Other makers may use different pivot constructions, so do not assume that the same adjustment method applies to every pair of Japanese or Western garden shears.
Tools covered in this guide
- Kashime (peened-rivet pivot) — Toyama Hamono traditional Japanese garden shears
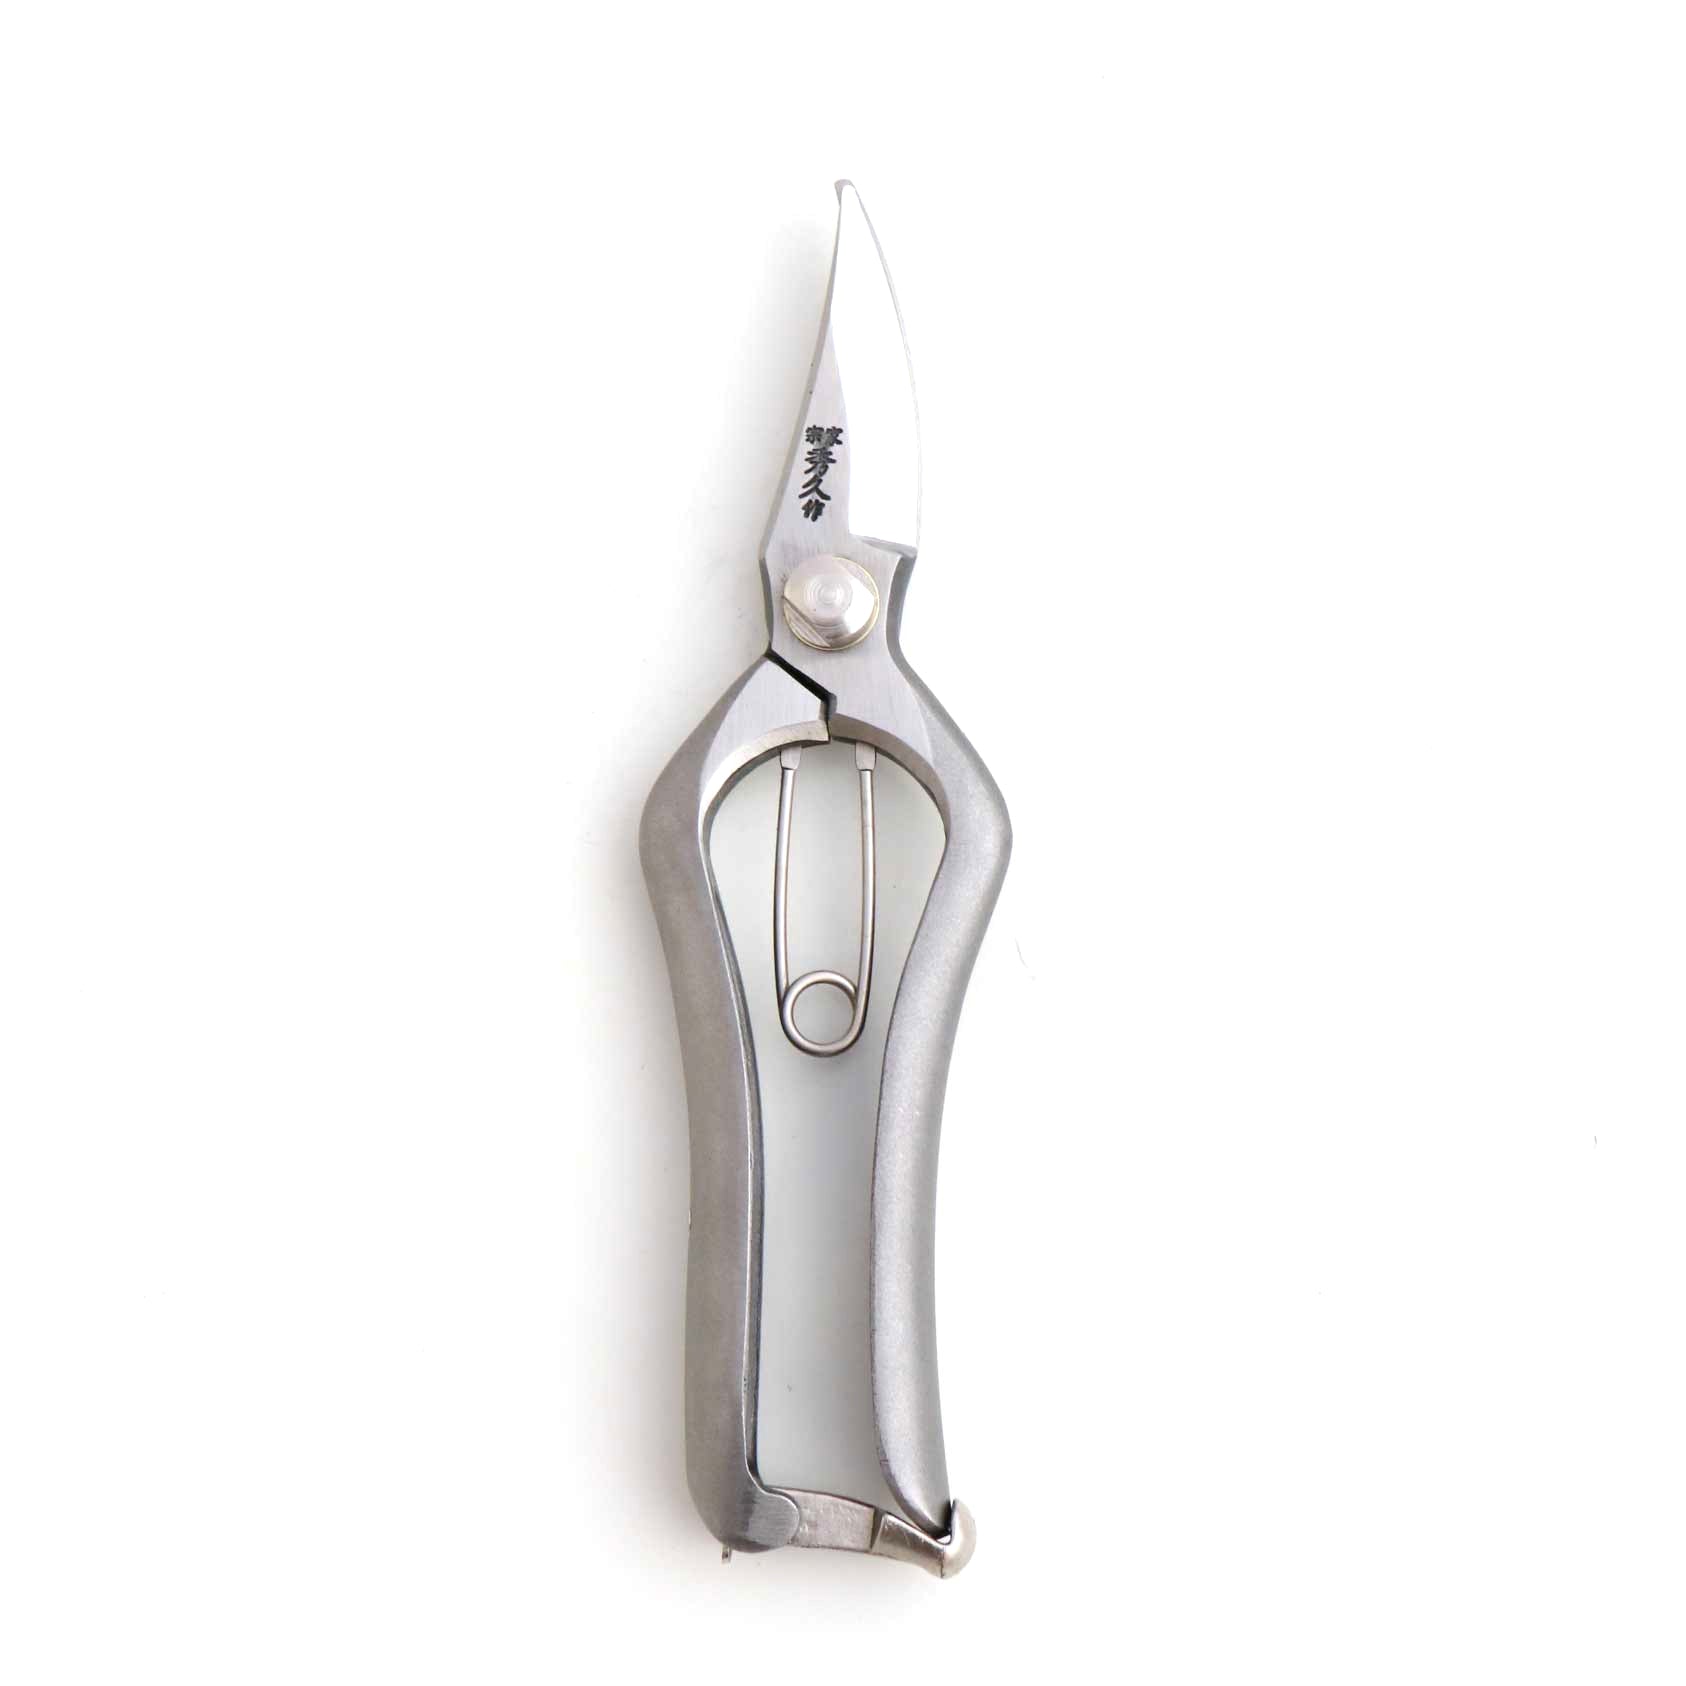
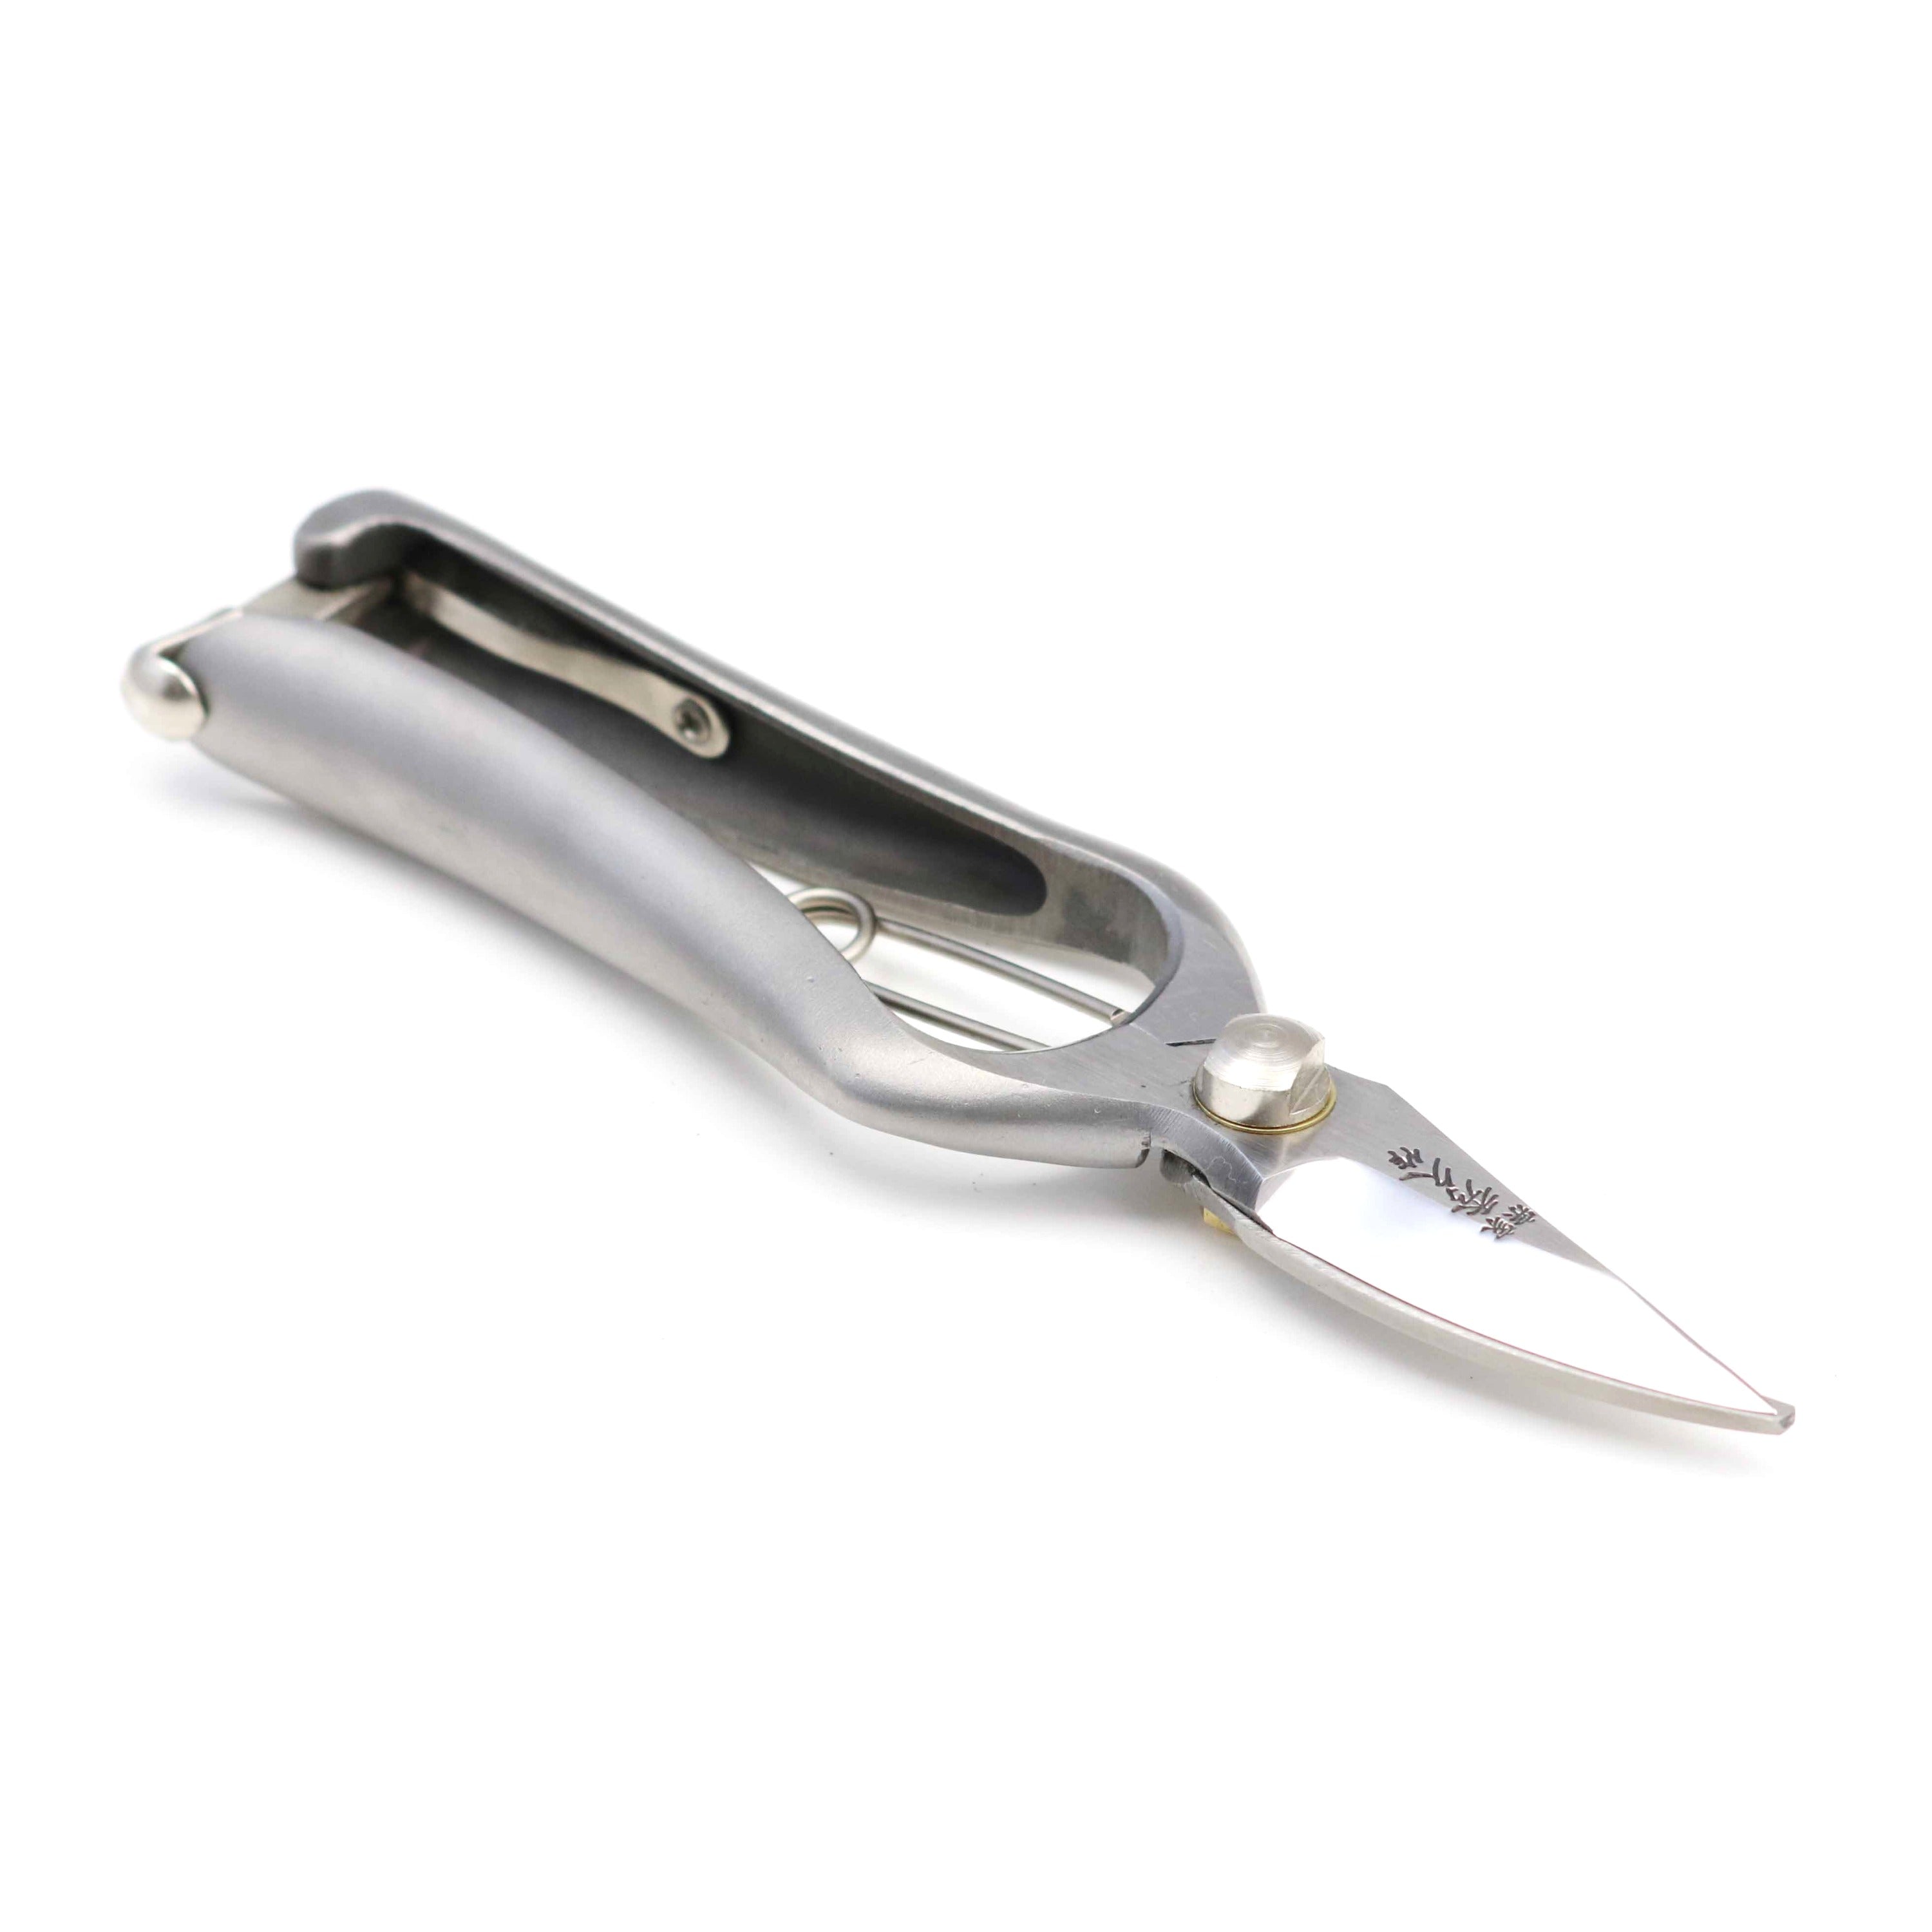
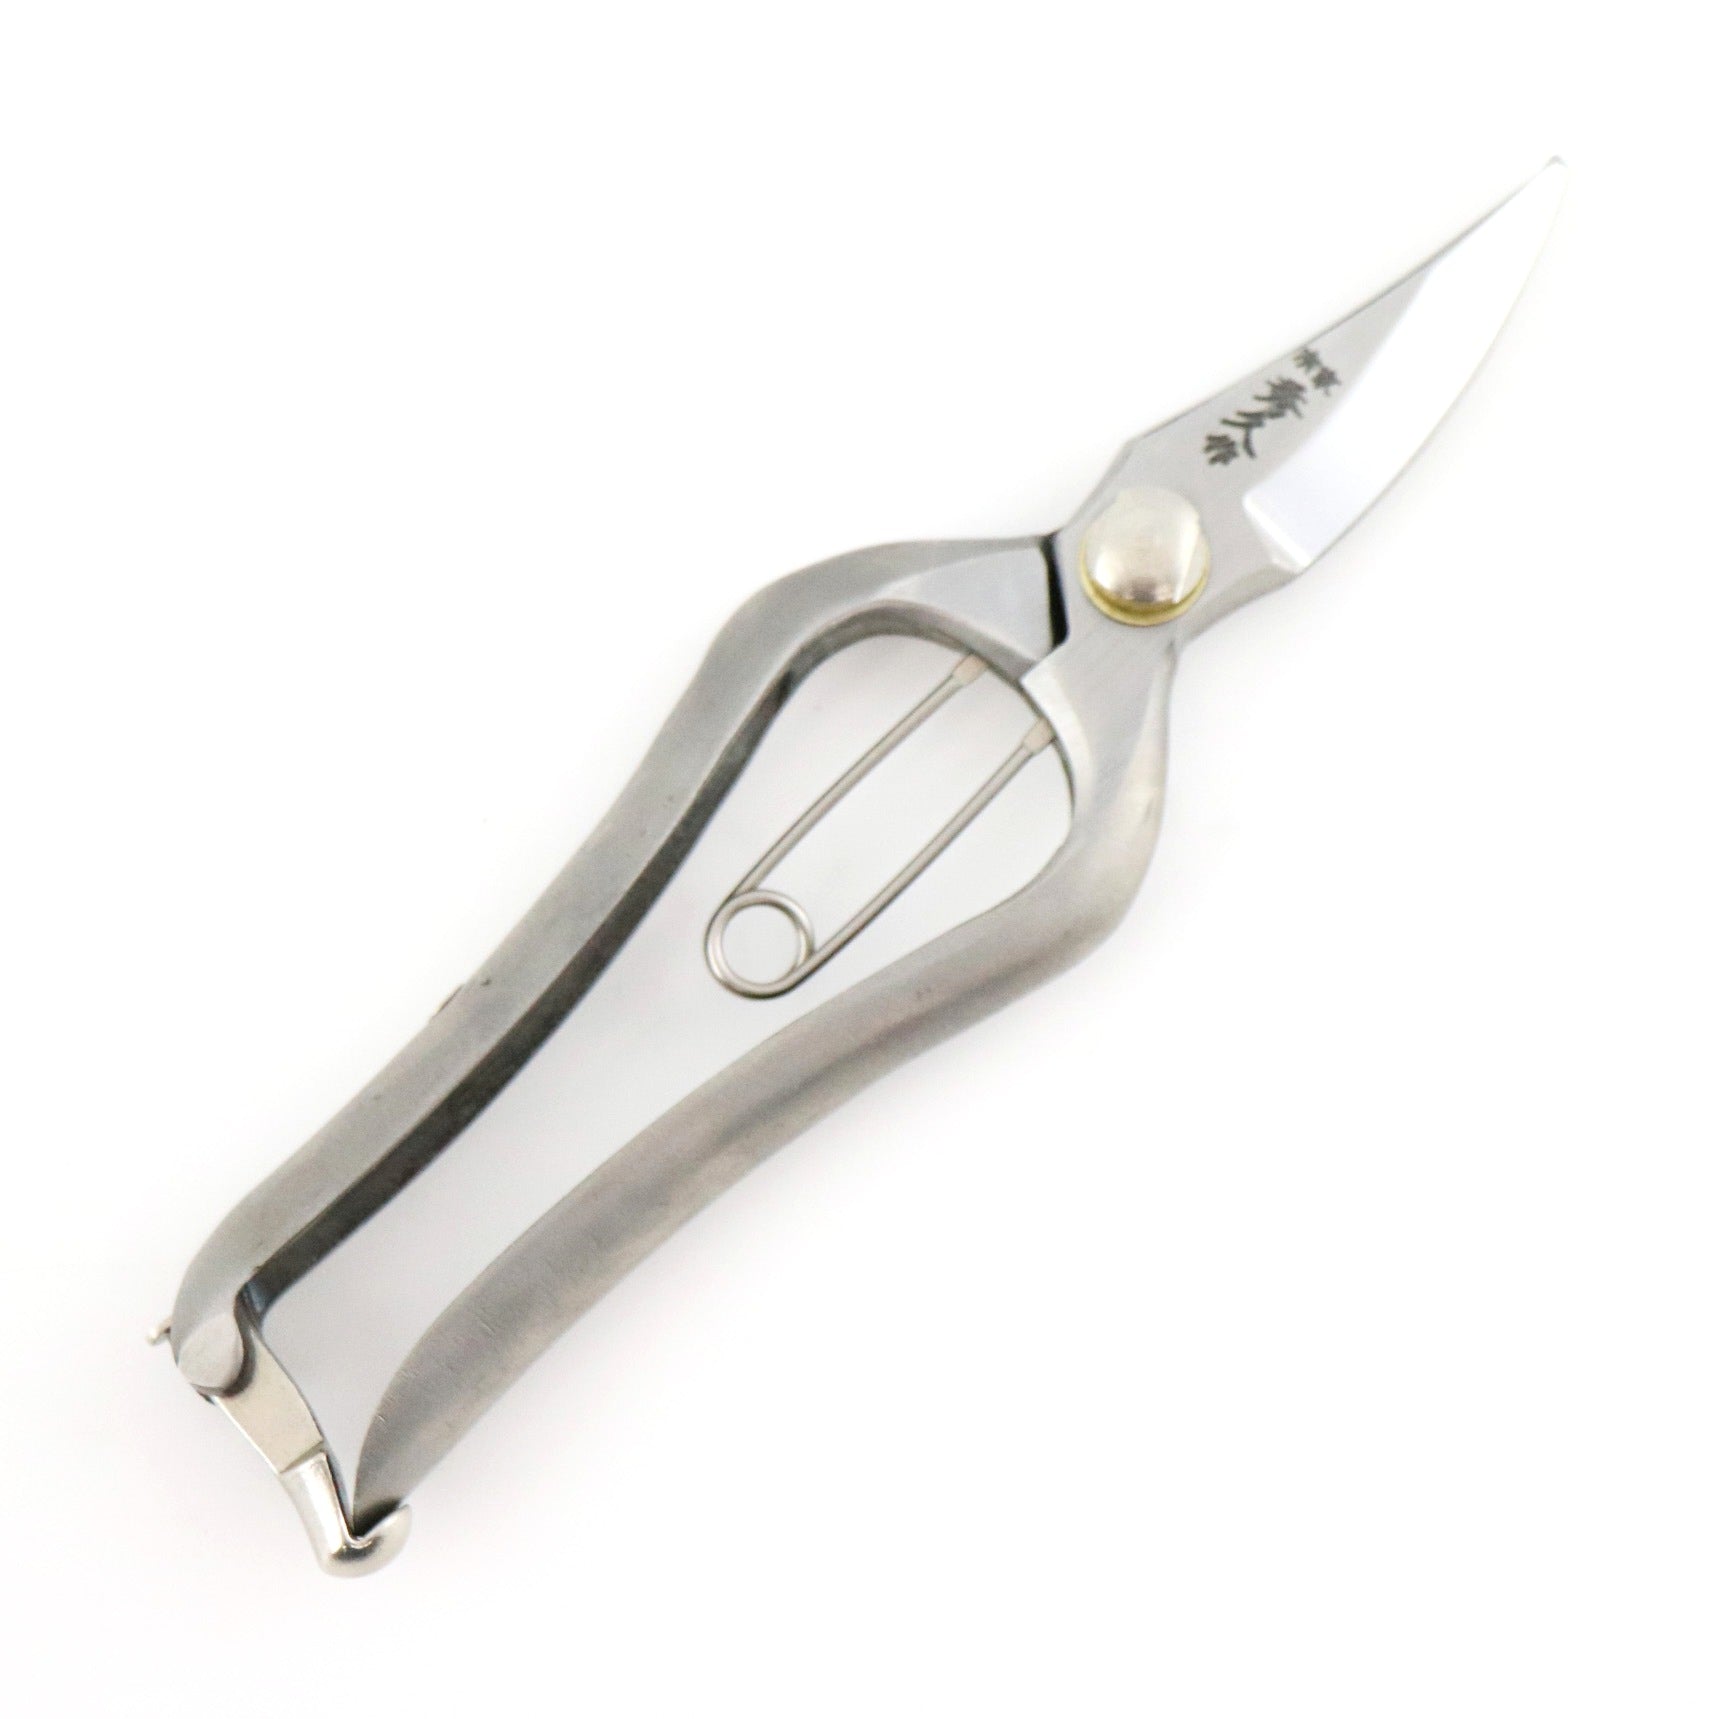
- Bolt-and-nut pivot — Toyama Hamono spring-loaded pruning shears and pruning snips
Before You Adjust: What a Correct Pivot Should Feel Like
A correctly adjusted pivot is not simply “as tight as possible.” It should hold the blades securely together while allowing them to move smoothly through the stroke.
Look for minimal side-to-side play, no unintended visible separation at the pivot, and no binding or locking as the blades open and close. A very slight amount of movement can be normal. With a kashime joint, the factory setting is a useful reference: the blades should feel securely fitted, but not so tight that the action becomes heavy.
Pivot adjustment involves sharp blades, hammers, and wrenches under load. Use the correct tools on a stable surface and keep your hands clear of the cutting edges.
Step 1: Check for Pivot Play Before You Sharpen
Before judging the pivot, wipe away obvious sap, resin, or debris around the blades and joint so that dirt does not affect the action.
Open the shears part way and gently check for side-to-side movement at the pivot. If the blades feel loose or wobbly, focus on the joint itself. Visible separation at the pivot is different from the extremely slight movement that may be normal.
Next, open and close the shears slowly. A loose pivot can disturb blade contact and reduce cutting performance even when the cutting edges are still sharp. An over-tight pivot can increase friction and make the shears stiff or difficult to open.
Then identify the pivot type. A bolt-and-nut pivot has a threaded fastener at the center. A kashime pivot is held by a rivet that has been peened rather than tightened with a nut.
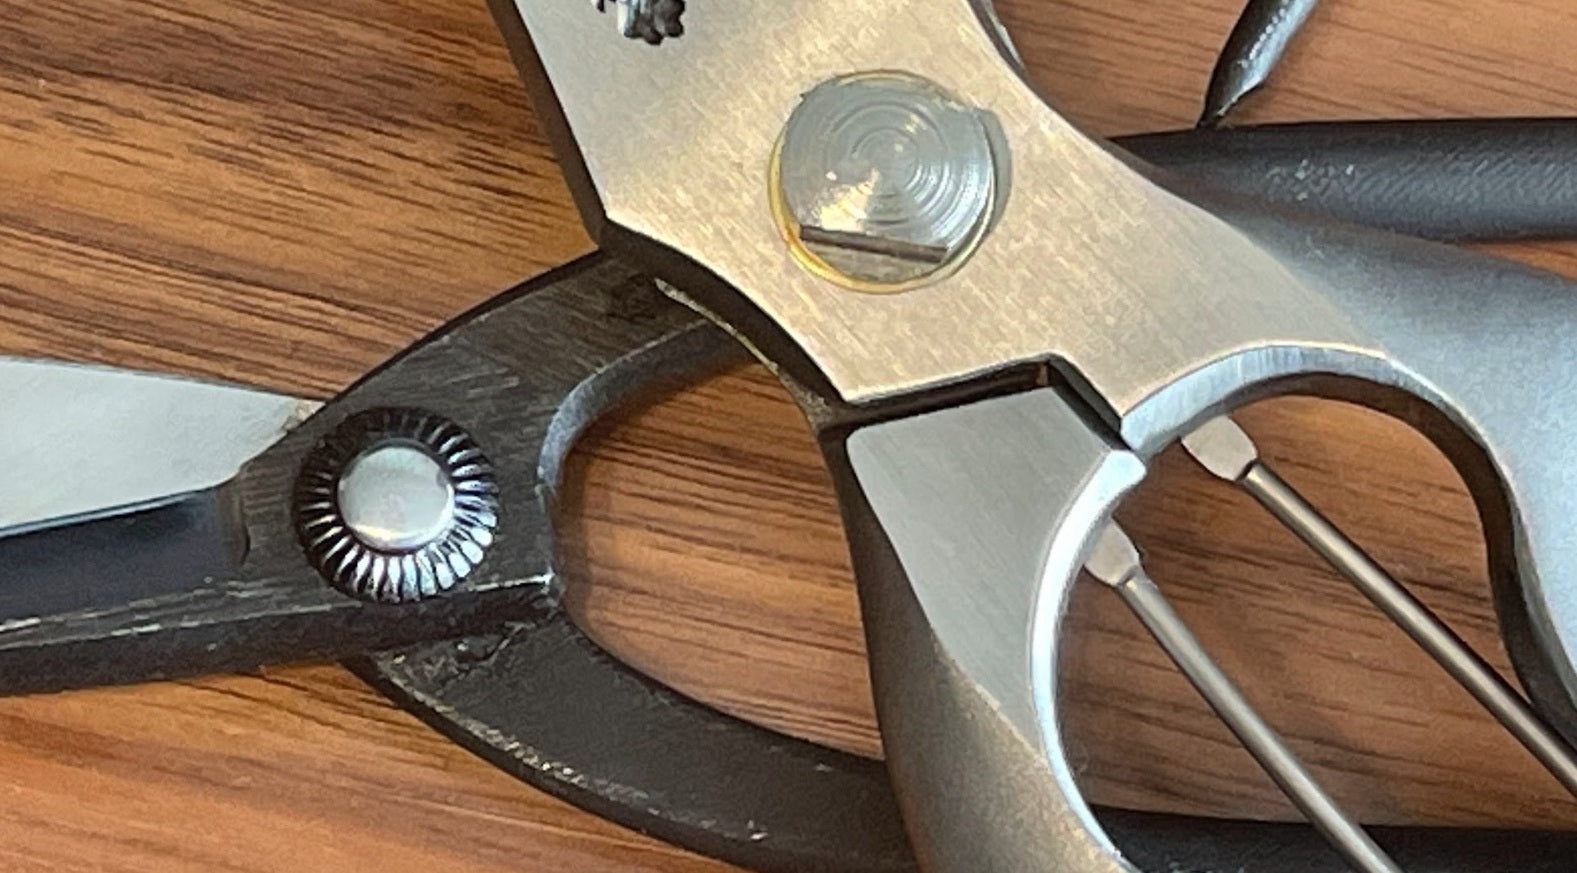
On kashime shears, you can also identify the axis blade. Watch the rivet from one side while opening and closing the shears, then turn the tool over and repeat. On one side, the rivet moves together with the blade. That is the axis side: the rivet and axis blade are mechanically locked together.
The rivet is unhardened so it can be peened during manufacture and adjustment. Repeated opening and closing can gradually wear the joint and increase play over time.
Our recommended order is simple: check the pivot before you sharpen. If the pivot is correctly adjusted and cutting performance is still poor, move on to cleaning and sharpening.
Step 2: How to Tighten and Loosen a Kashime Pivot

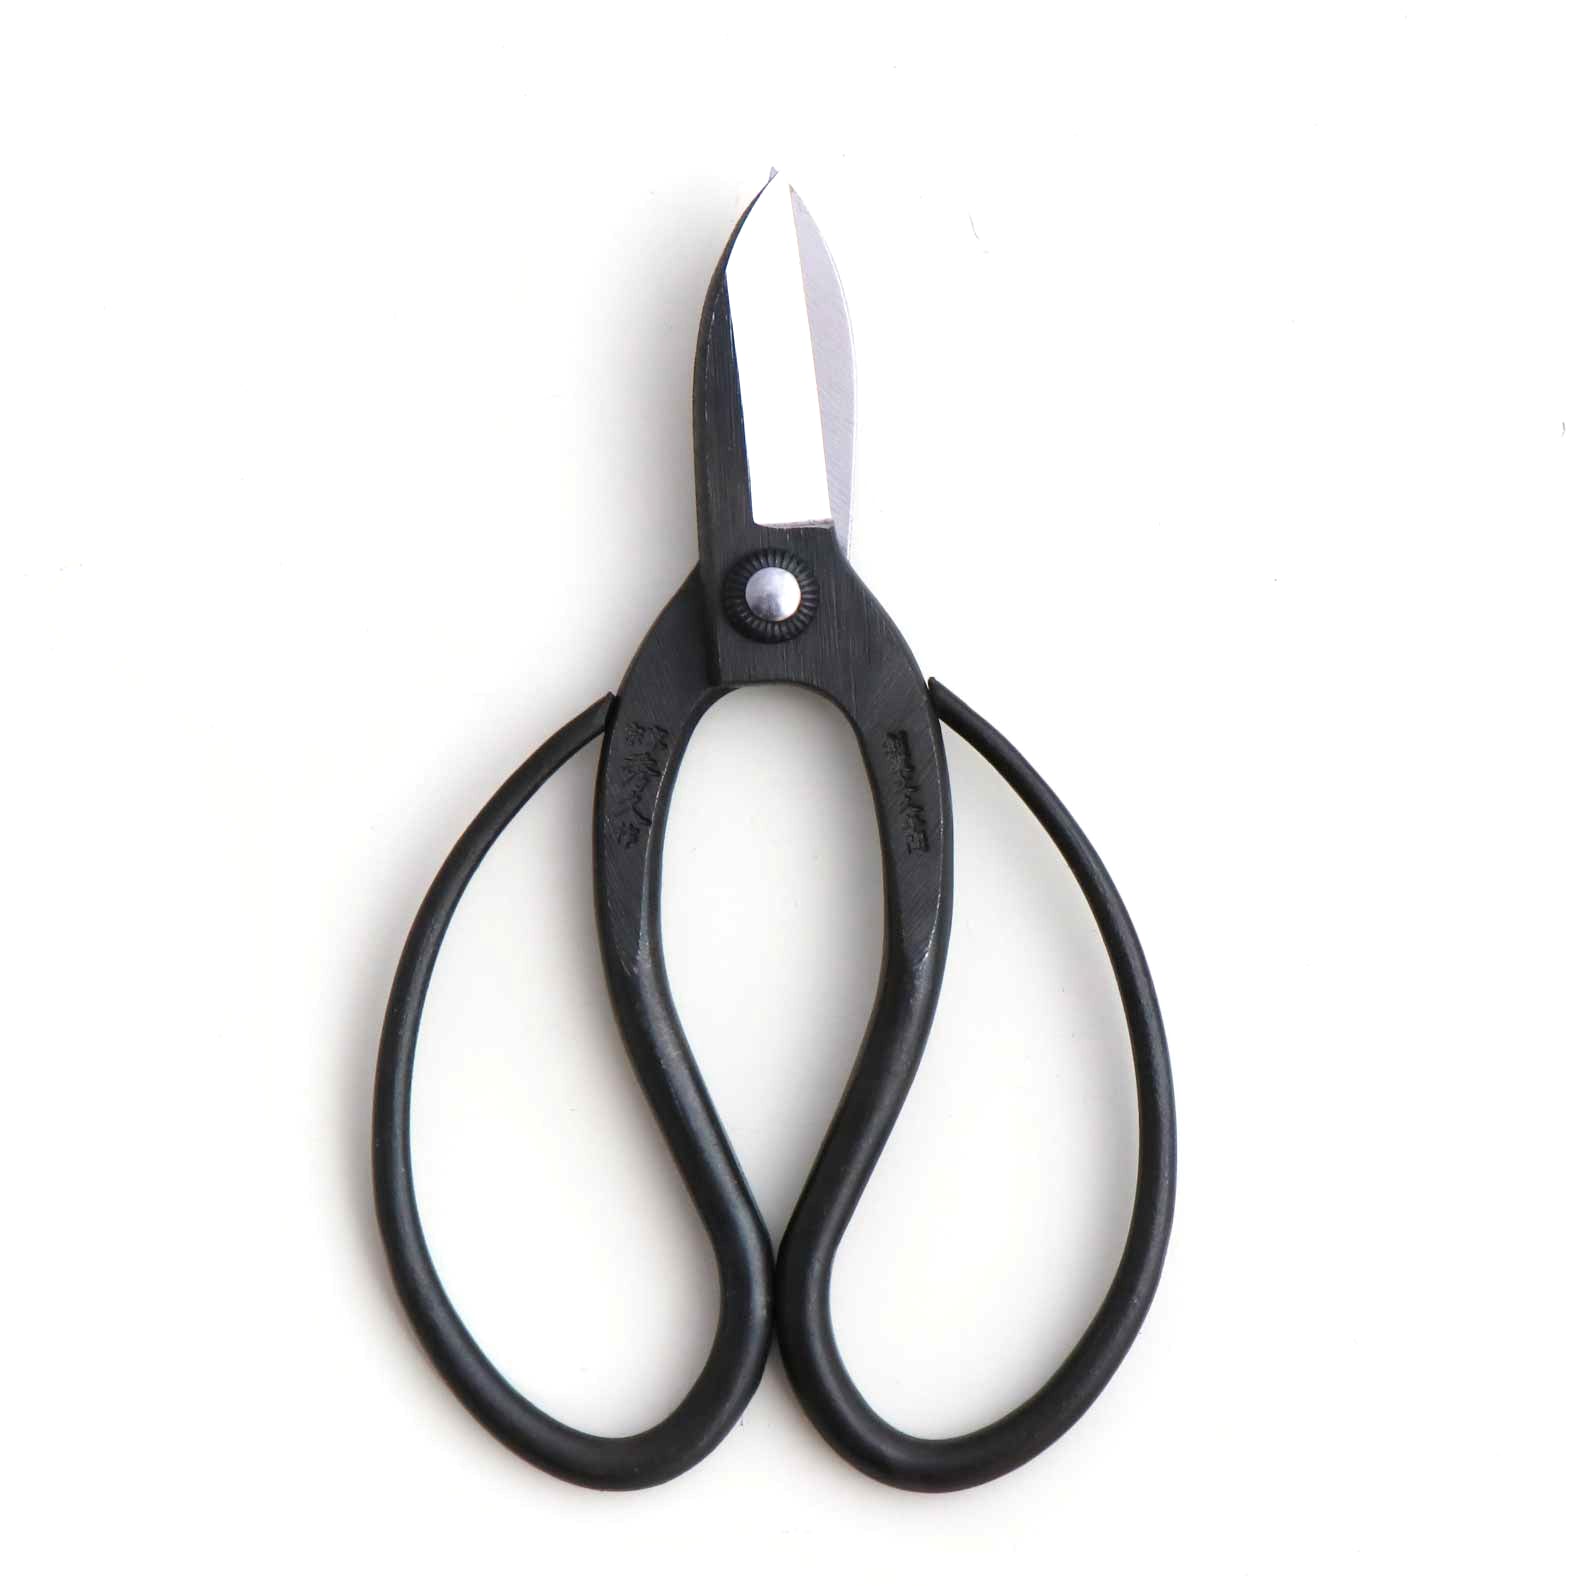
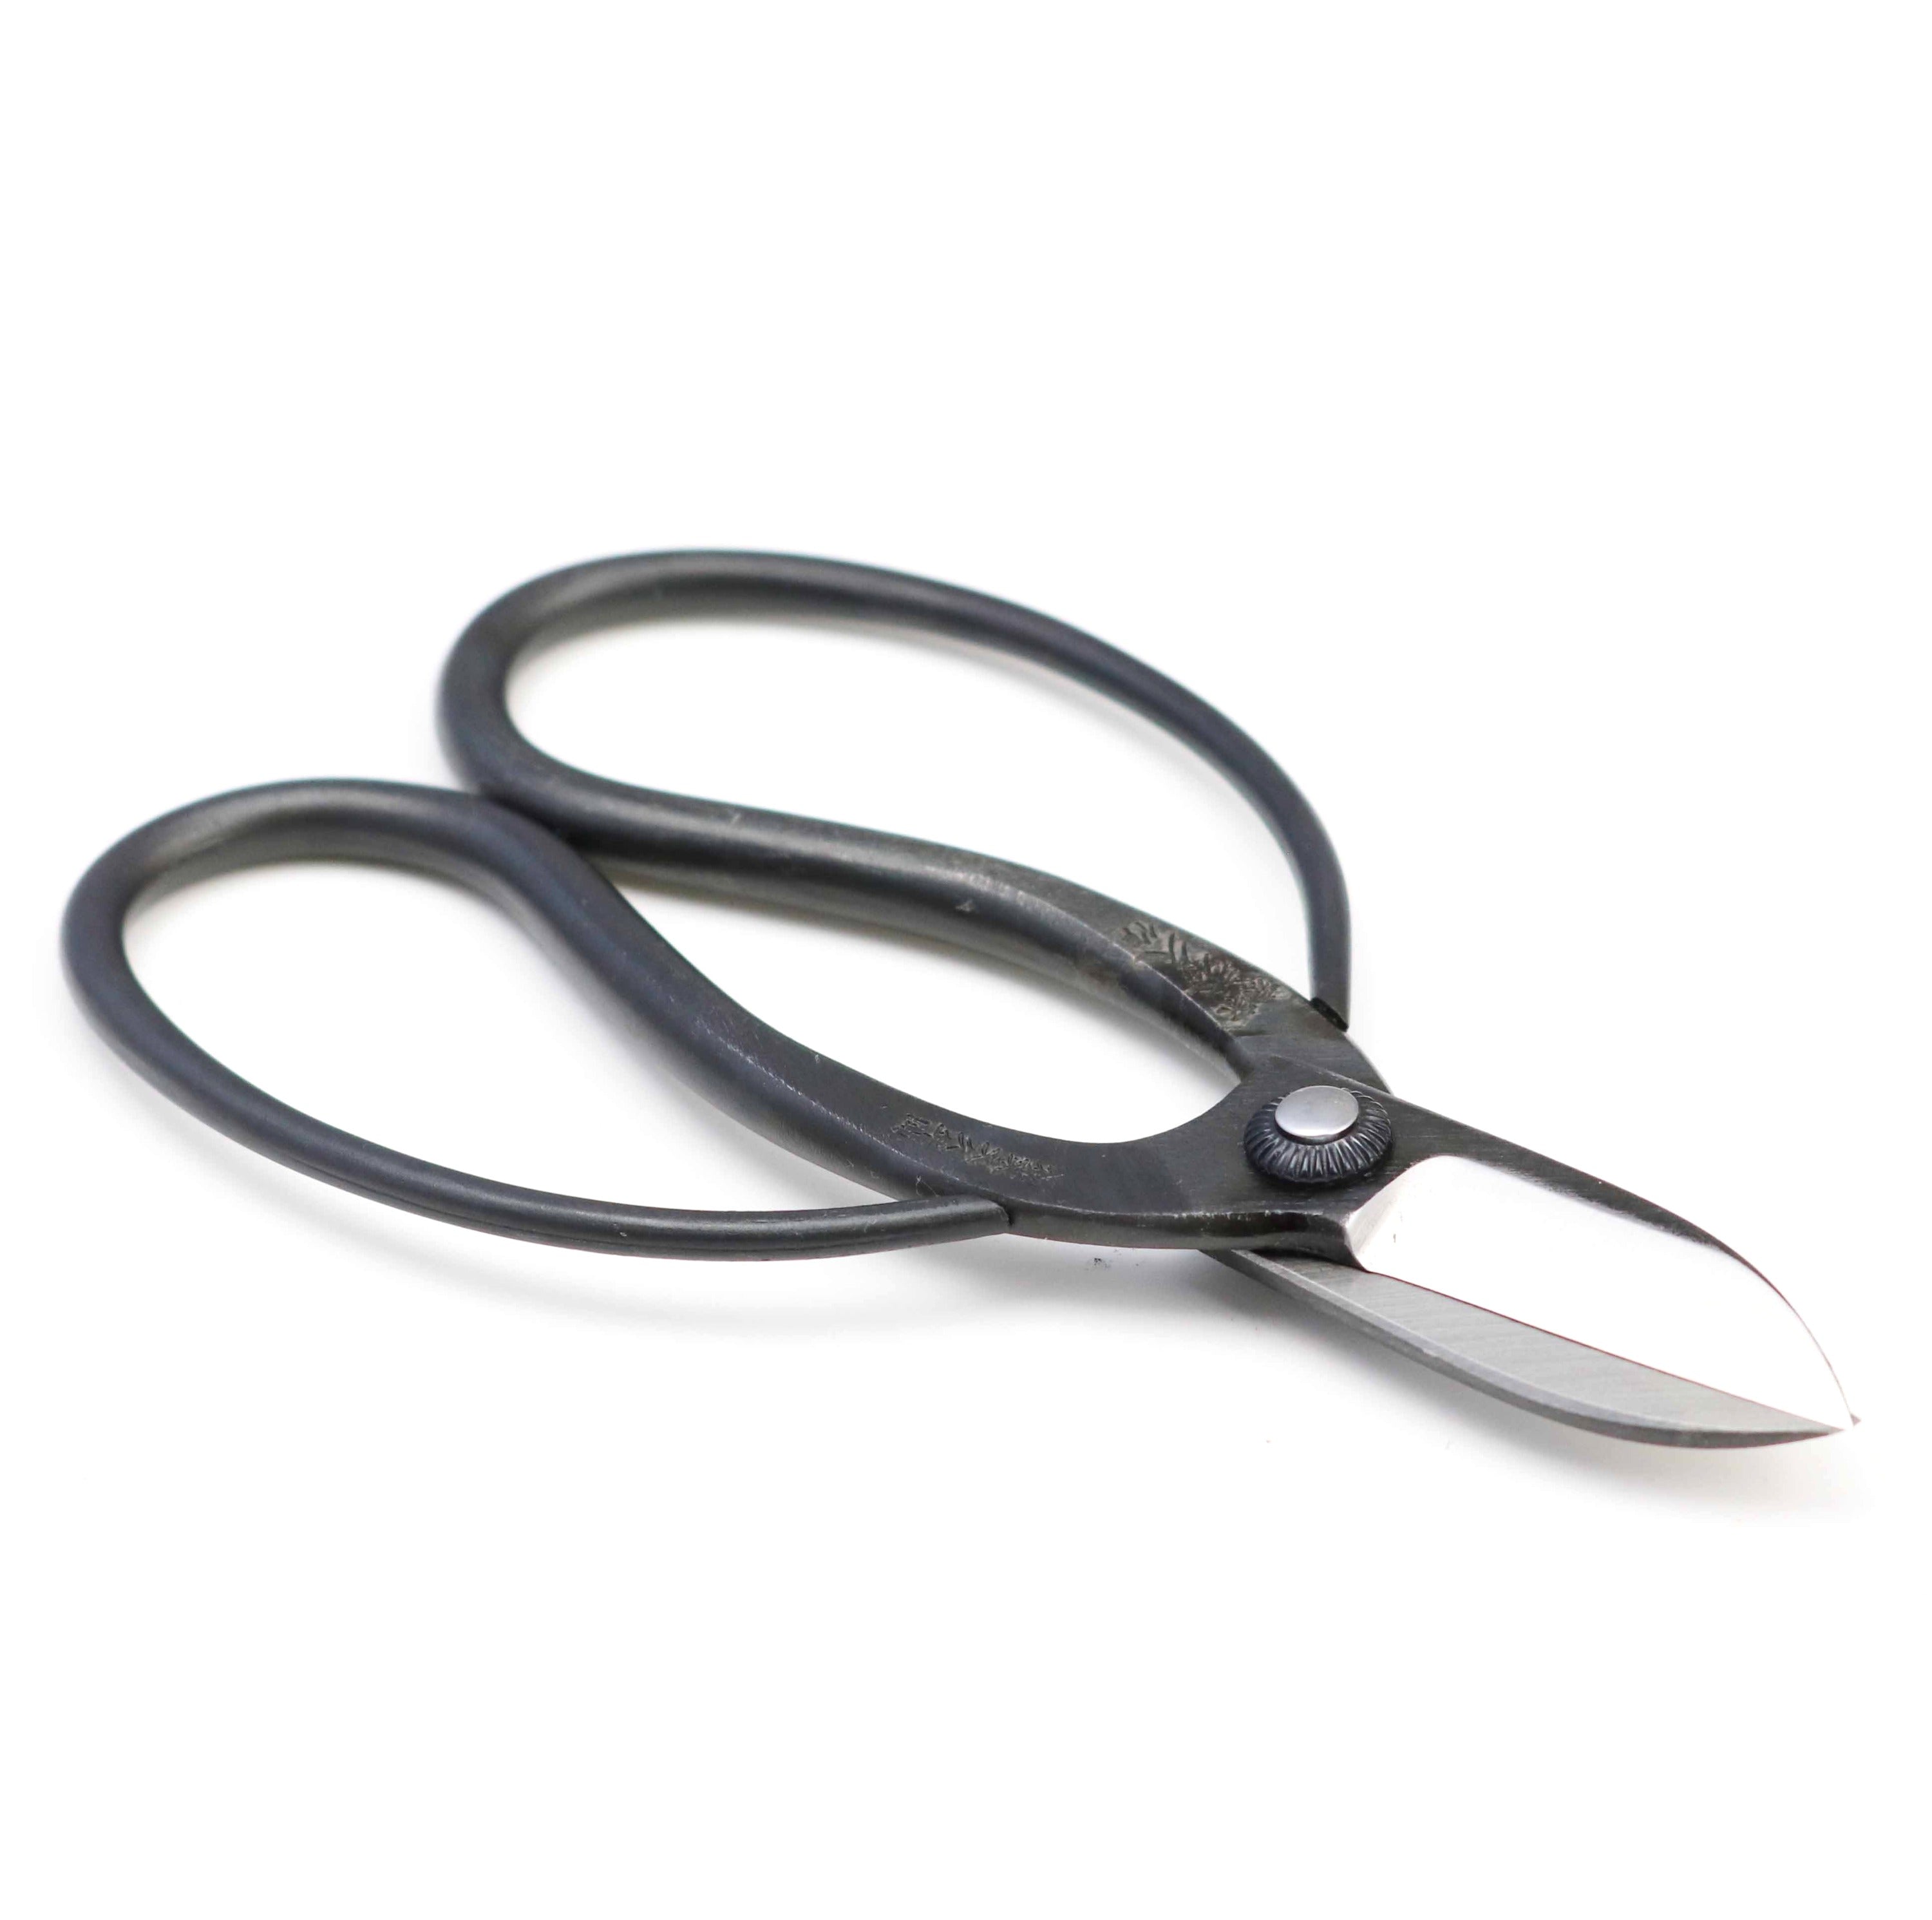
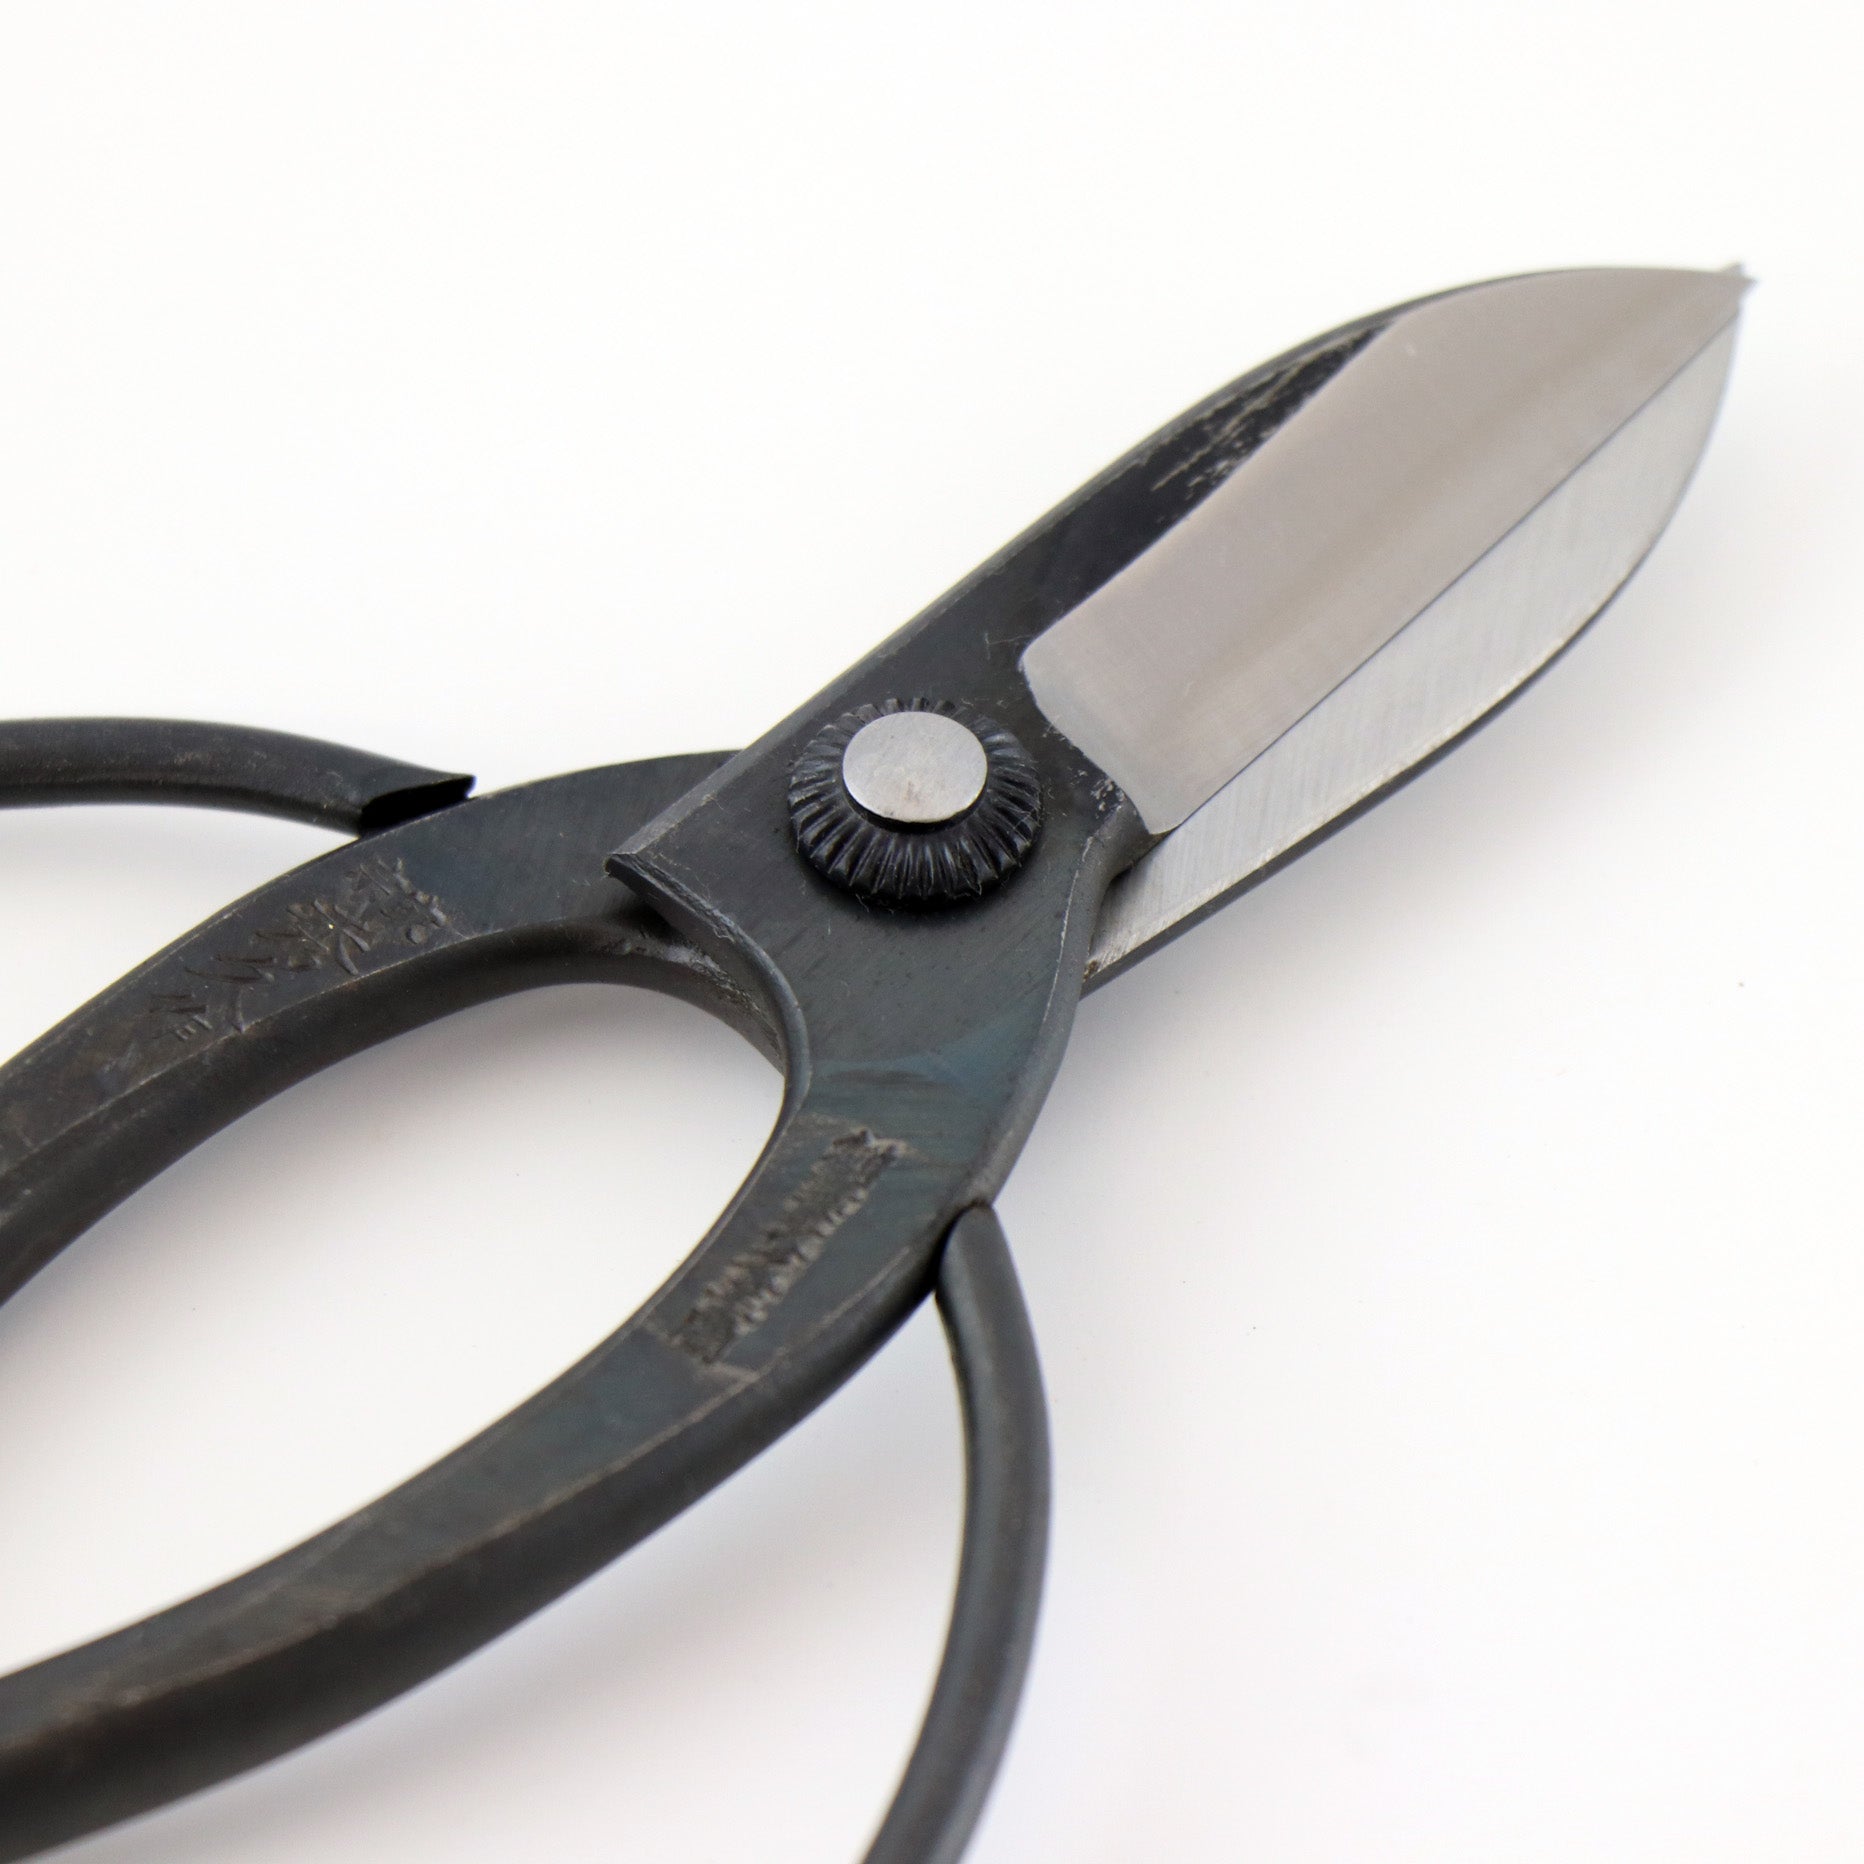
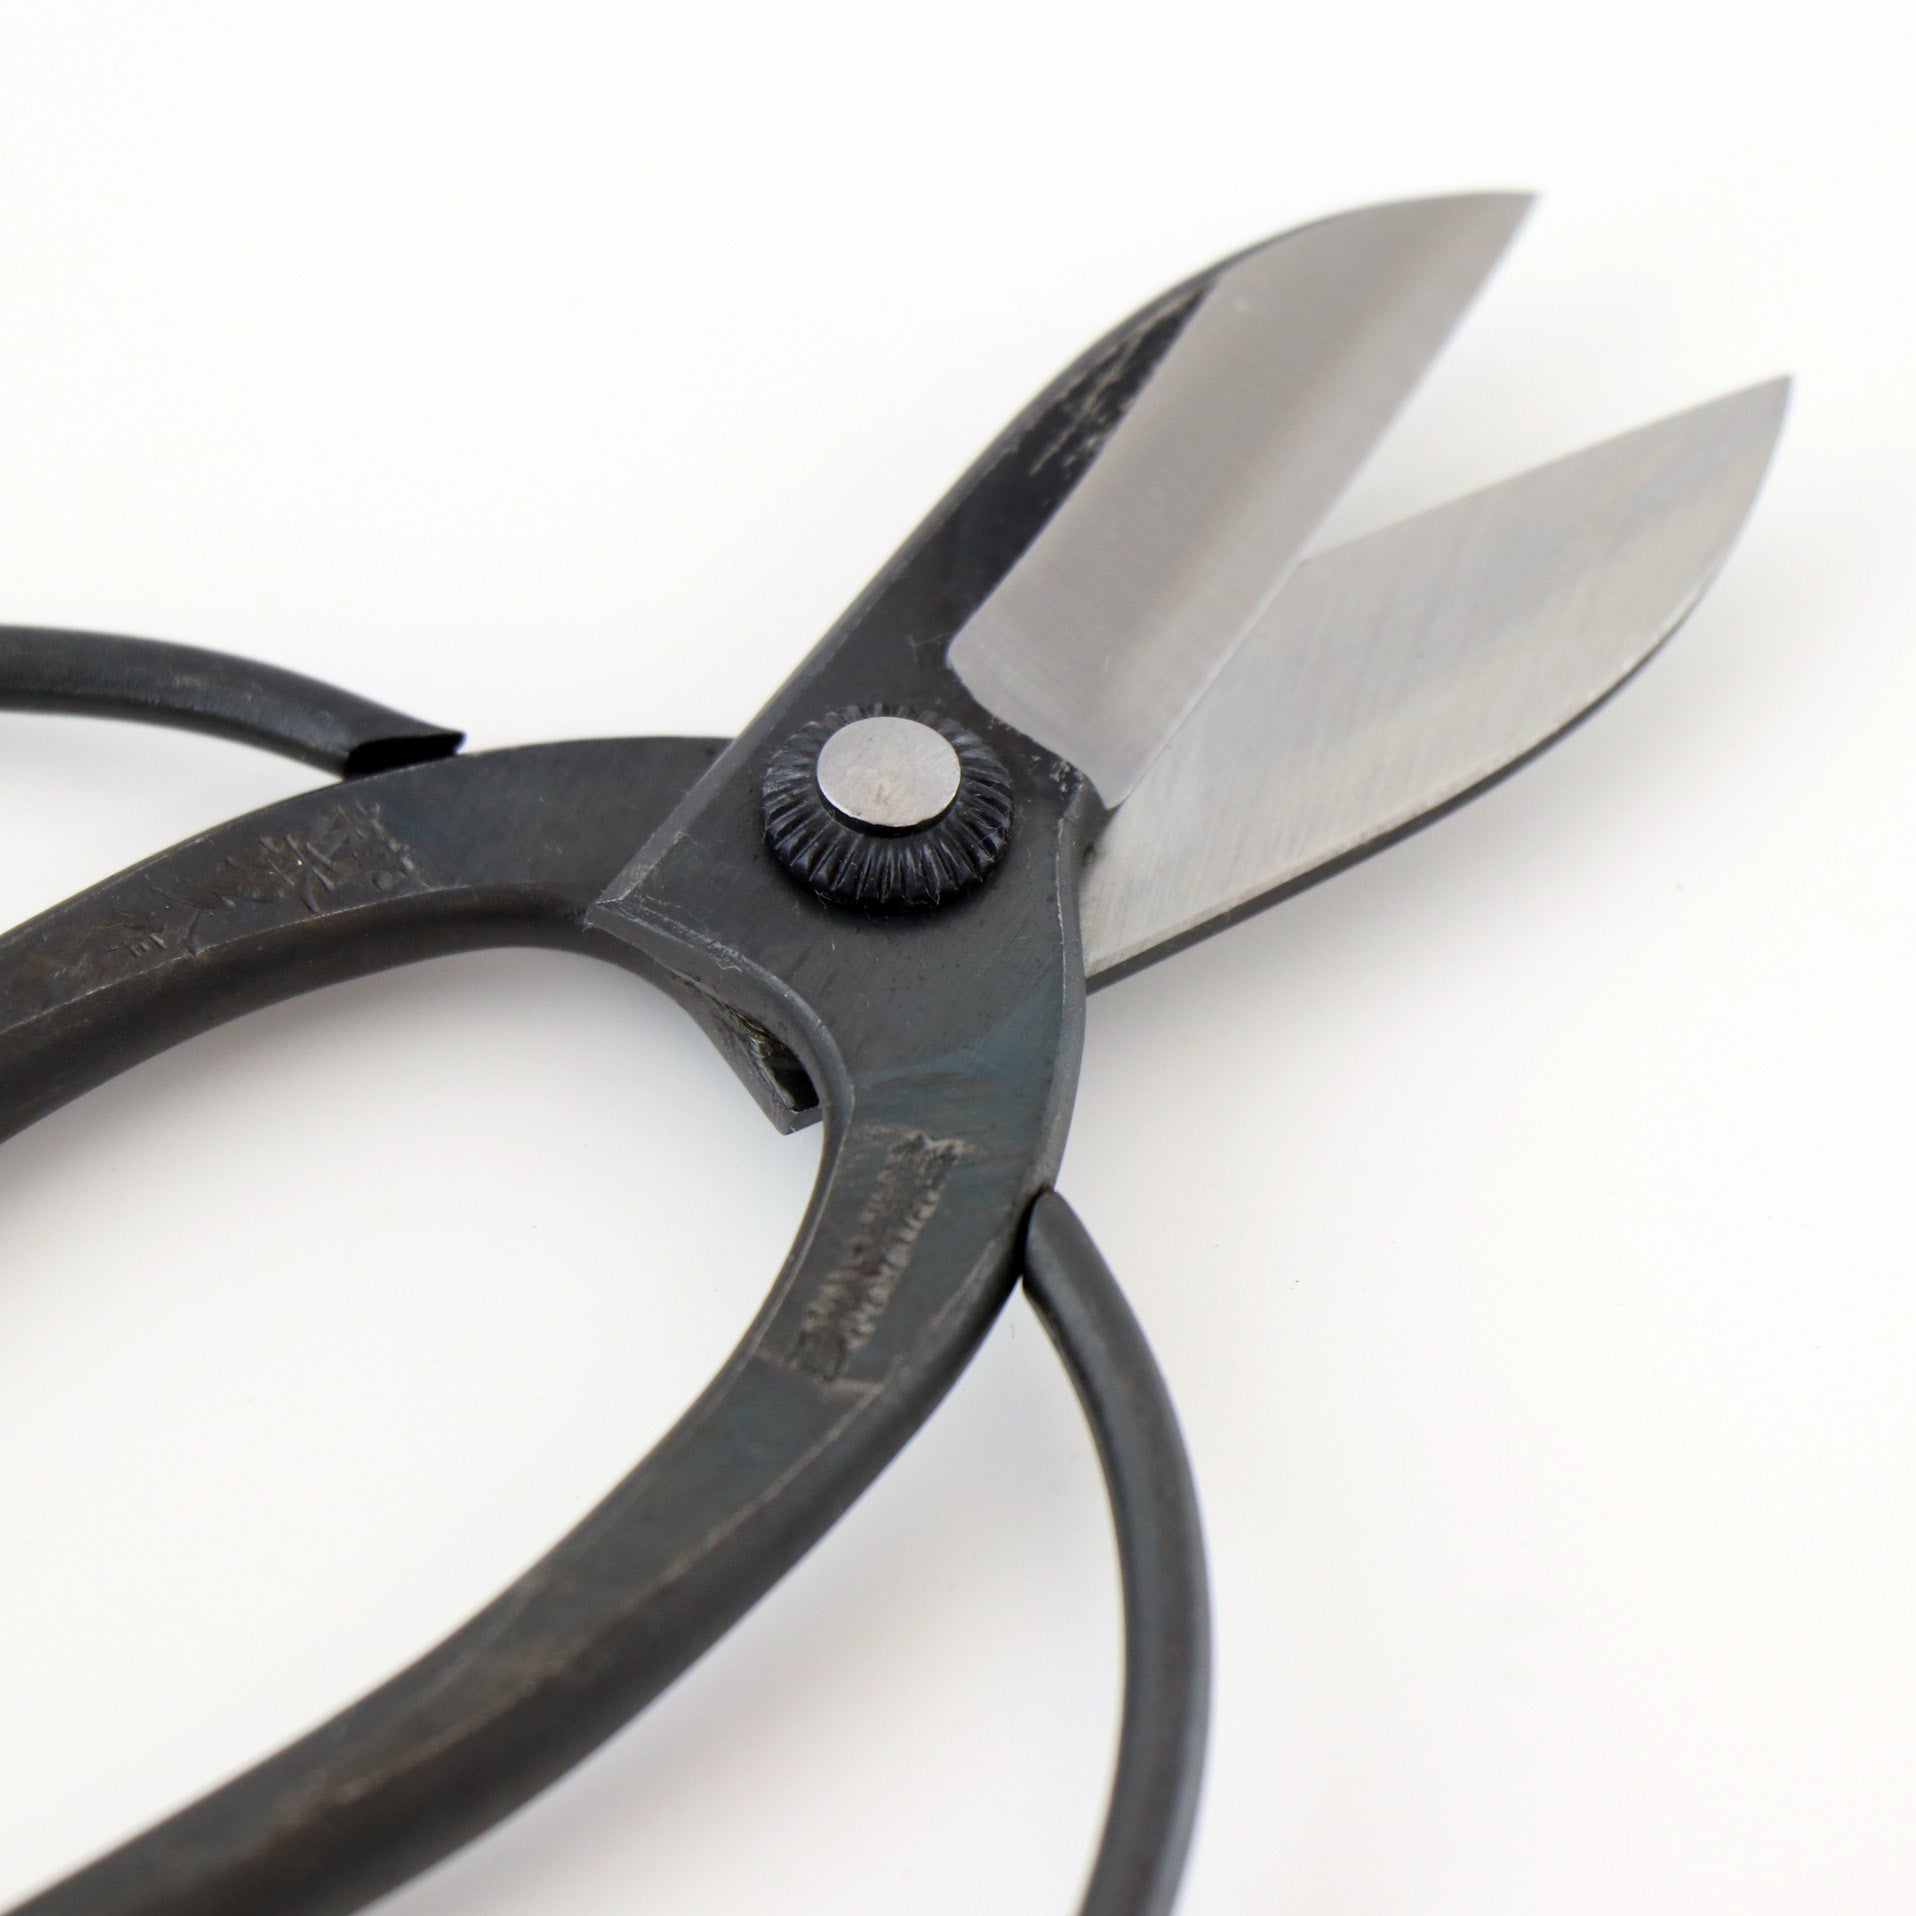
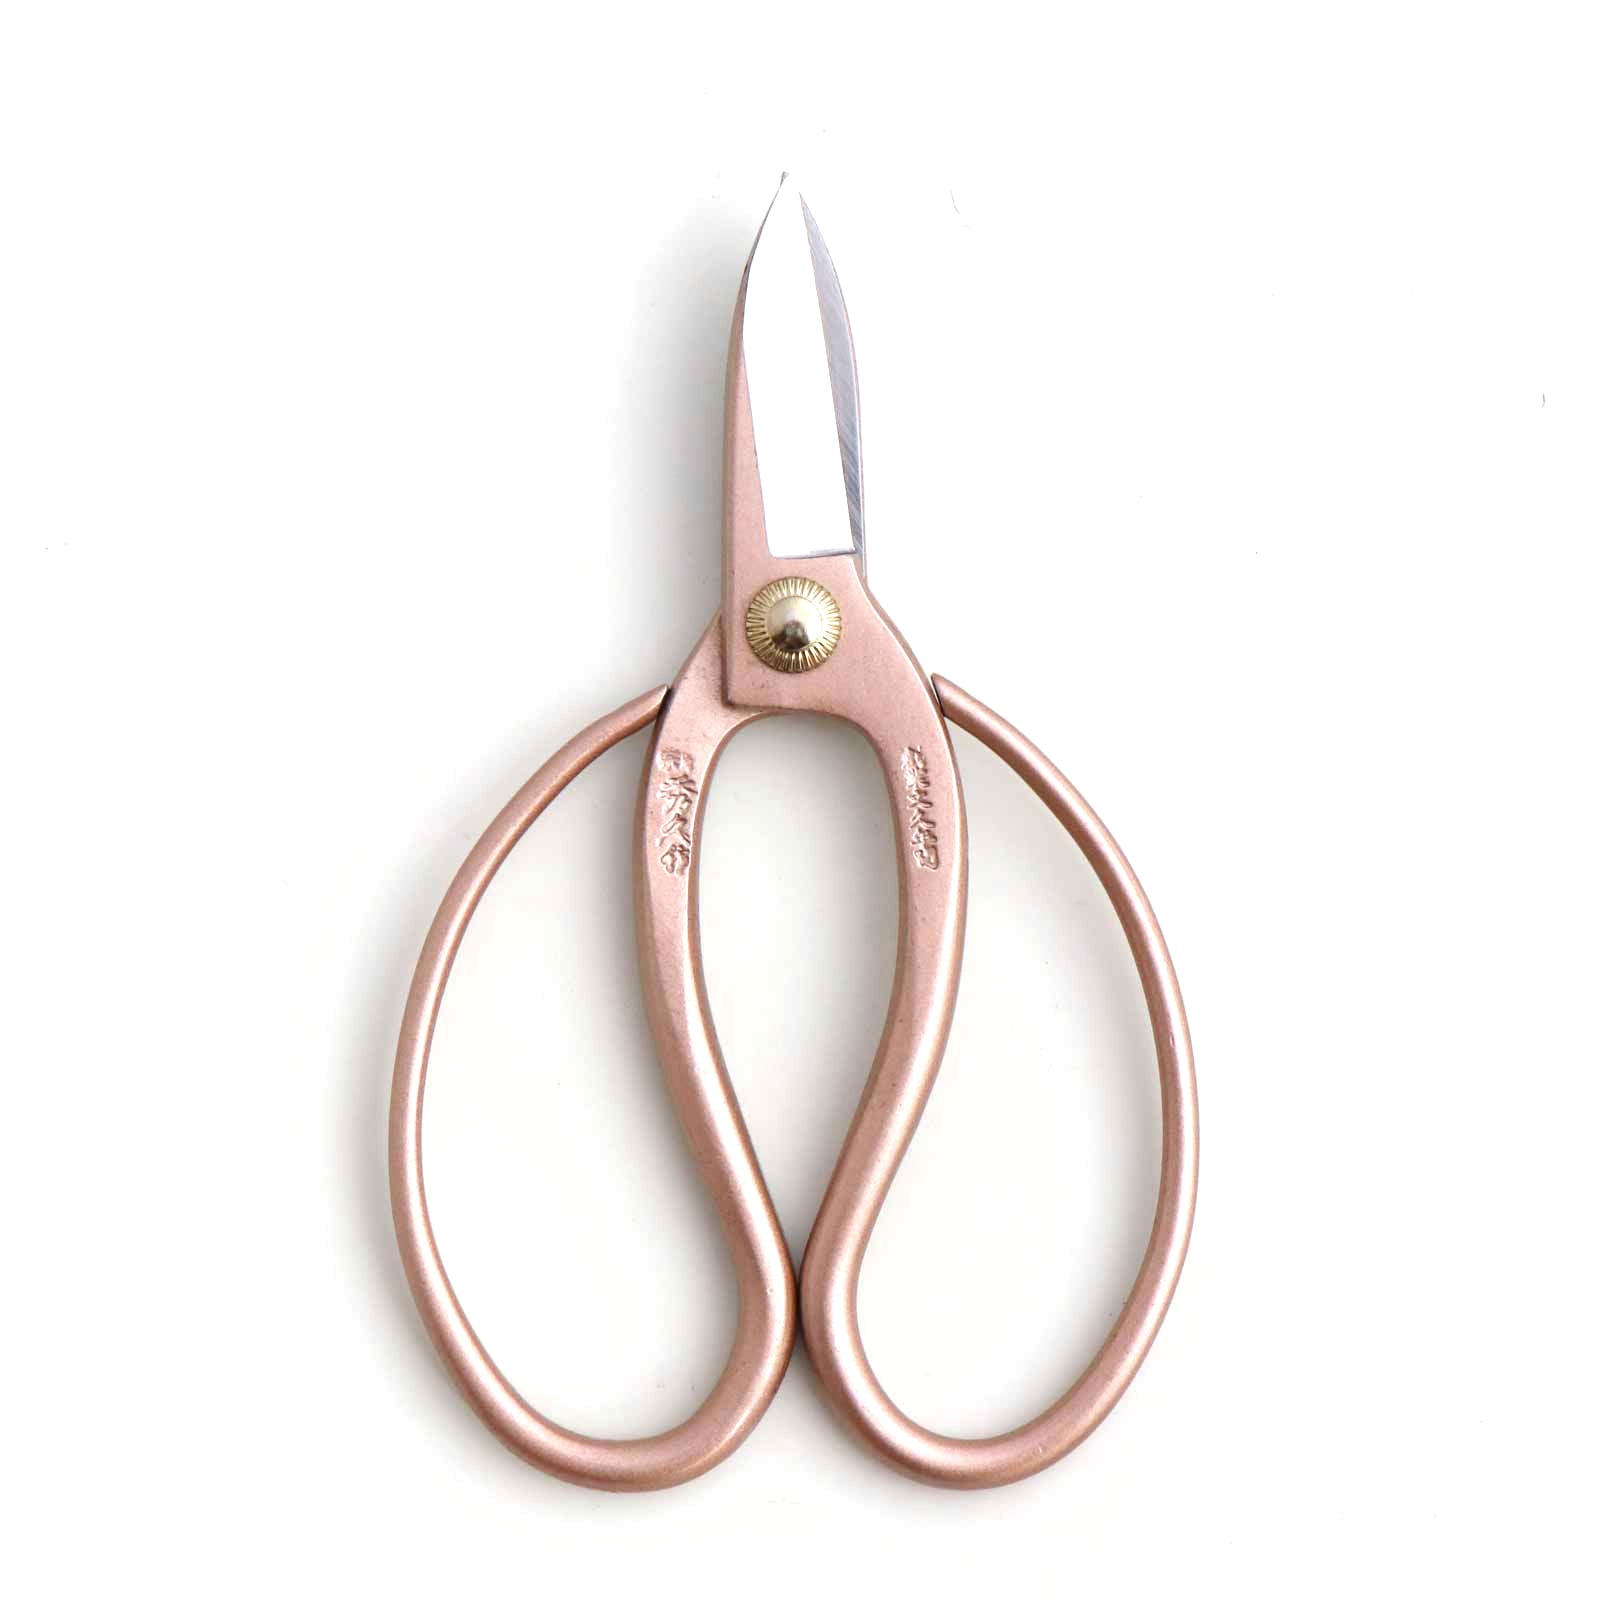
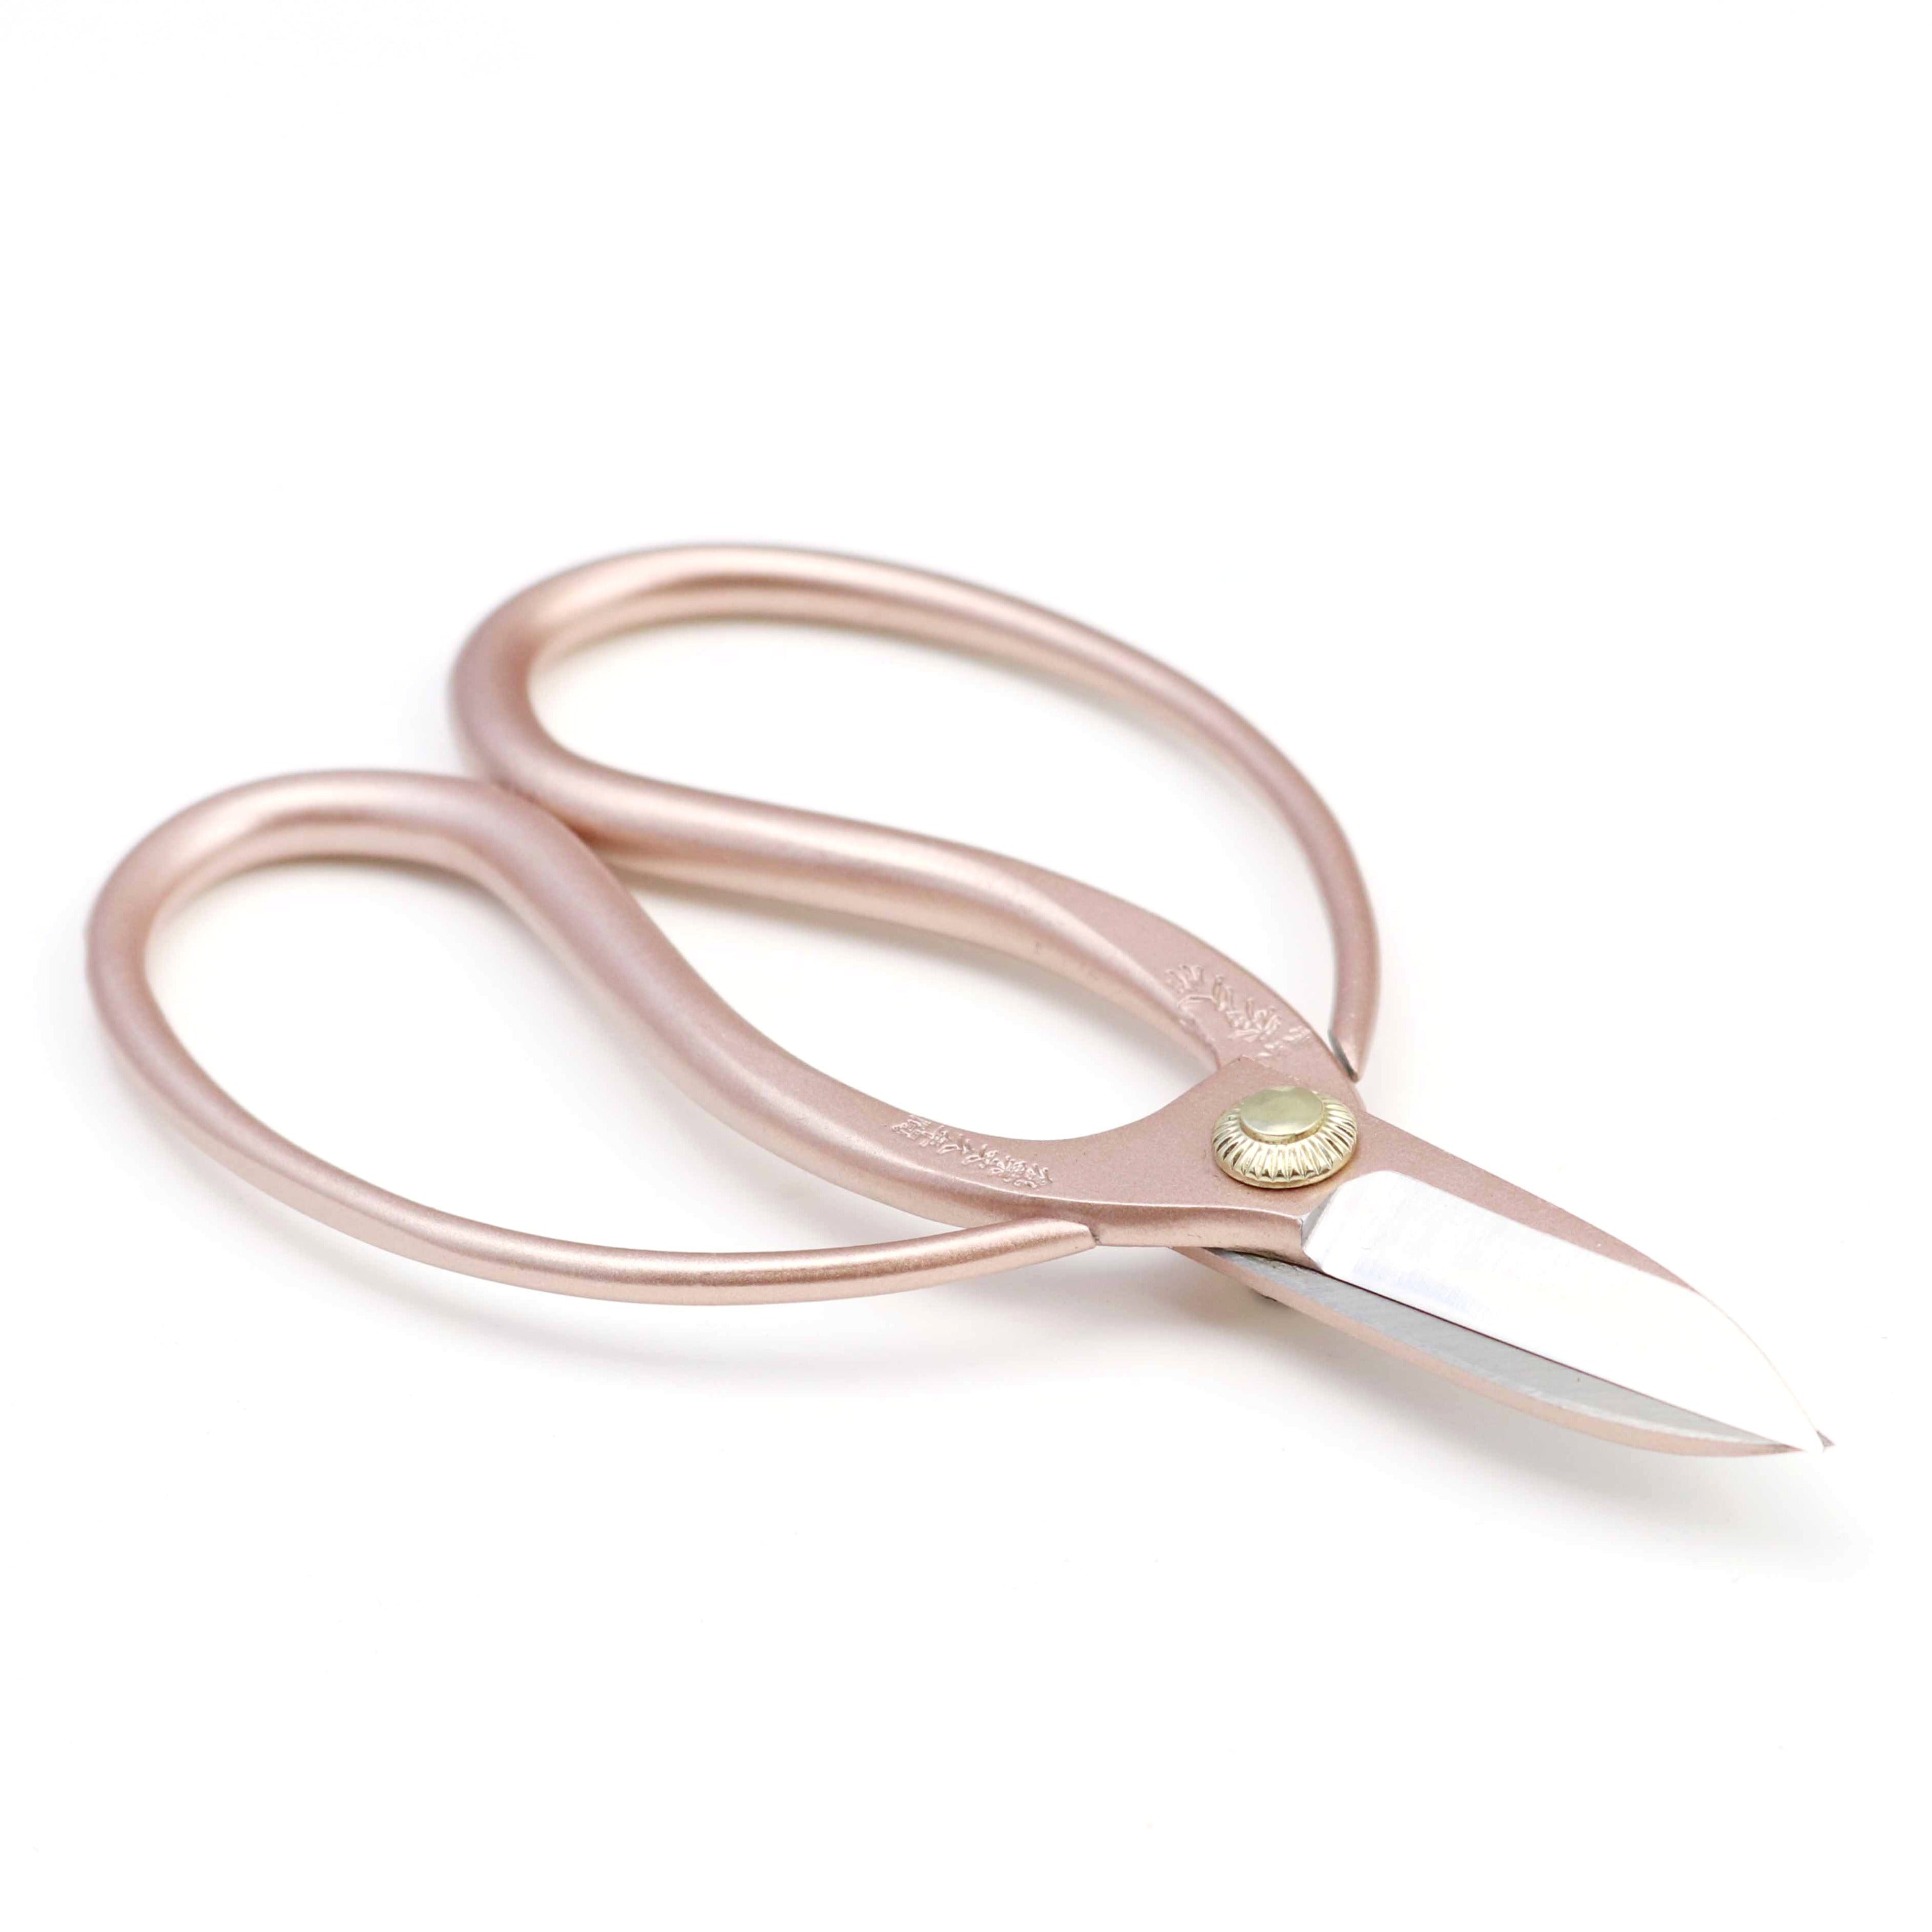
Photo: Close-up of a kashime rivet pivot on traditional Japanese bonsai scissors.

Photo: Peened pivot on traditional Japanese bonsai shears, hammered evenly around the full circumference.
What Is a Kashime Pivot?
A rivet passes through both blades. The free blade has a round hole and turns around the rivet. The axis blade has a non-round hole that matches the corresponding section of the rivet, so the rivet and axis blade move together.
The protruding end of the rivet is peened, or hammered and spread, to hold the blades together. Because this is not a screw joint, adjustment is made by changing the rivet by a very small amount.

Figure 1. Structure of a kashime pivot before peening.
How to Tighten a Loose Kashime Pivot
Use a small hammer and a rigid, stable metal support. The rivet head must be supported securely so that it cannot rock or slide while the opposite side is being peened. In our workshop, we use dedicated supports with a recess shaped to hold the rounded rivet head.
First, make sure the blade faces are seated together correctly at the joint. If the rivet is peened while the blades are separated, the pivot can be tightened into poor alignment and the blade fit can be disturbed.
Use light, controlled blows and work progressively around the peened side of the rivet. Do not concentrate repeated blows on one point. The aim is to spread the metal as evenly as possible around the full circumference.

Photo: With the rivet head facing downward and securely supported, the unhardened iron end is hammered and peened.

Figure 2. Tighten a kashime pivot by peening evenly around the full circumference.
Stop and test the action frequently. Kashime adjustment happens in very small increments. Do not try to eliminate every trace of movement; over-peening can make the shears too tight to open smoothly.
How to Loosen an Over-Tight Kashime Pivot
If a kashime has been tightened too far, it can be relieved by moving the rivet by an extremely small amount.
Place the shears with the rivet head facing downward and the peened side facing upward. Support the rivet head over a stable hollow support so the head has room to move slightly downward. A suitable metal nut can be used only if it sits flat and stable, its opening clears the rivet head, and its rim does not press against or damage the rounded head.


Figure 3. Loosen an over-tight kashime pivot with the rivet head over a hollow support and the peened side facing upward.
Make sure the shears are stable on the support and cannot shift while you work. Keep your hands clear of the cutting edges.
Apply a very light, controlled tap straight down onto the peened side. This pushes the rivet through by an extremely small amount and relieves some of the compression at the joint.
Do not use a visible gap as your target. You are not trying to separate the blades. The movement required is only enough to restore the correct opening and closing action.
The support must be level and the blow vertical. Make one small adjustment, test the shears, and repeat only if necessary. Kashime adjustment is skilled work; if you cannot support or align the joint securely, stop rather than applying more force.
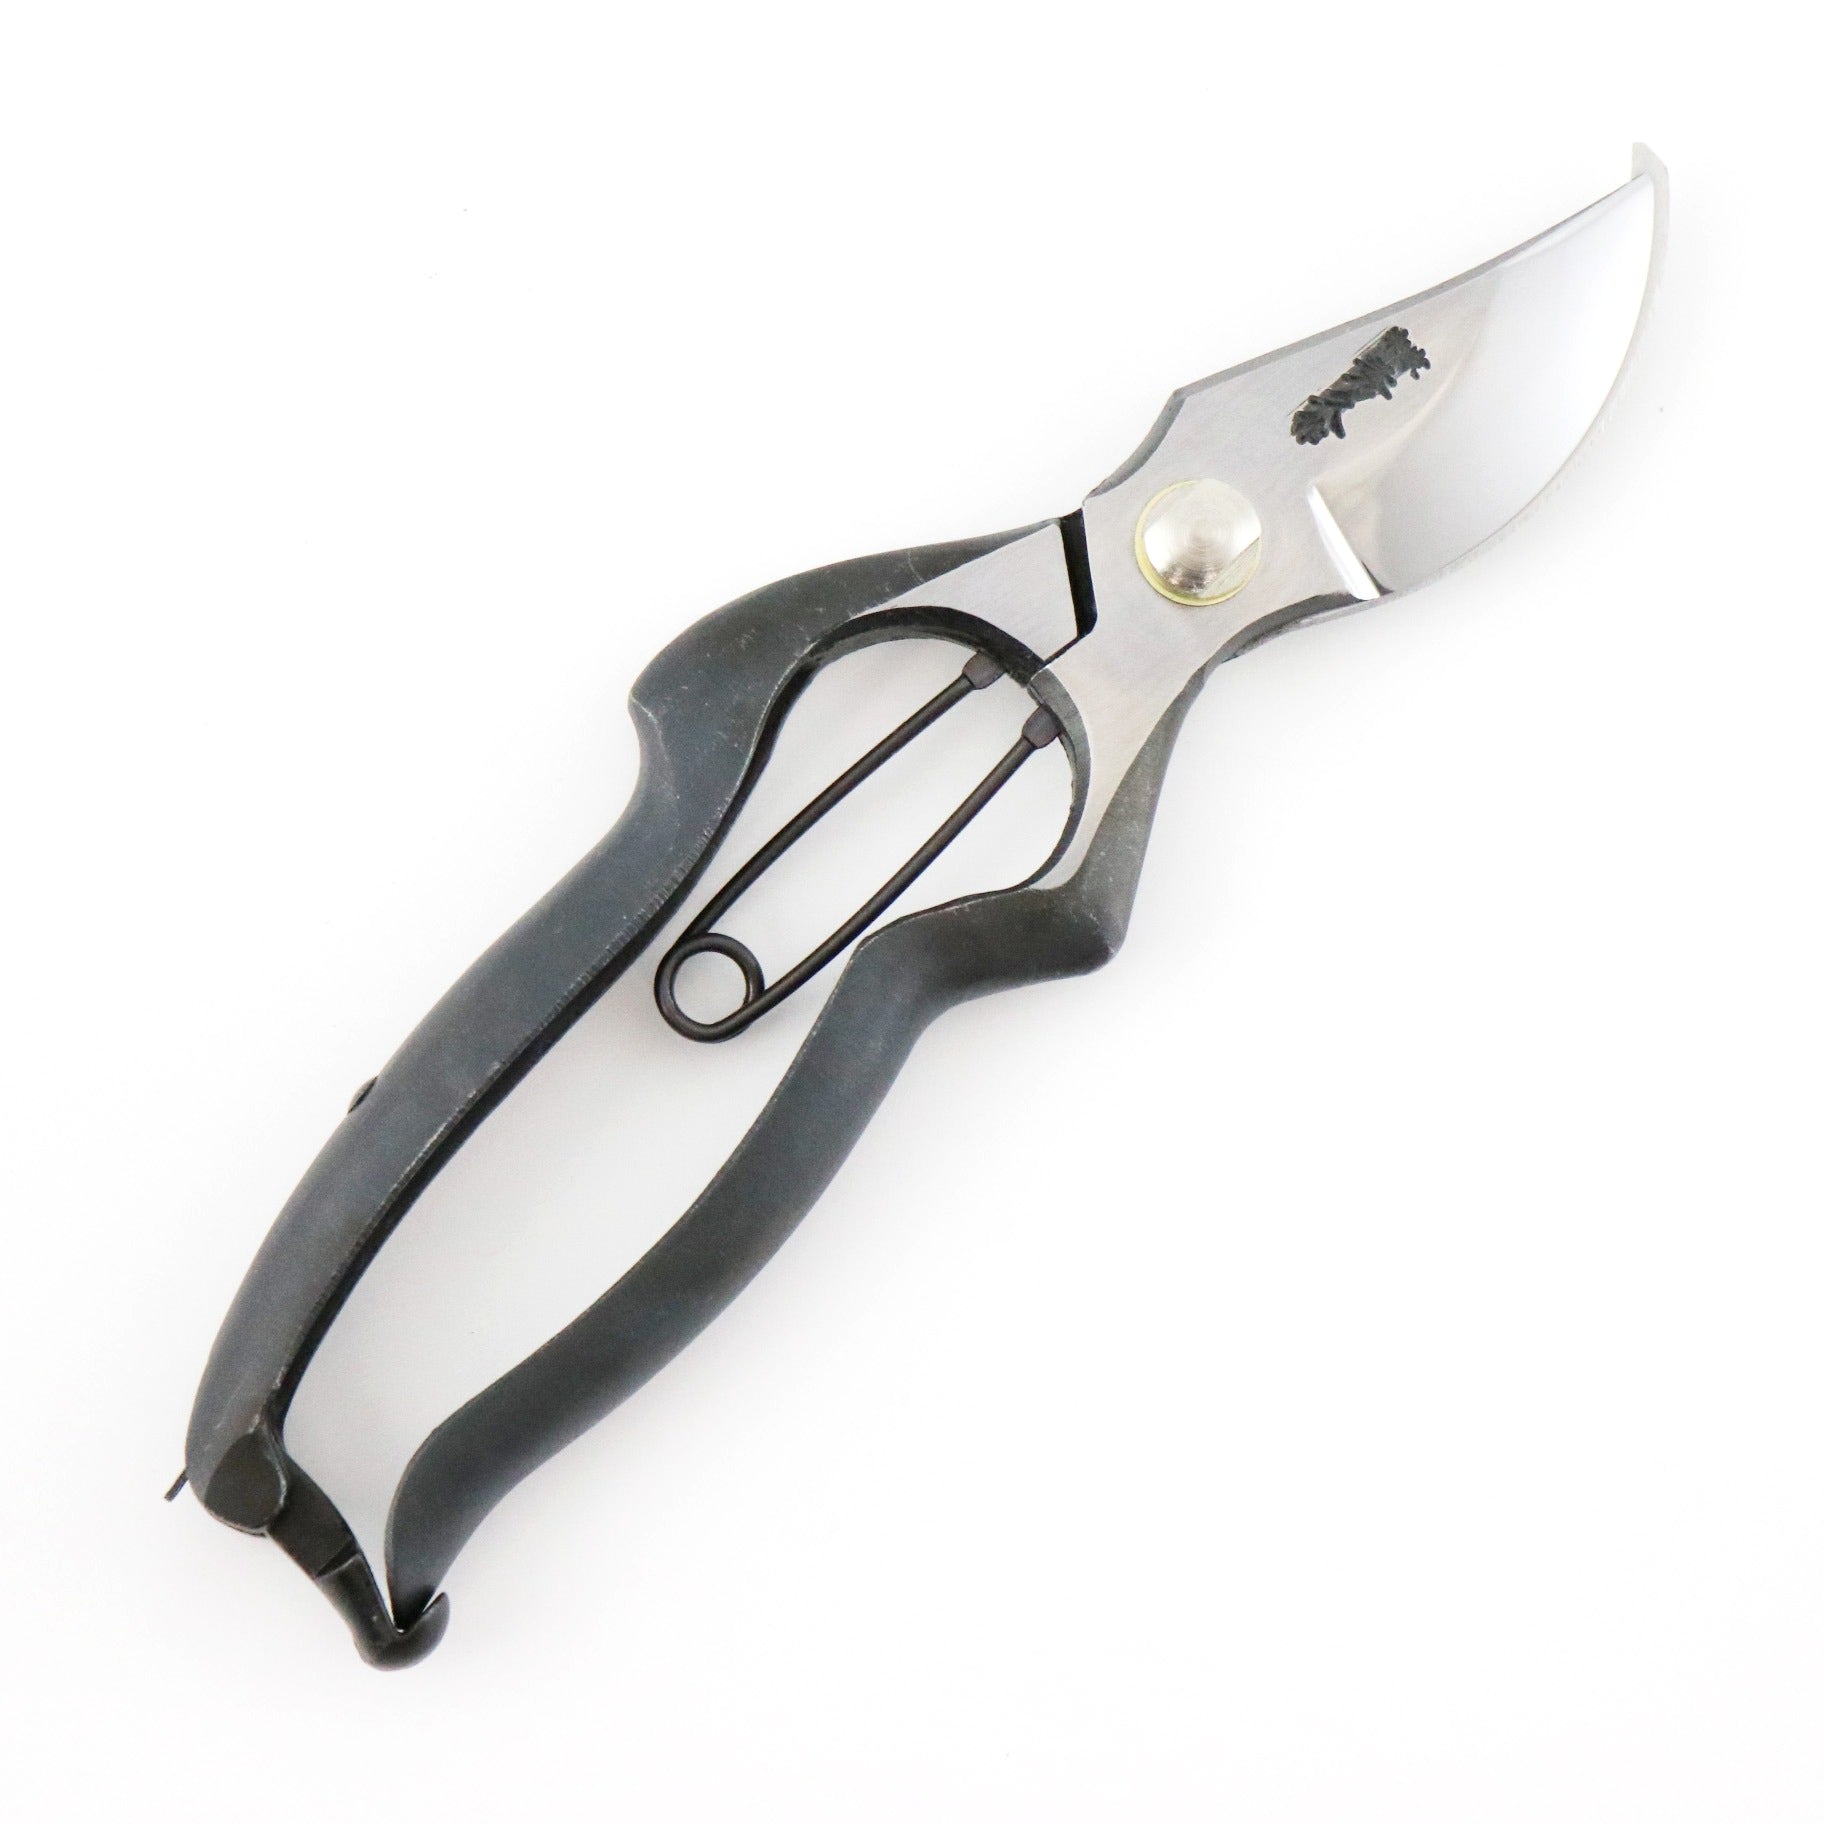
Step 3: How to Adjust a Bolt-and-Nut Pivot on Pruning Shears

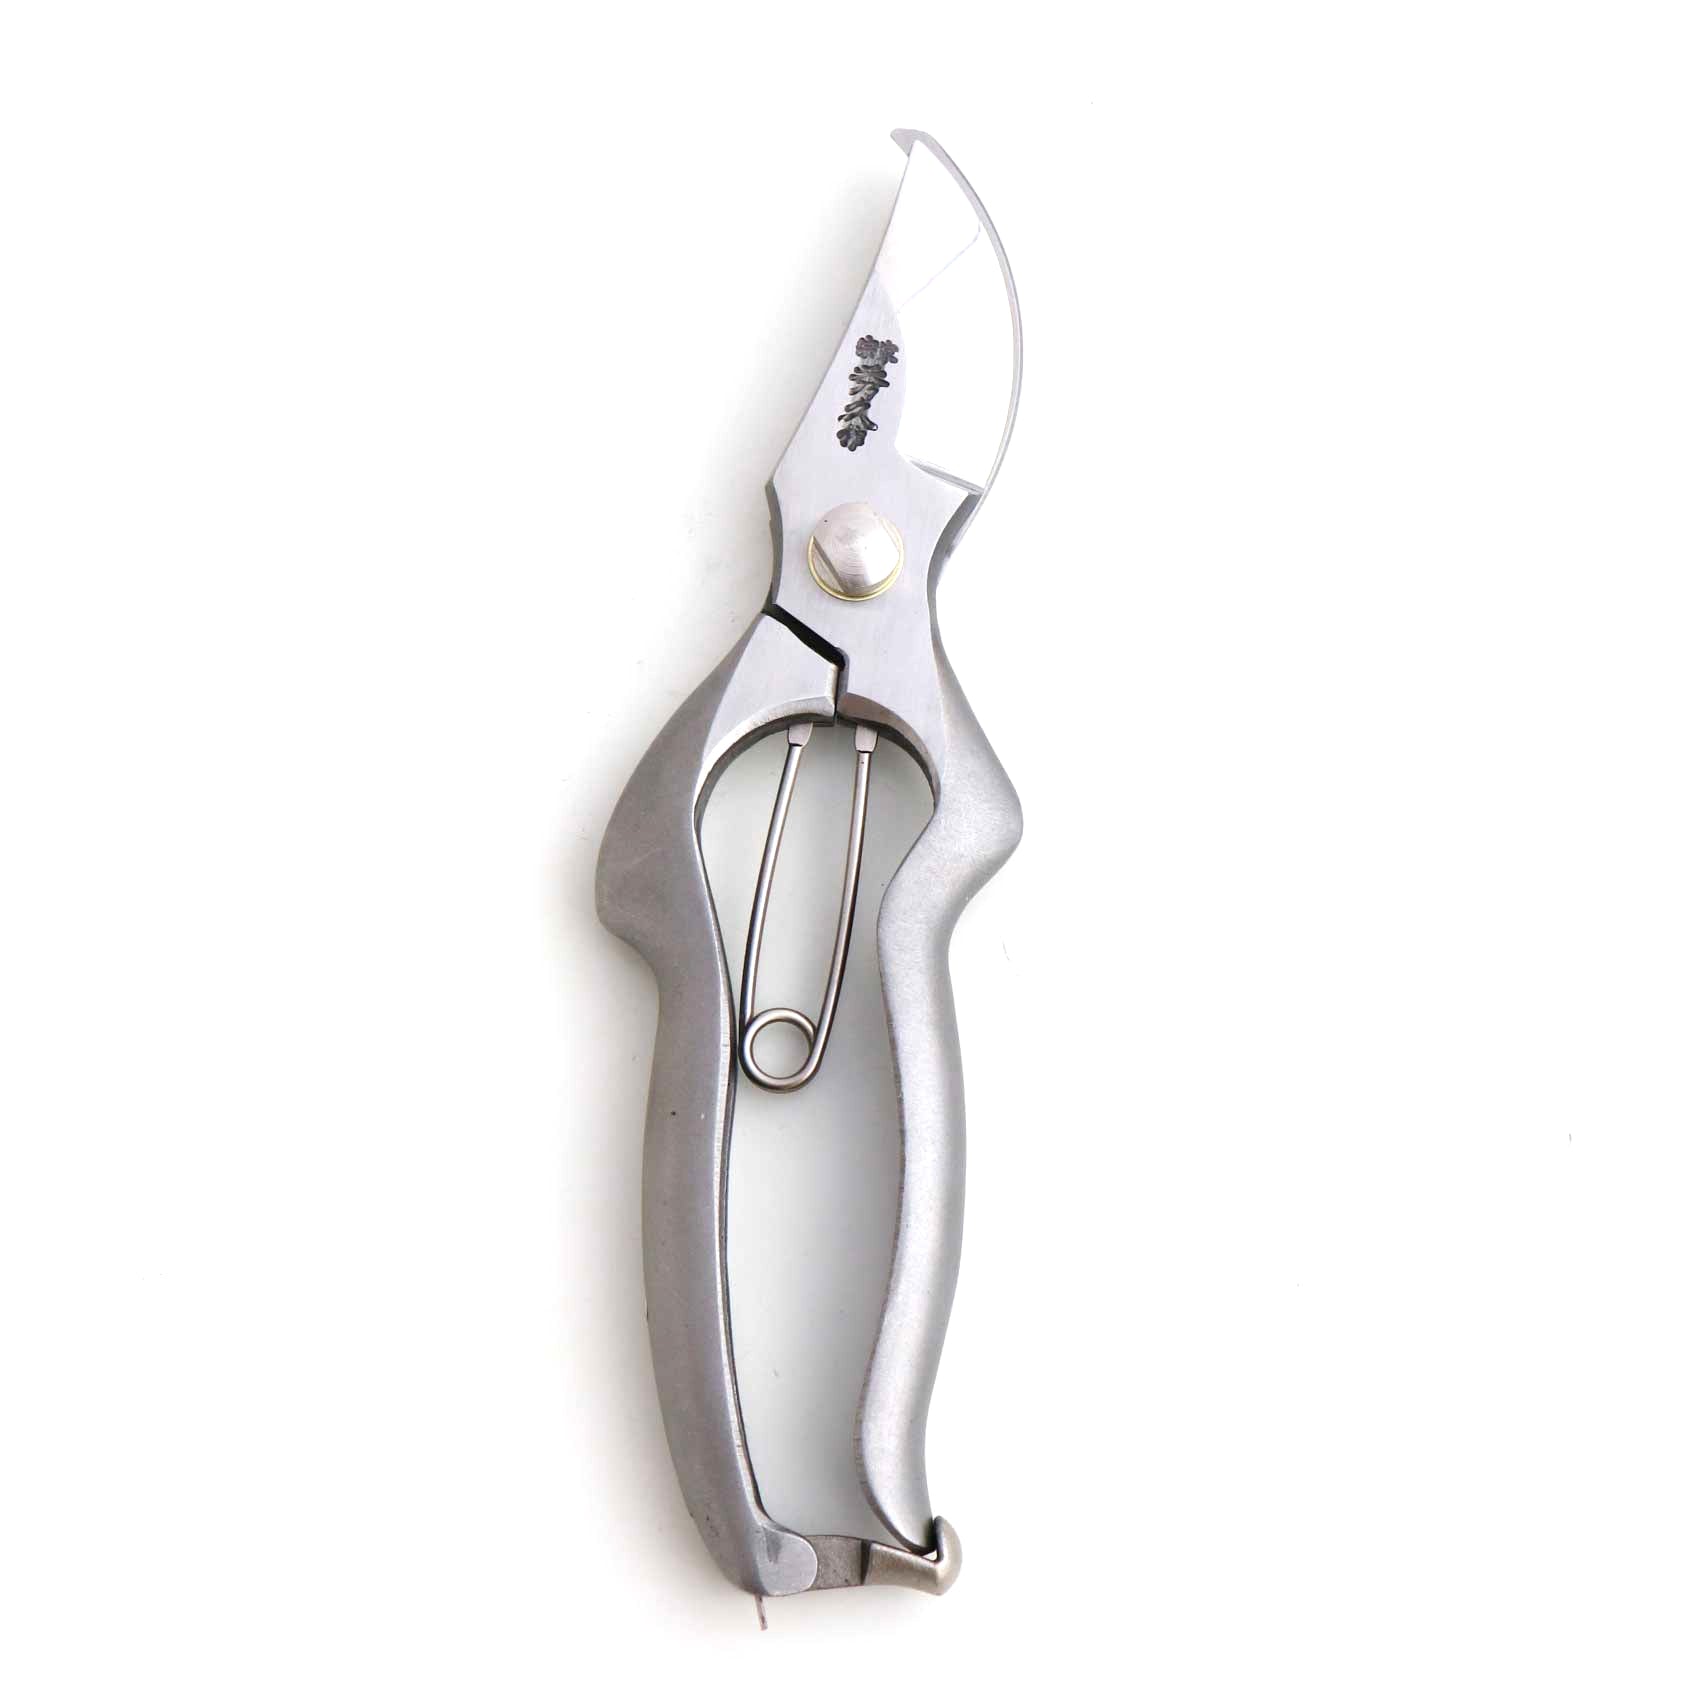
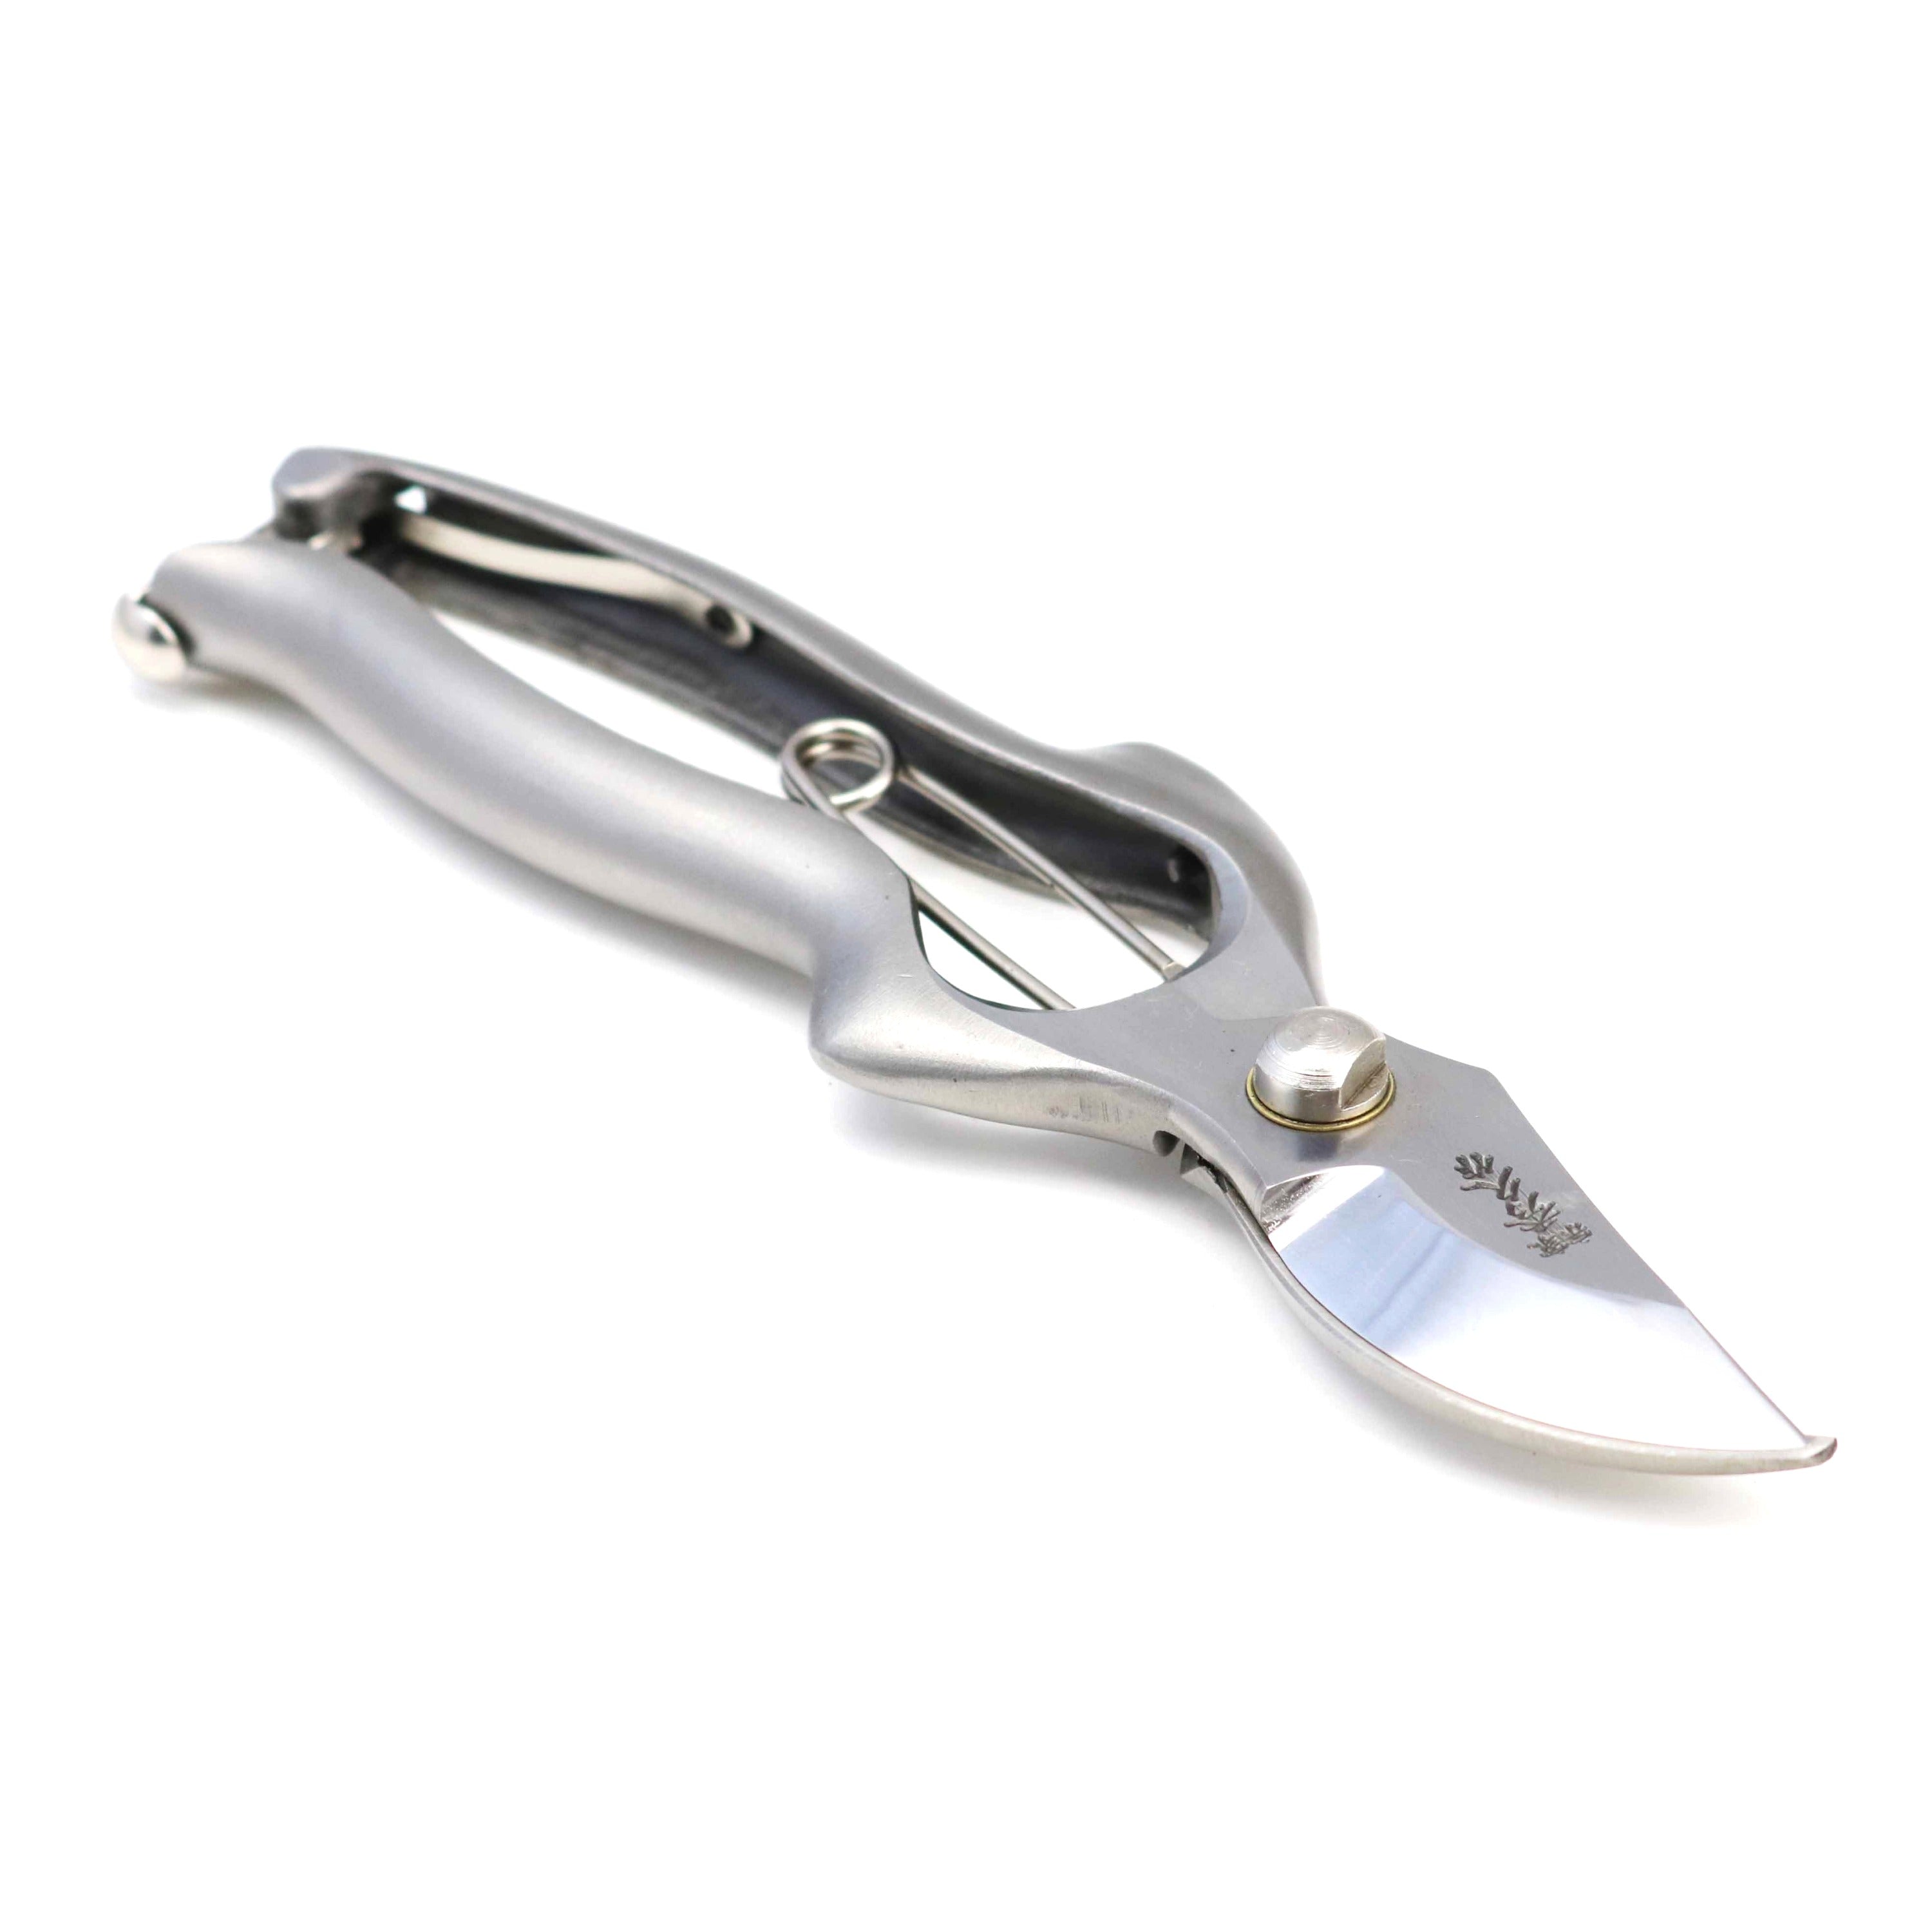
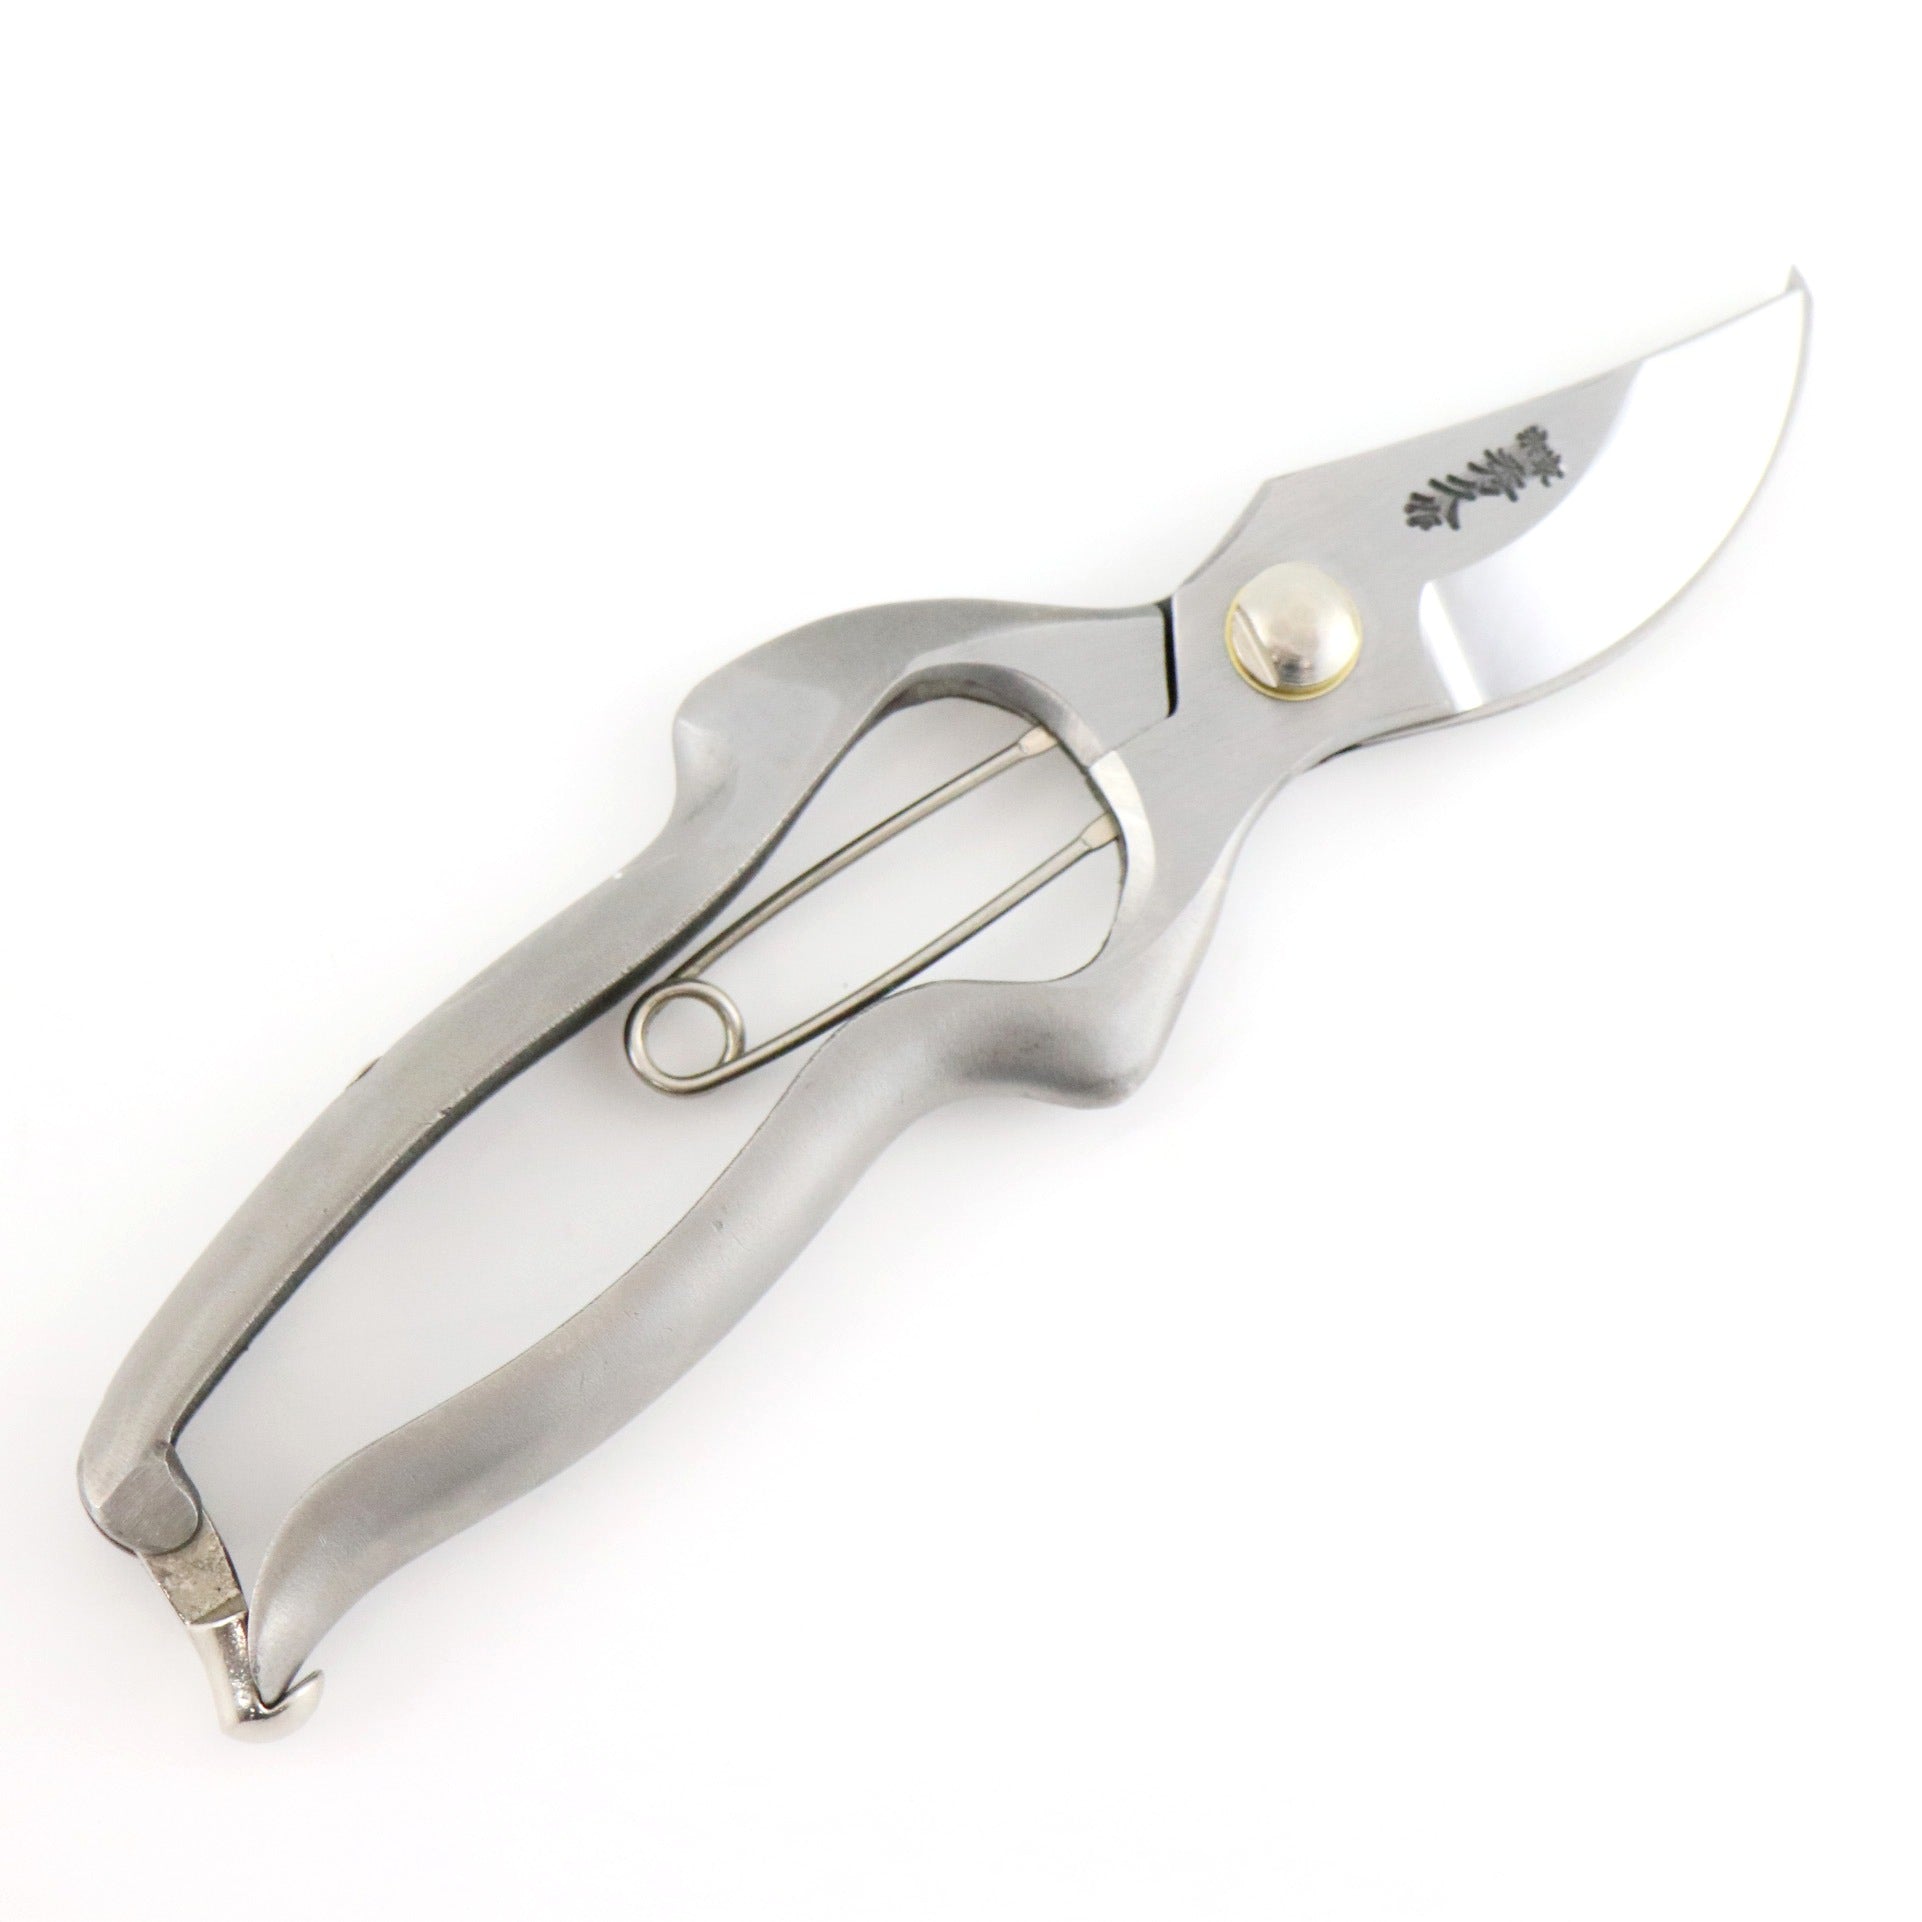
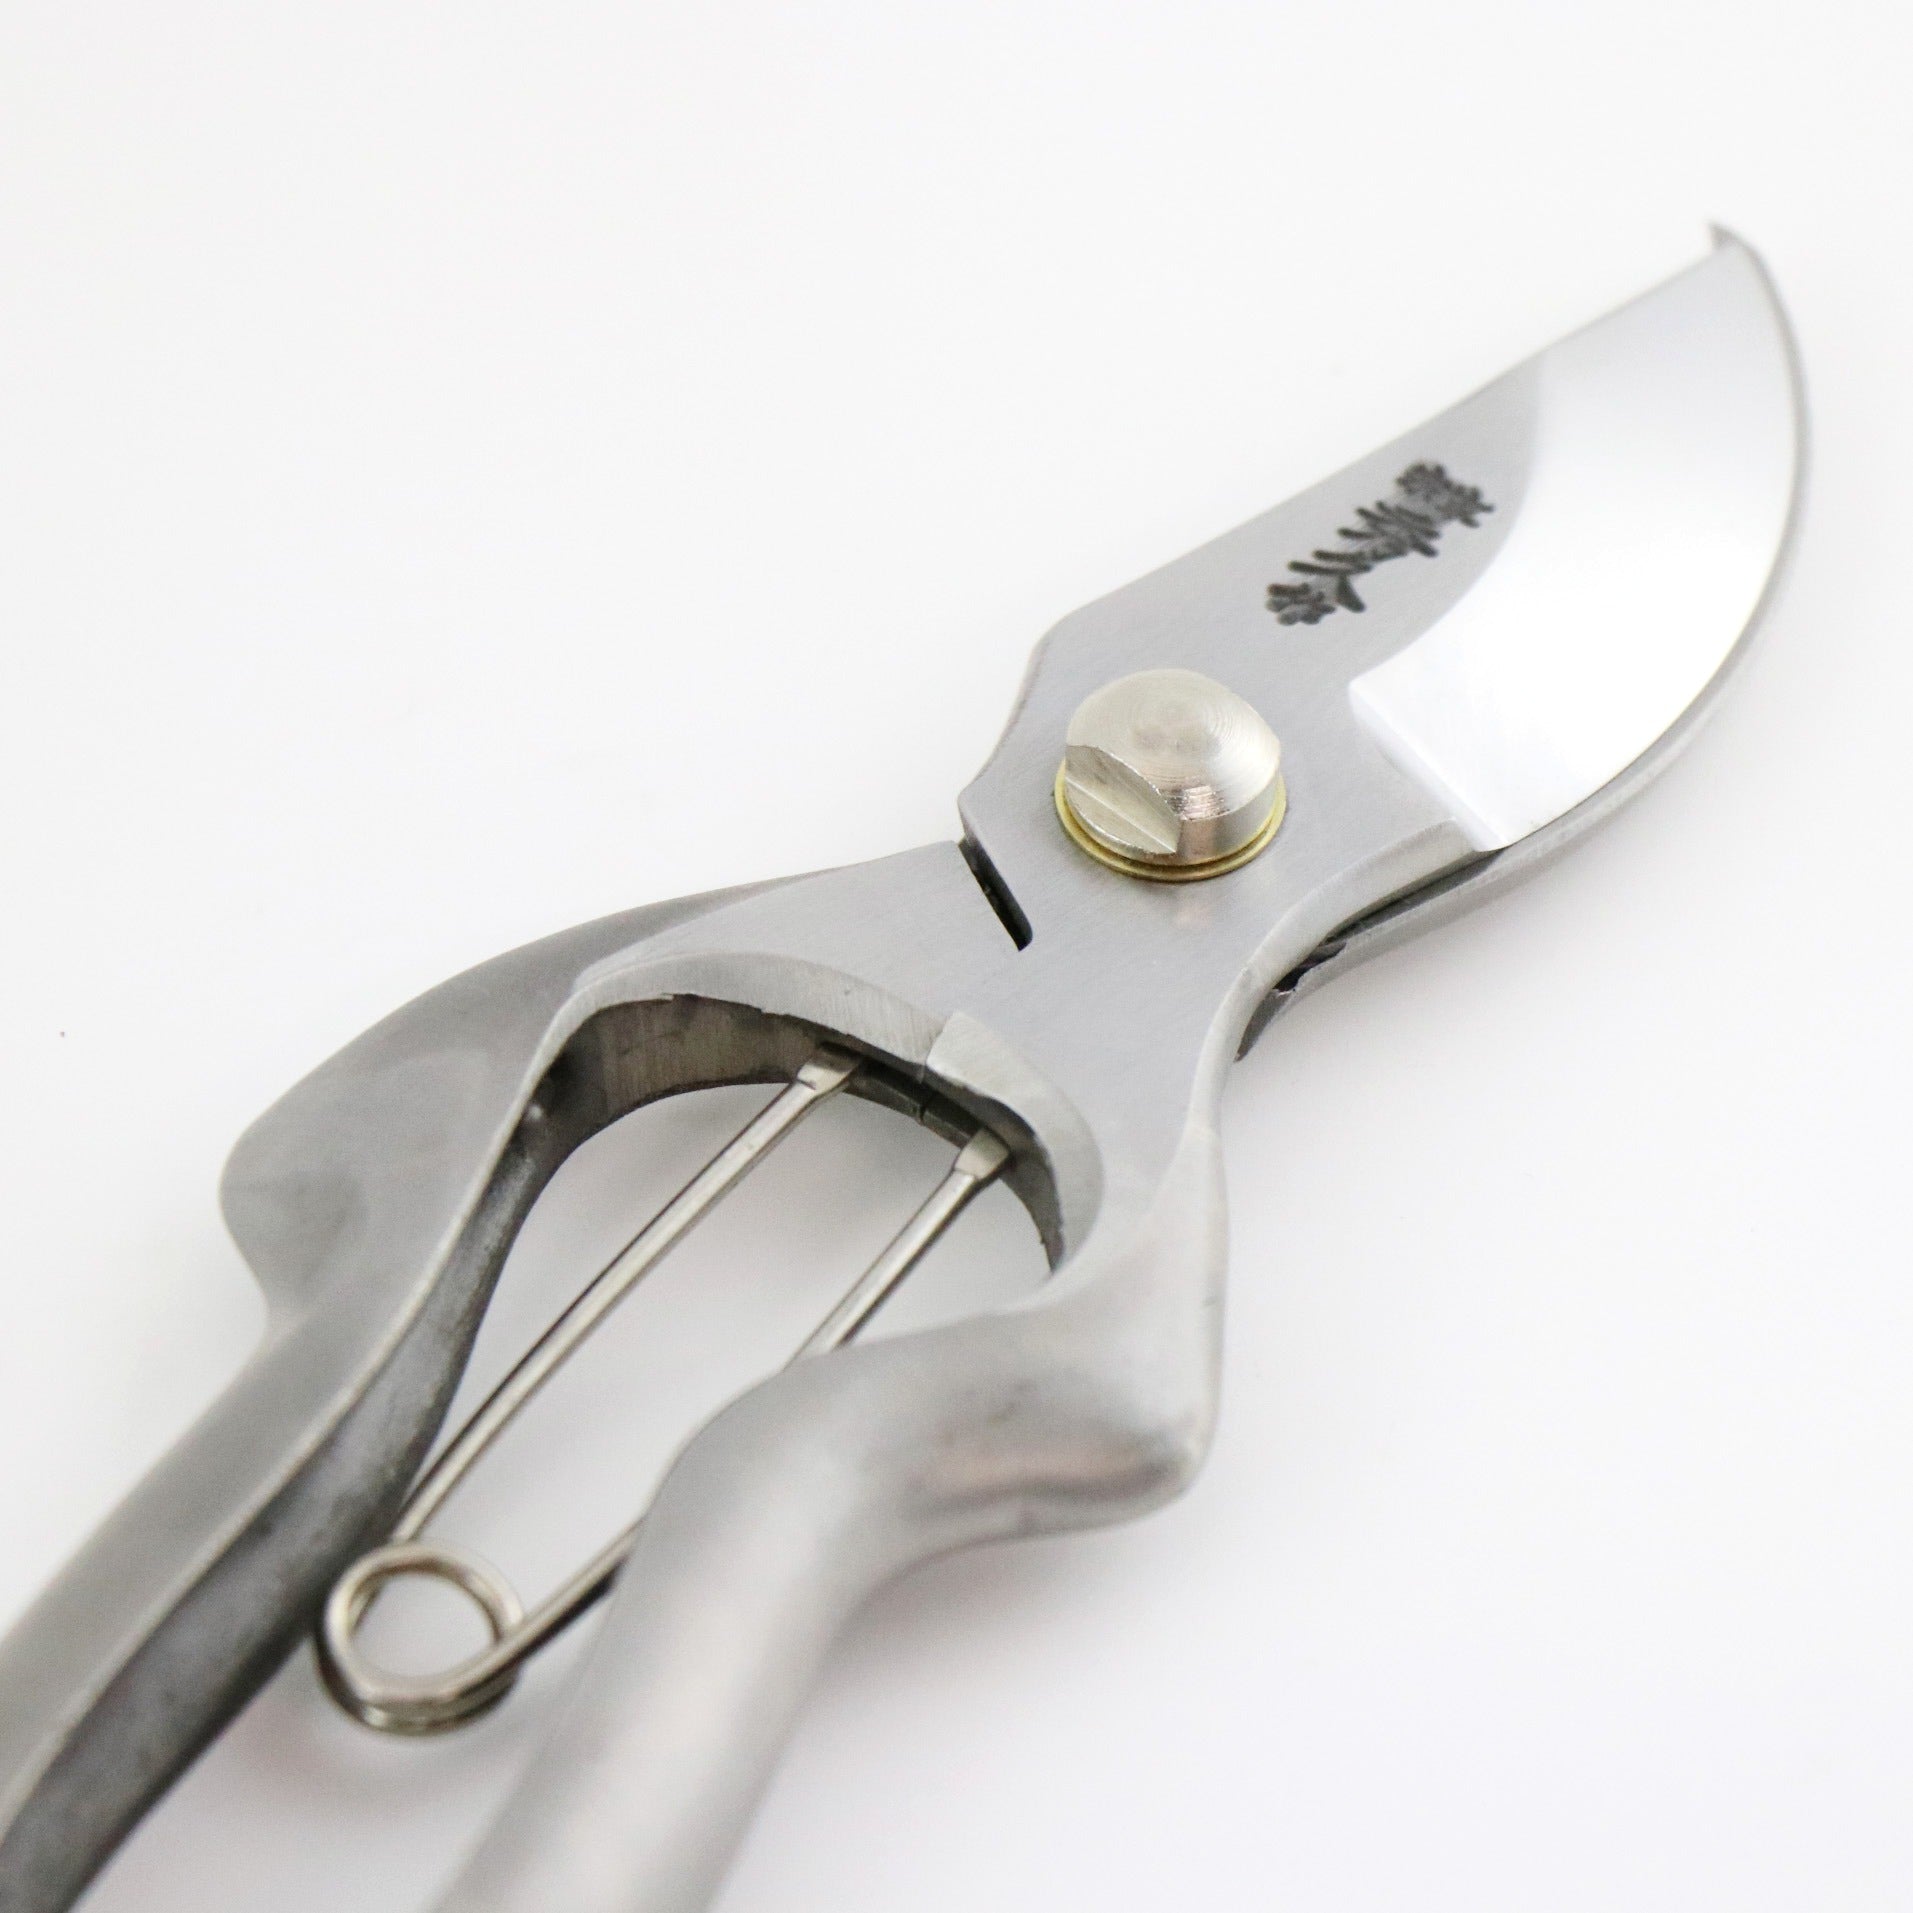
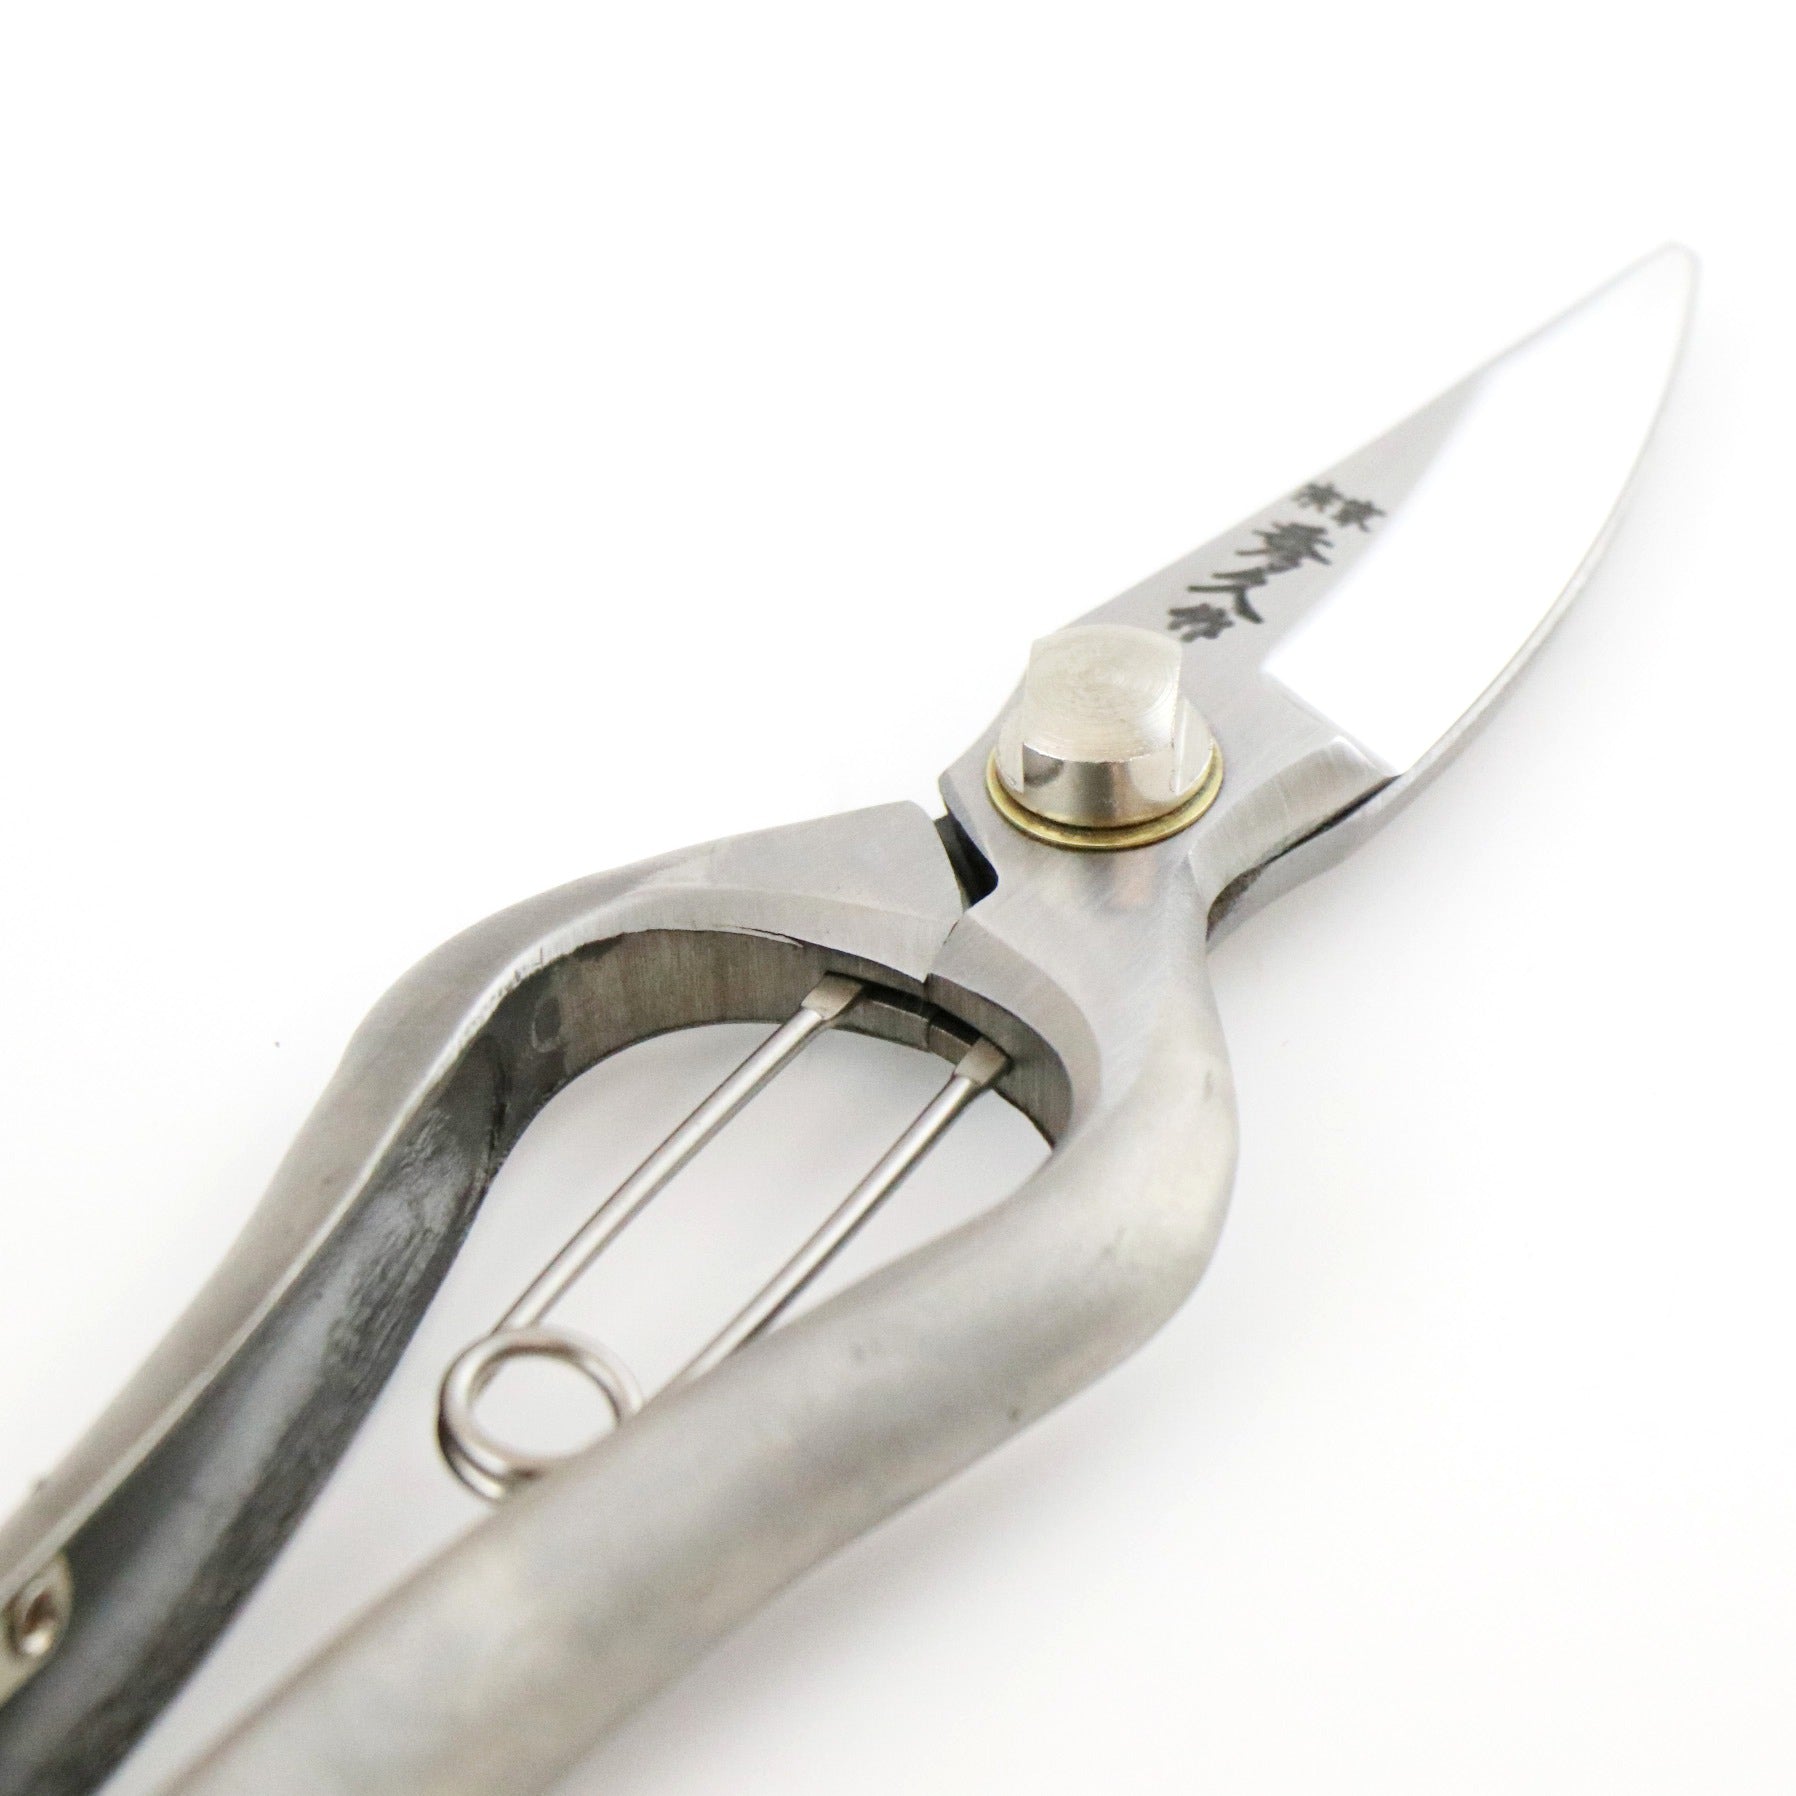
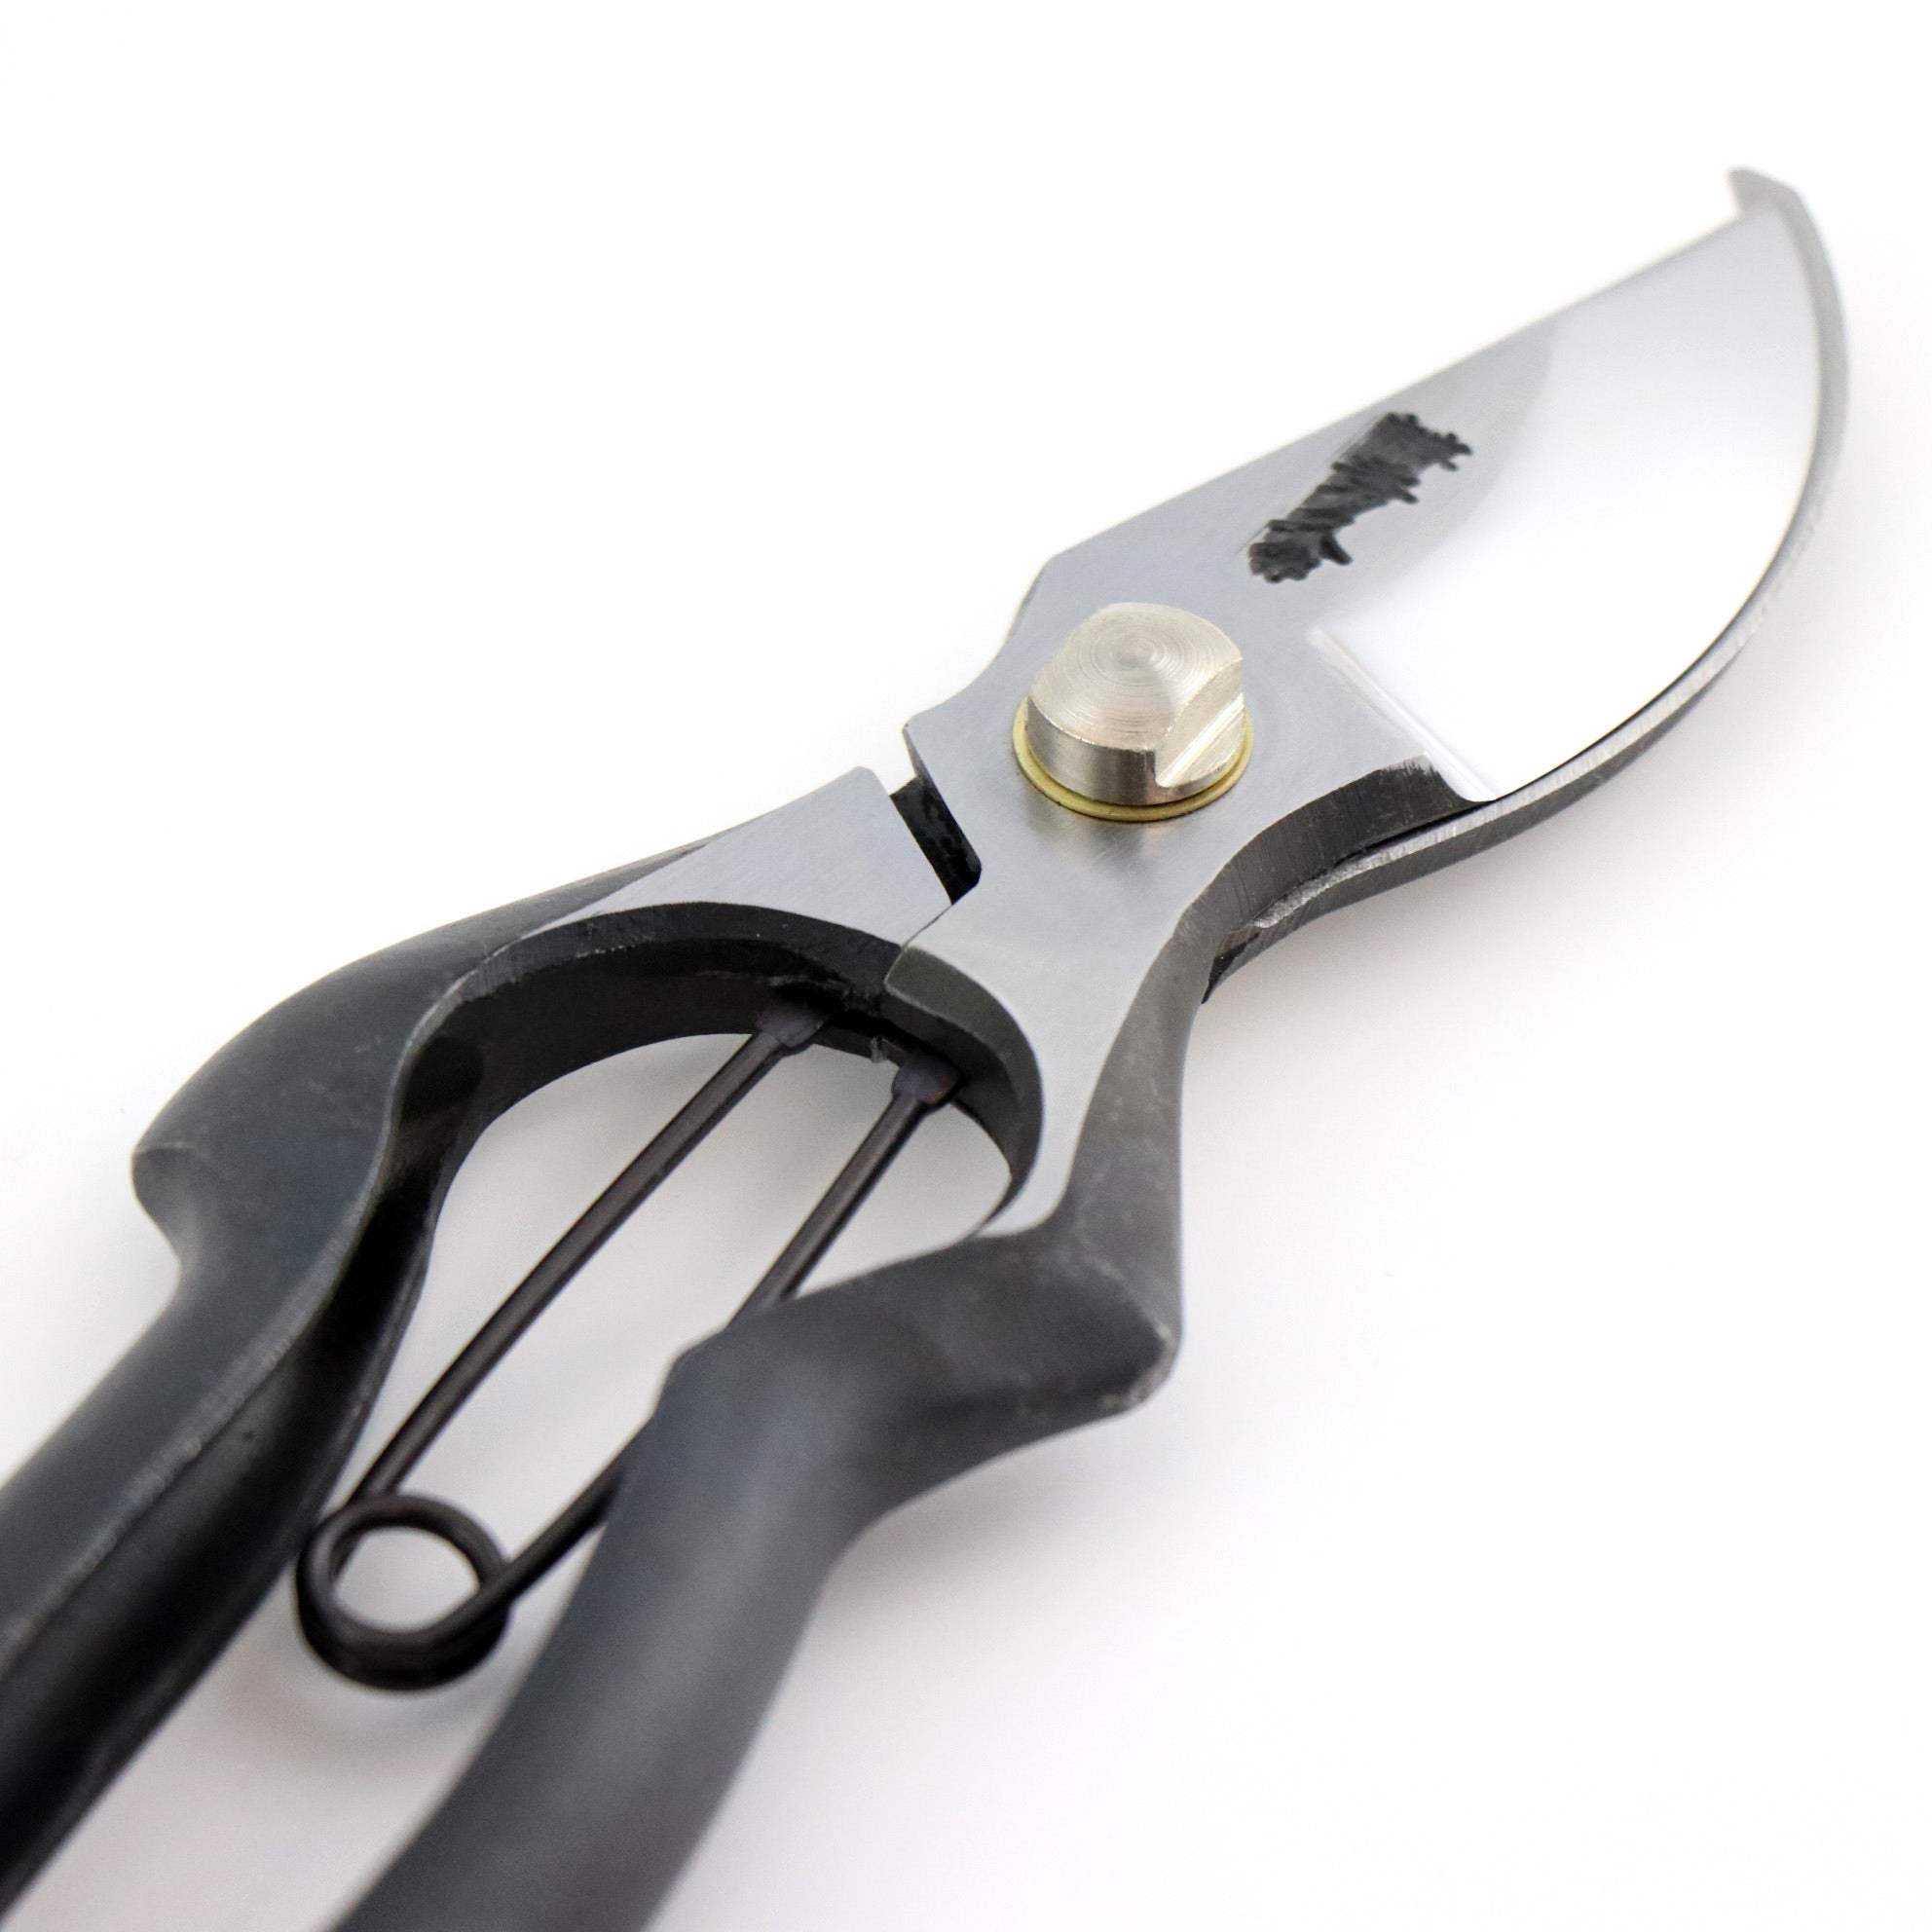
Photo: Close-up of the bolt side of a bolt-and-nut pivot on Japanese pruning shears.

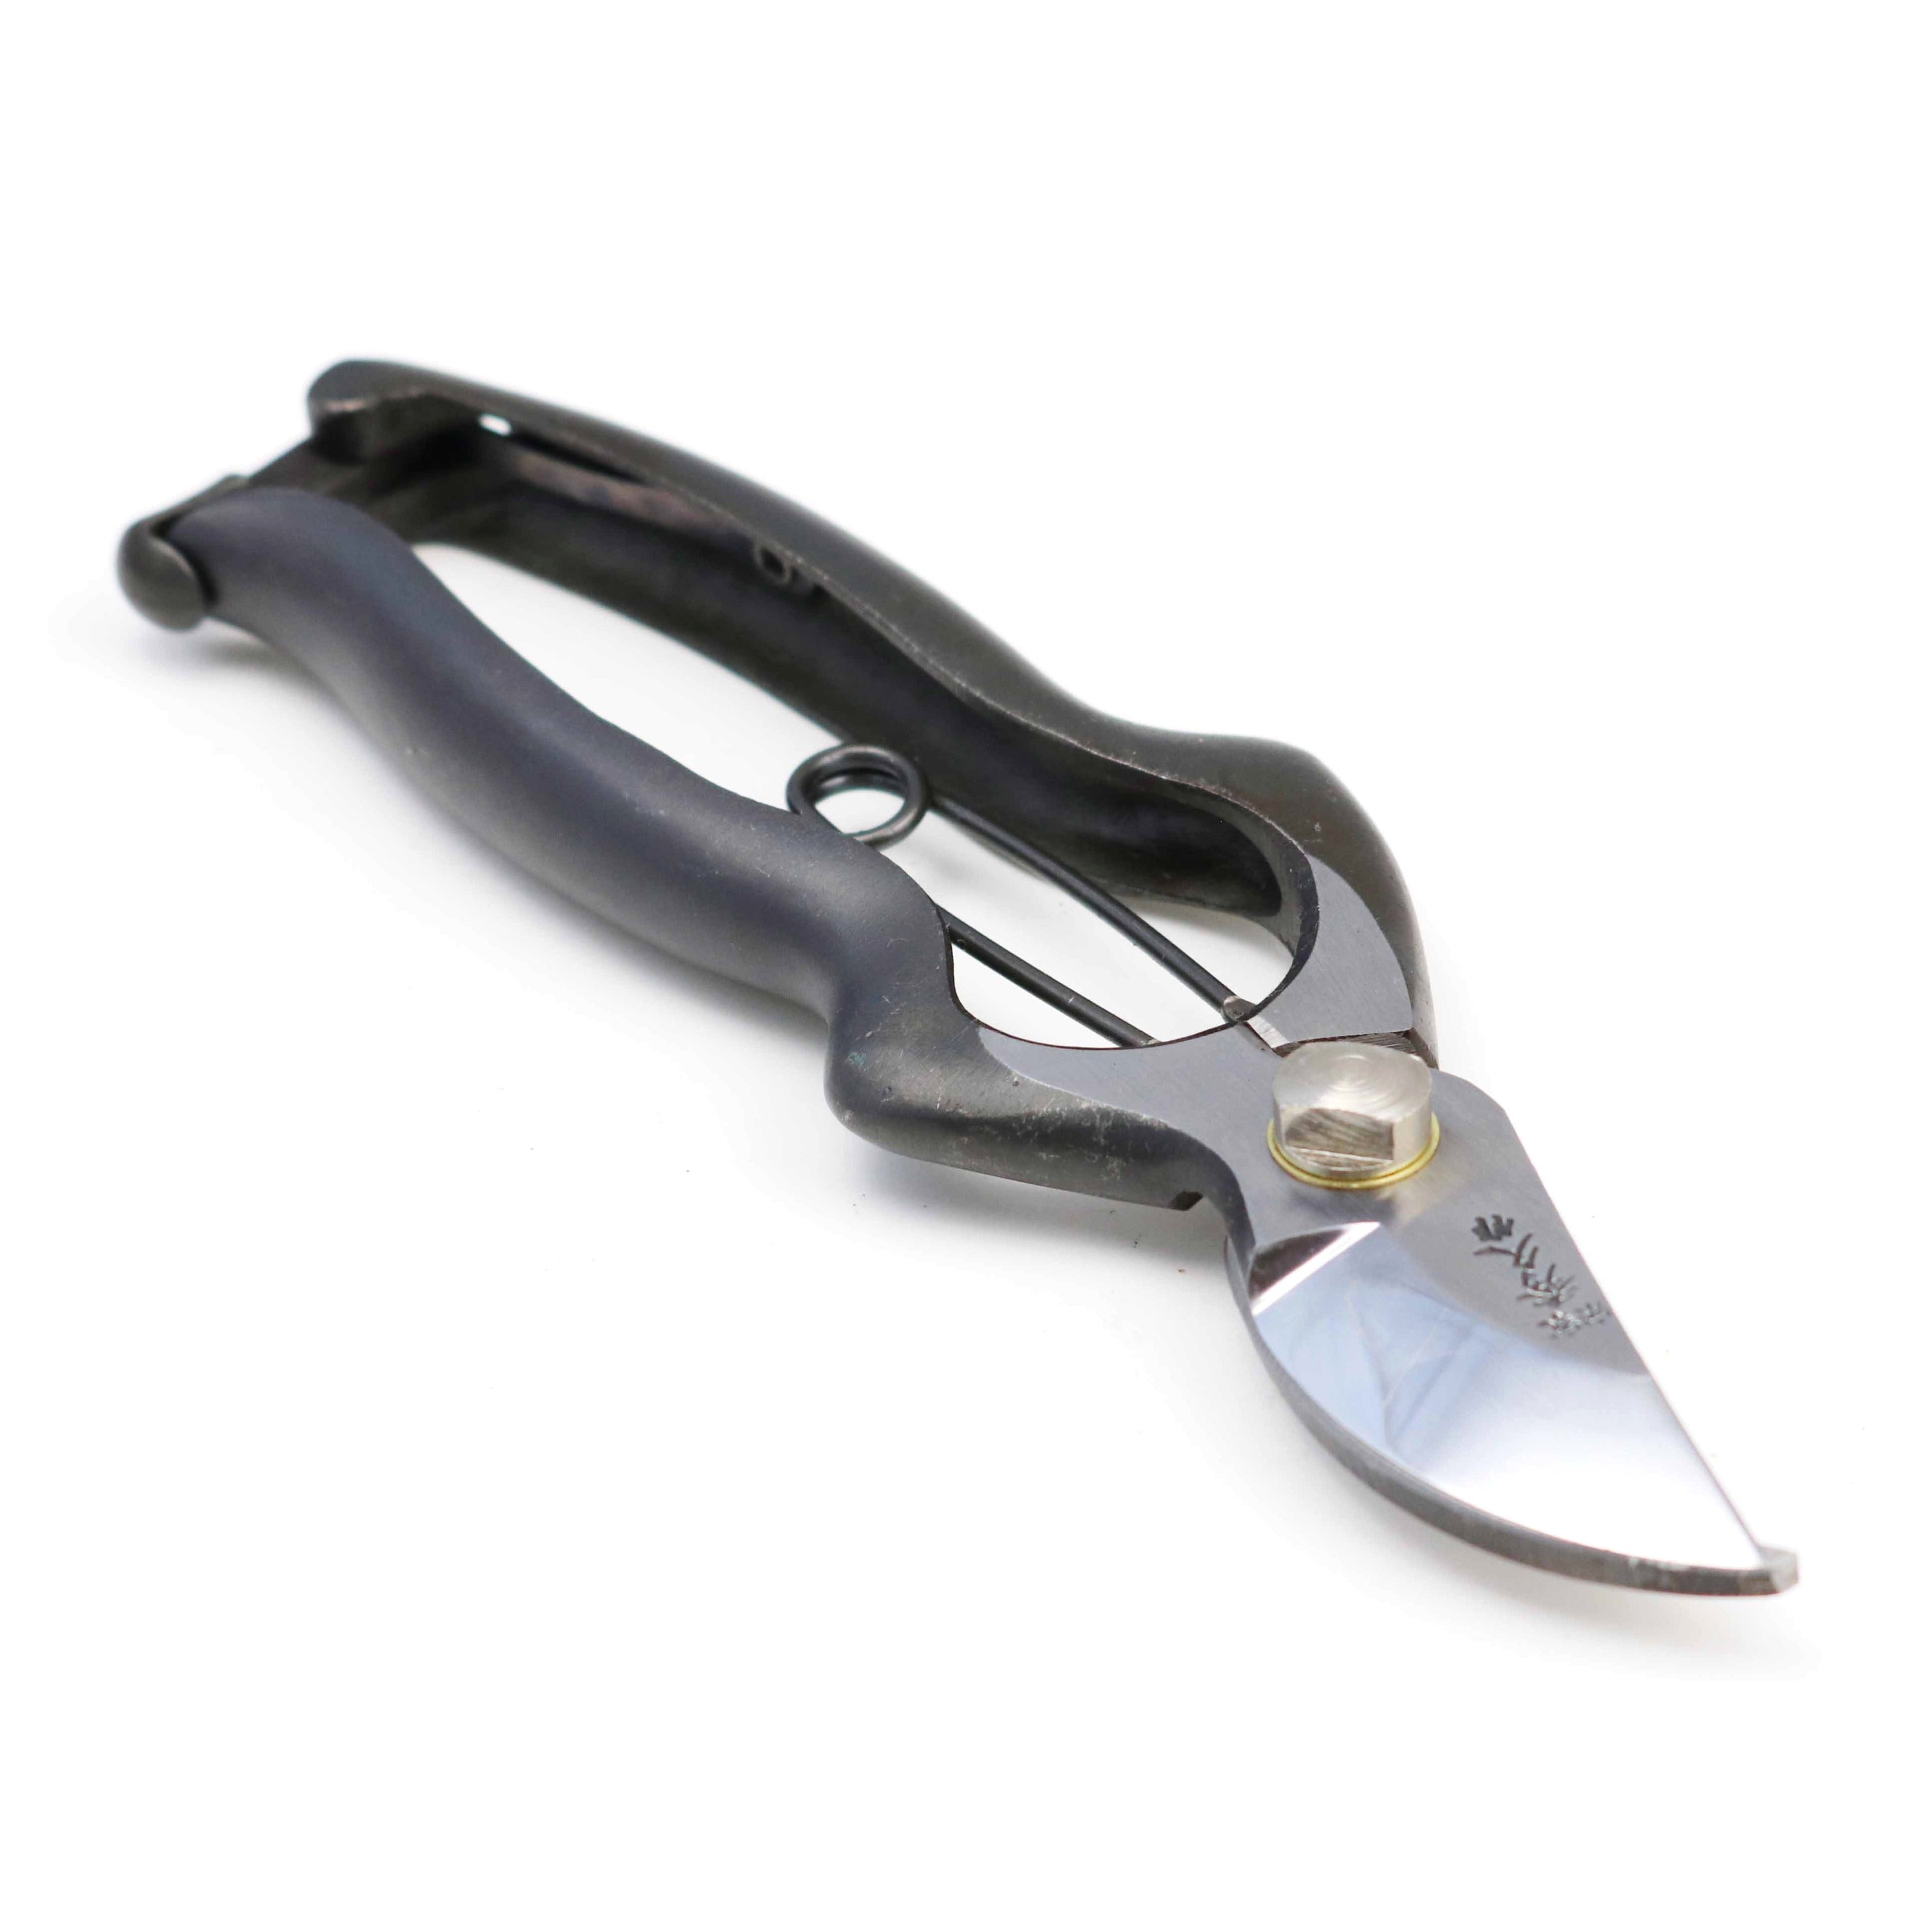
Photo: Close-up of the nut side of a bolt-and-nut pivot on Japanese pruning shears.
Why Loosening the Nut Alone Does Not Adjust the Blade Action
On Toyama Hamono’s bolt-and-nut pruning shears, the hole in the receiving blade is threaded. The pivot bolt screws directly into that blade, while the cutting blade turns around the short, smooth, unthreaded section of the bolt.
This means the blade action is not set by simply loosening the outer nut. The nut locks the assembly; the working clearance for the cutting blade is adjusted at the bolt.
That distinction is important. Loosening the nut alone does not correctly set the pivot and can leave the assembly improperly secured.
Wrench Sizes for Selected Toyama Hamono Models
Use correctly sized metric wrenches. Sizes for other models may differ.
| Model | Bolt side | Nut side |
|---|---|---|
| T513 | 11 mm | 9 mm |
| T19 / T17 | 10 mm | 9 mm |
Do not use an impact driver. Excessive force can damage the threads quickly. A correctly sized fixed wrench is preferable to a loose-fitting adjustable wrench, which can round the bolt or nut and may slip near the sharpened blades.
Replacement pivot hardware is model-specific, so confirm compatibility with your model before ordering.
How to Set the Pivot Clearance
- Remove the spring. Remove the spring according to your model before adjusting the pivot. This lets you feel the joint without spring tension affecting the movement.
- Note the current action. Open and close the blades several times so you have a reference for how the adjustment changes the feel.
- Tighten the pivot bolt fully with the correct hand wrench. Do not use a power tool. Tighten the bolt until it is fully seated. The blades may become effectively locked at this point. This fully tightened position is only a temporary reference point for the adjustment.
- Tighten the nut securely. With the bolt fully seated, tighten the nut firmly.
- Hold the nut stationary. Keep the 9 mm nut from turning with its wrench.
- Back the bolt off very slightly. While holding the nut stationary, turn the bolt back by a very small amount. This creates the minute working clearance that allows the cutting blade to move around the smooth section of the bolt. Adjust in very small increments. Before the spring is fitted, the action should still feel slightly firm rather than completely loose.
- Refit the spring and check the final action. Reinstall the spring and open and close the shears several times. Judge the final setting with the spring installed. The tool should open and close smoothly without excessive side play at the pivot.
On Toyama Hamono’s bolt-and-nut pruning shears, do not try to correct stiff action simply by loosening the nut. The final adjustment is made at the bolt.
When to Stop Adjusting the Pivot
Stop if the blade is bent, the rivet head is cracked or badly deformed, the bolt or nut is visibly damaged, or the threads do not engage properly. Also stop if the joint cannot be supported securely or if a small adjustment produces unpredictable movement.
Do not compensate for damaged parts by using more force.
Common Pivot Adjustment Mistakes
- Sharpening before checking the pivot: a loose joint can prevent correct blade contact.
- Peening with the blades separated: this can tighten a kashime into poor alignment.
- Striking one point repeatedly: tighten a kashime progressively around the circumference.
- Over-peening: removing every trace of movement can make the shears bind.
- Loosening only the nut: on Toyama Hamono bolt-and-nut pivots, the bolt sets the working clearance.
- Making large adjustments: both pivot systems respond to very small changes.
- Using an impact driver or poorly fitting wrench: excessive force or slipping tools can damage the hardware and cause injury.
Summary: Check the Pivot Before You Sharpen
A sharp edge works properly only when the two blades are held and guided correctly at the pivot. Check for excessive play, identify whether the joint is a kashime or bolt-and-nut pivot, and make only small, controlled adjustments.
With a kashime pivot, adjustment is made at the rivet. With Toyama Hamono’s bolt-and-nut pruning shears, the nut secures the assembly and the fine adjustment is made at the bolt.
If the pivot is correctly adjusted and cutting performance is still poor, continue with normal cleaning and sharpening care.




Share:
Why We Rethought the Pruning Shear Handle