
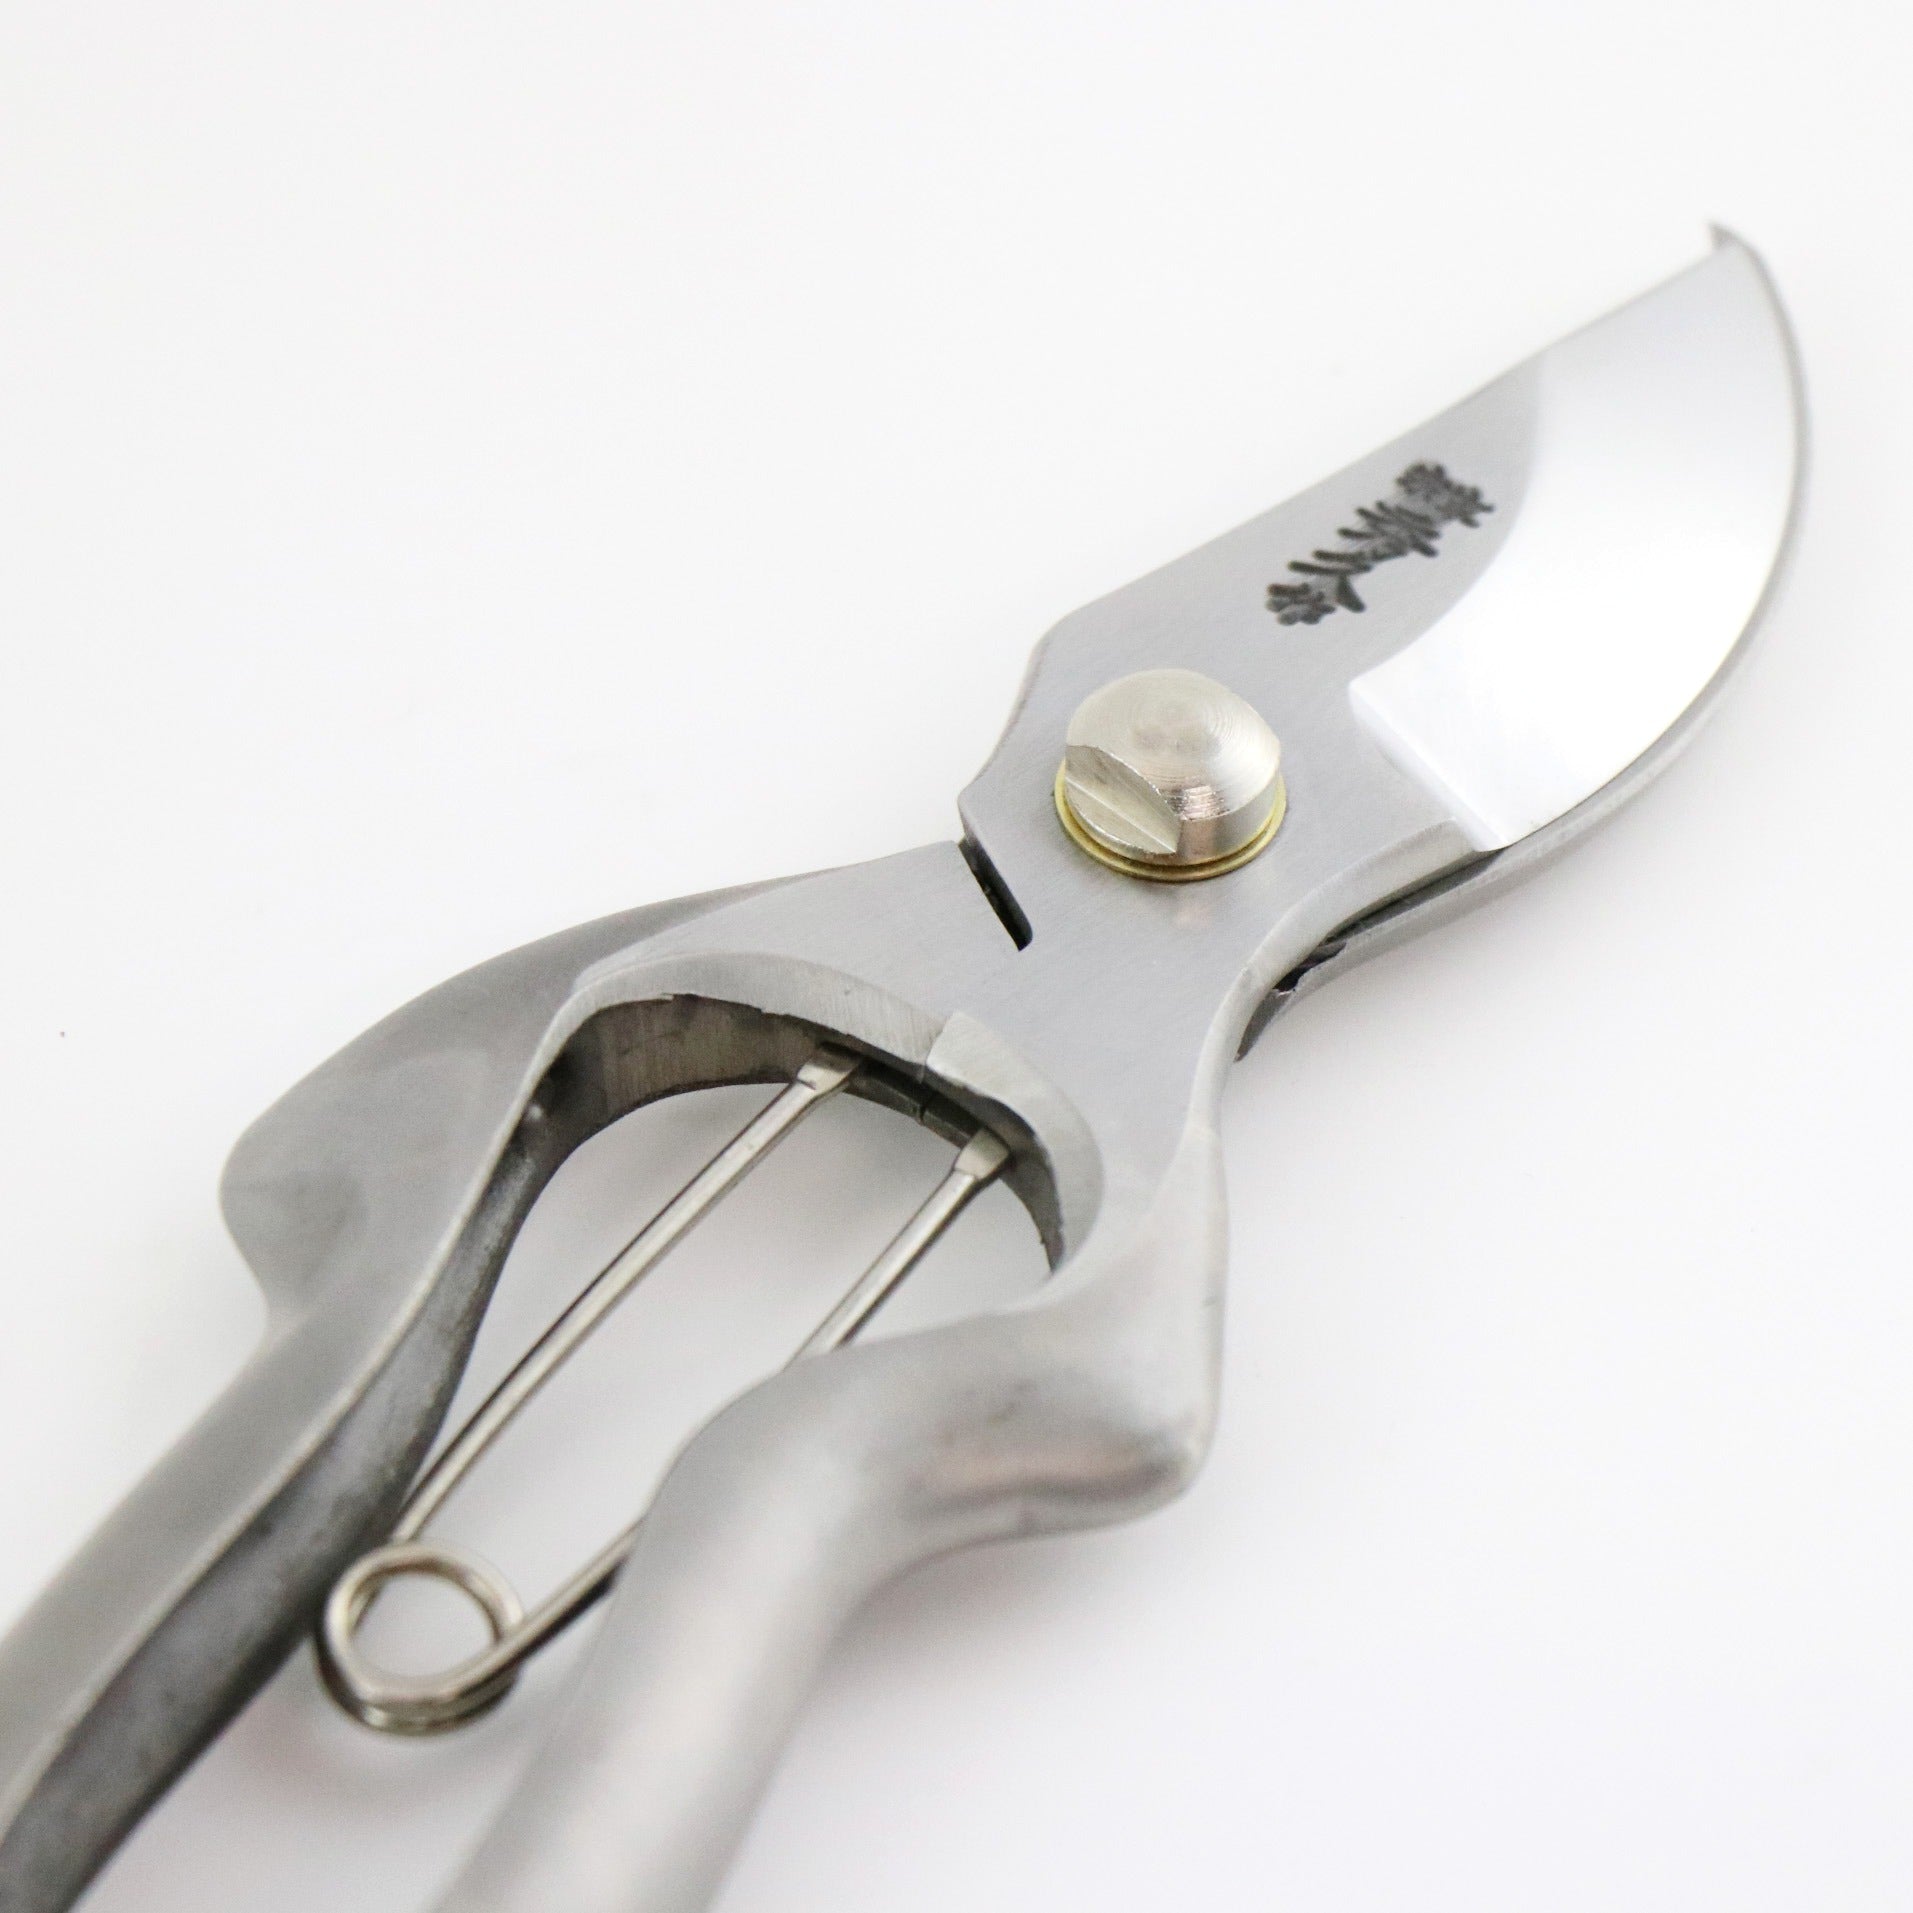
Most modern pruning shears have a spring. You close them, and the spring opens the blades again. Traditional Japanese garden shears do not work that way.
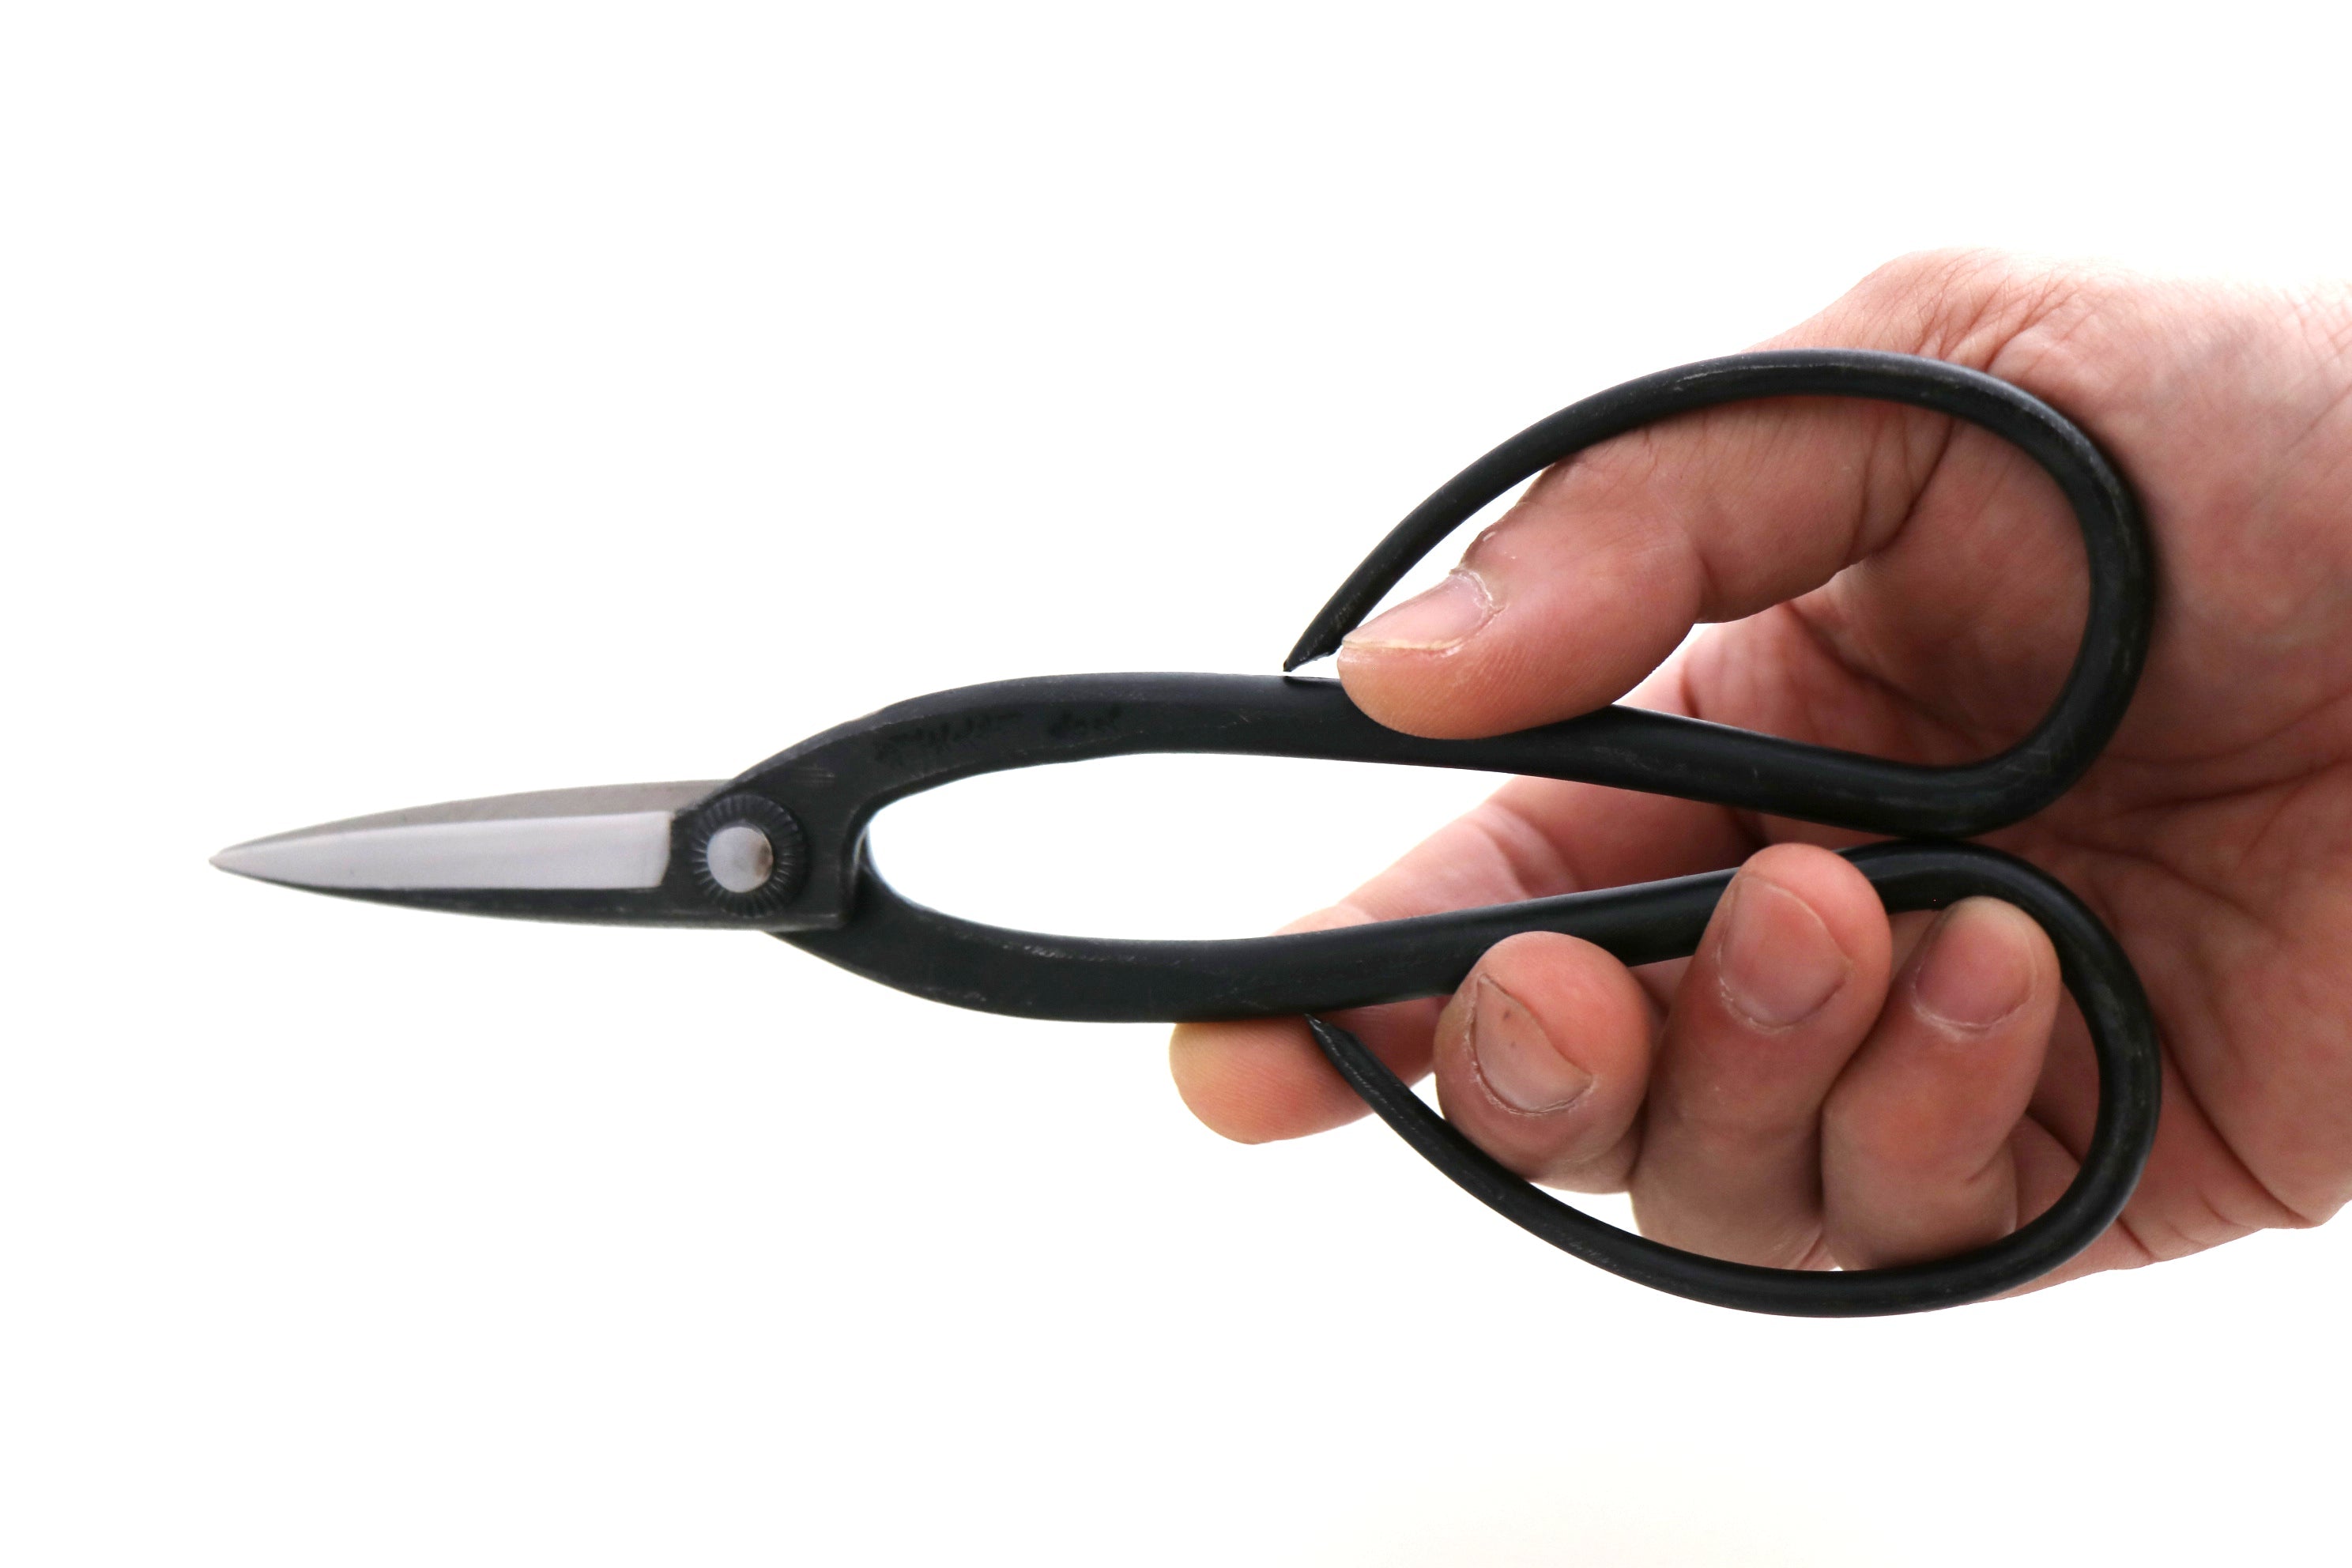
I exhibit at trade shows overseas, and when customers pick up our traditional shears to try them, I have noticed that most people hold the tool the same way. And it is not the way we hold it. They put all four fingers inside the looped handle. The loop is large enough to take four fingers, so it is an easy mistake to make. But when the shears are held like that, the wrist loses much of its range, and the blade tip becomes far harder to control.
What I recommend is simple. Keep your index finger outside the loop.
If you have used spring-loaded shears for years, there are two other things that feel strange at first. The blades do not open on their own, and you tend to grip the handles harder than necessary. Neither is a fault, and neither means the shears are stiff. The opening and closing motion simply belongs to your hand now.
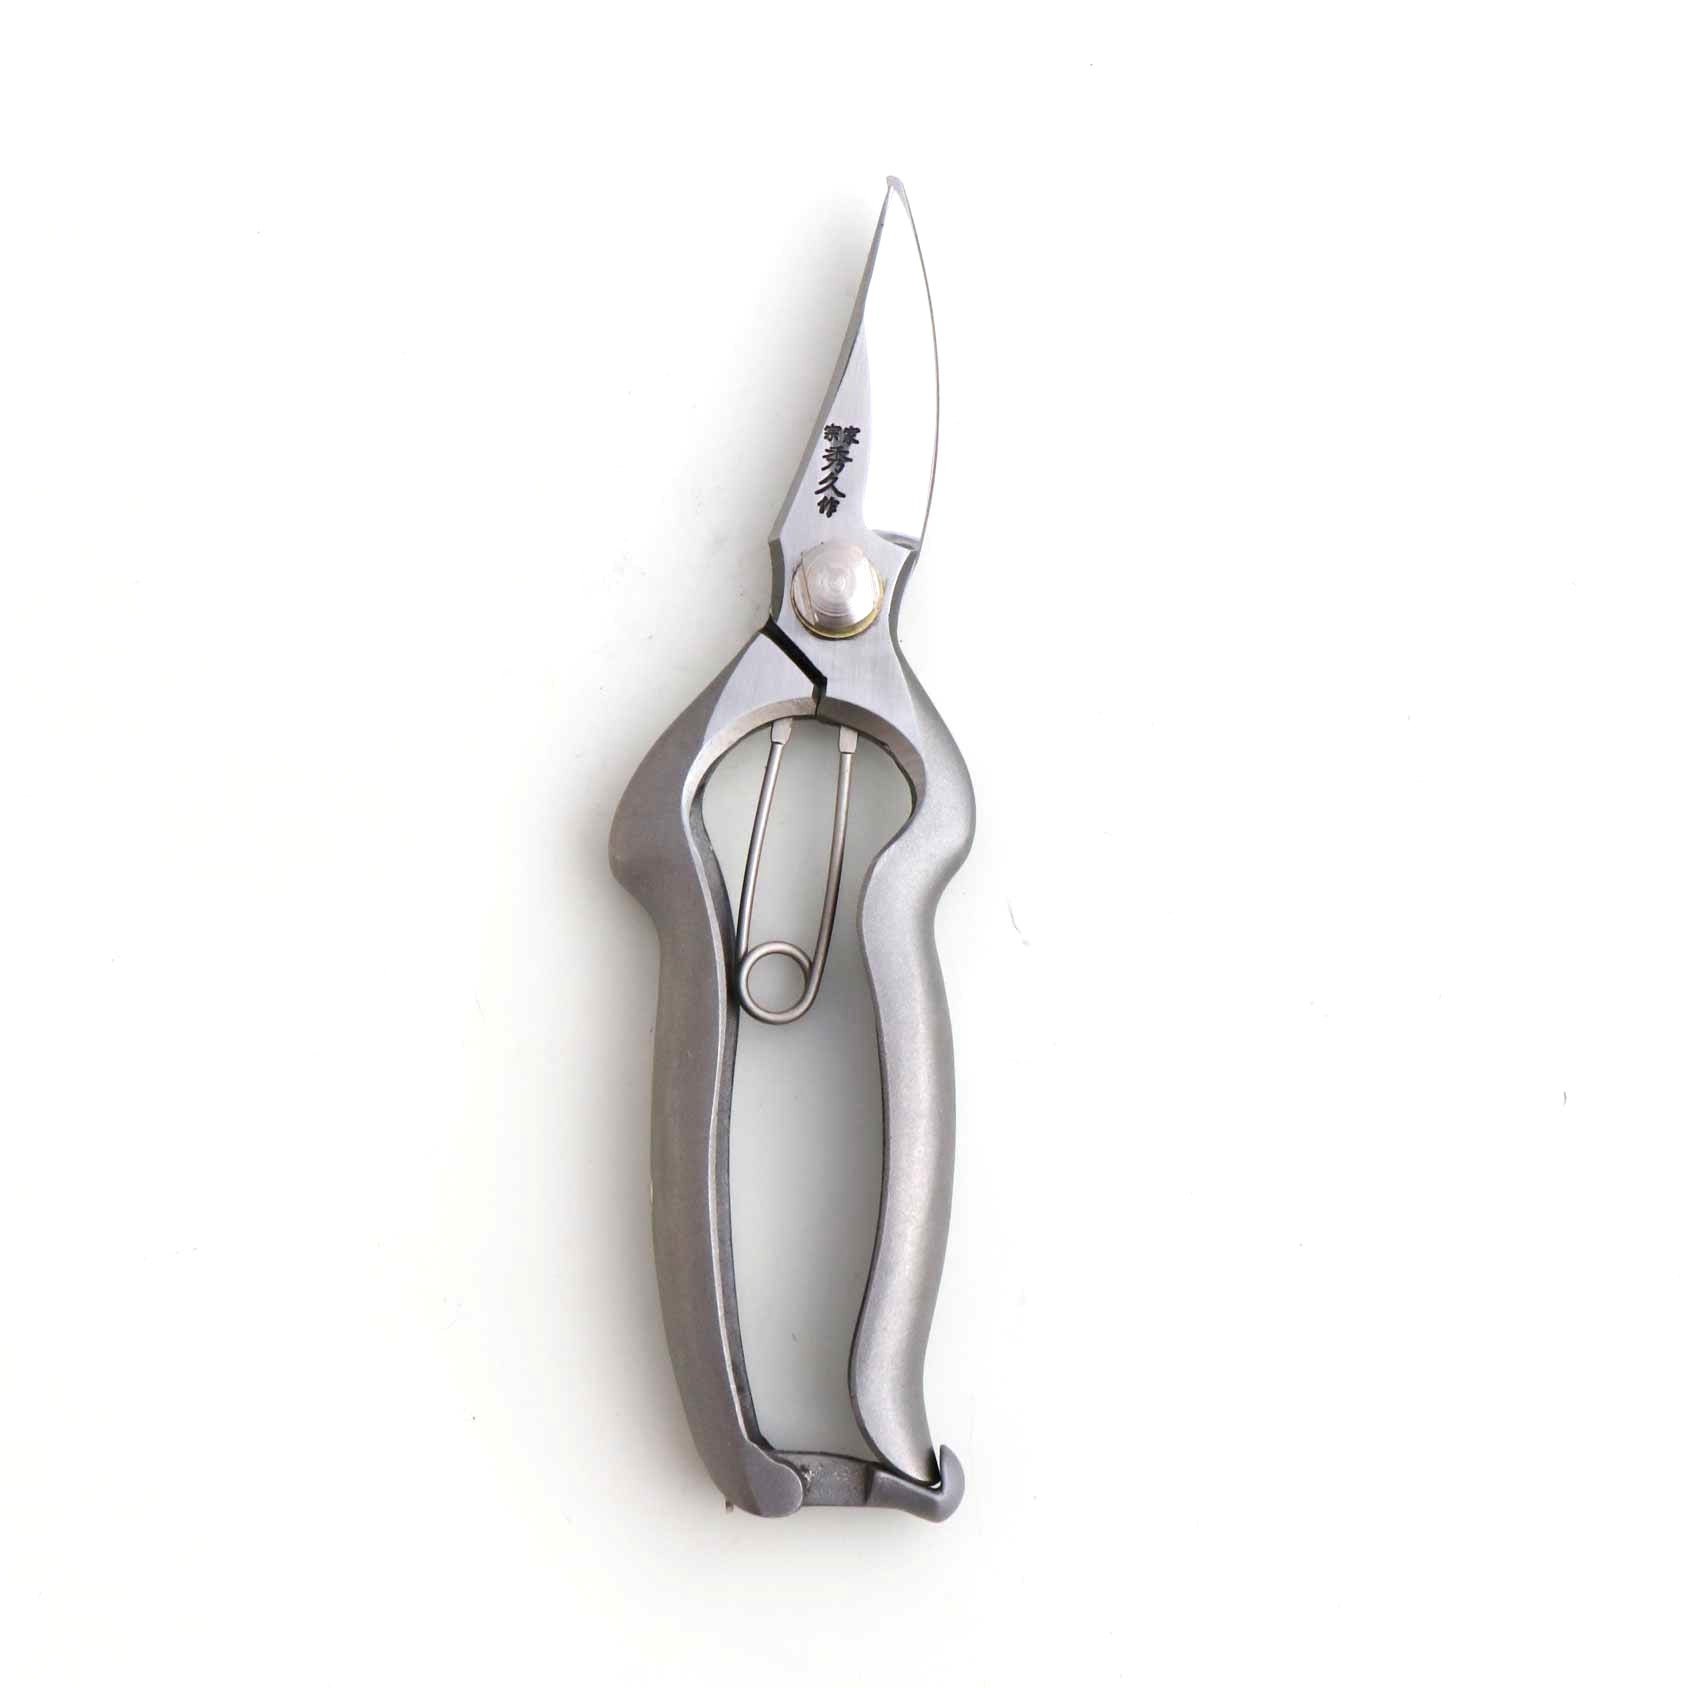
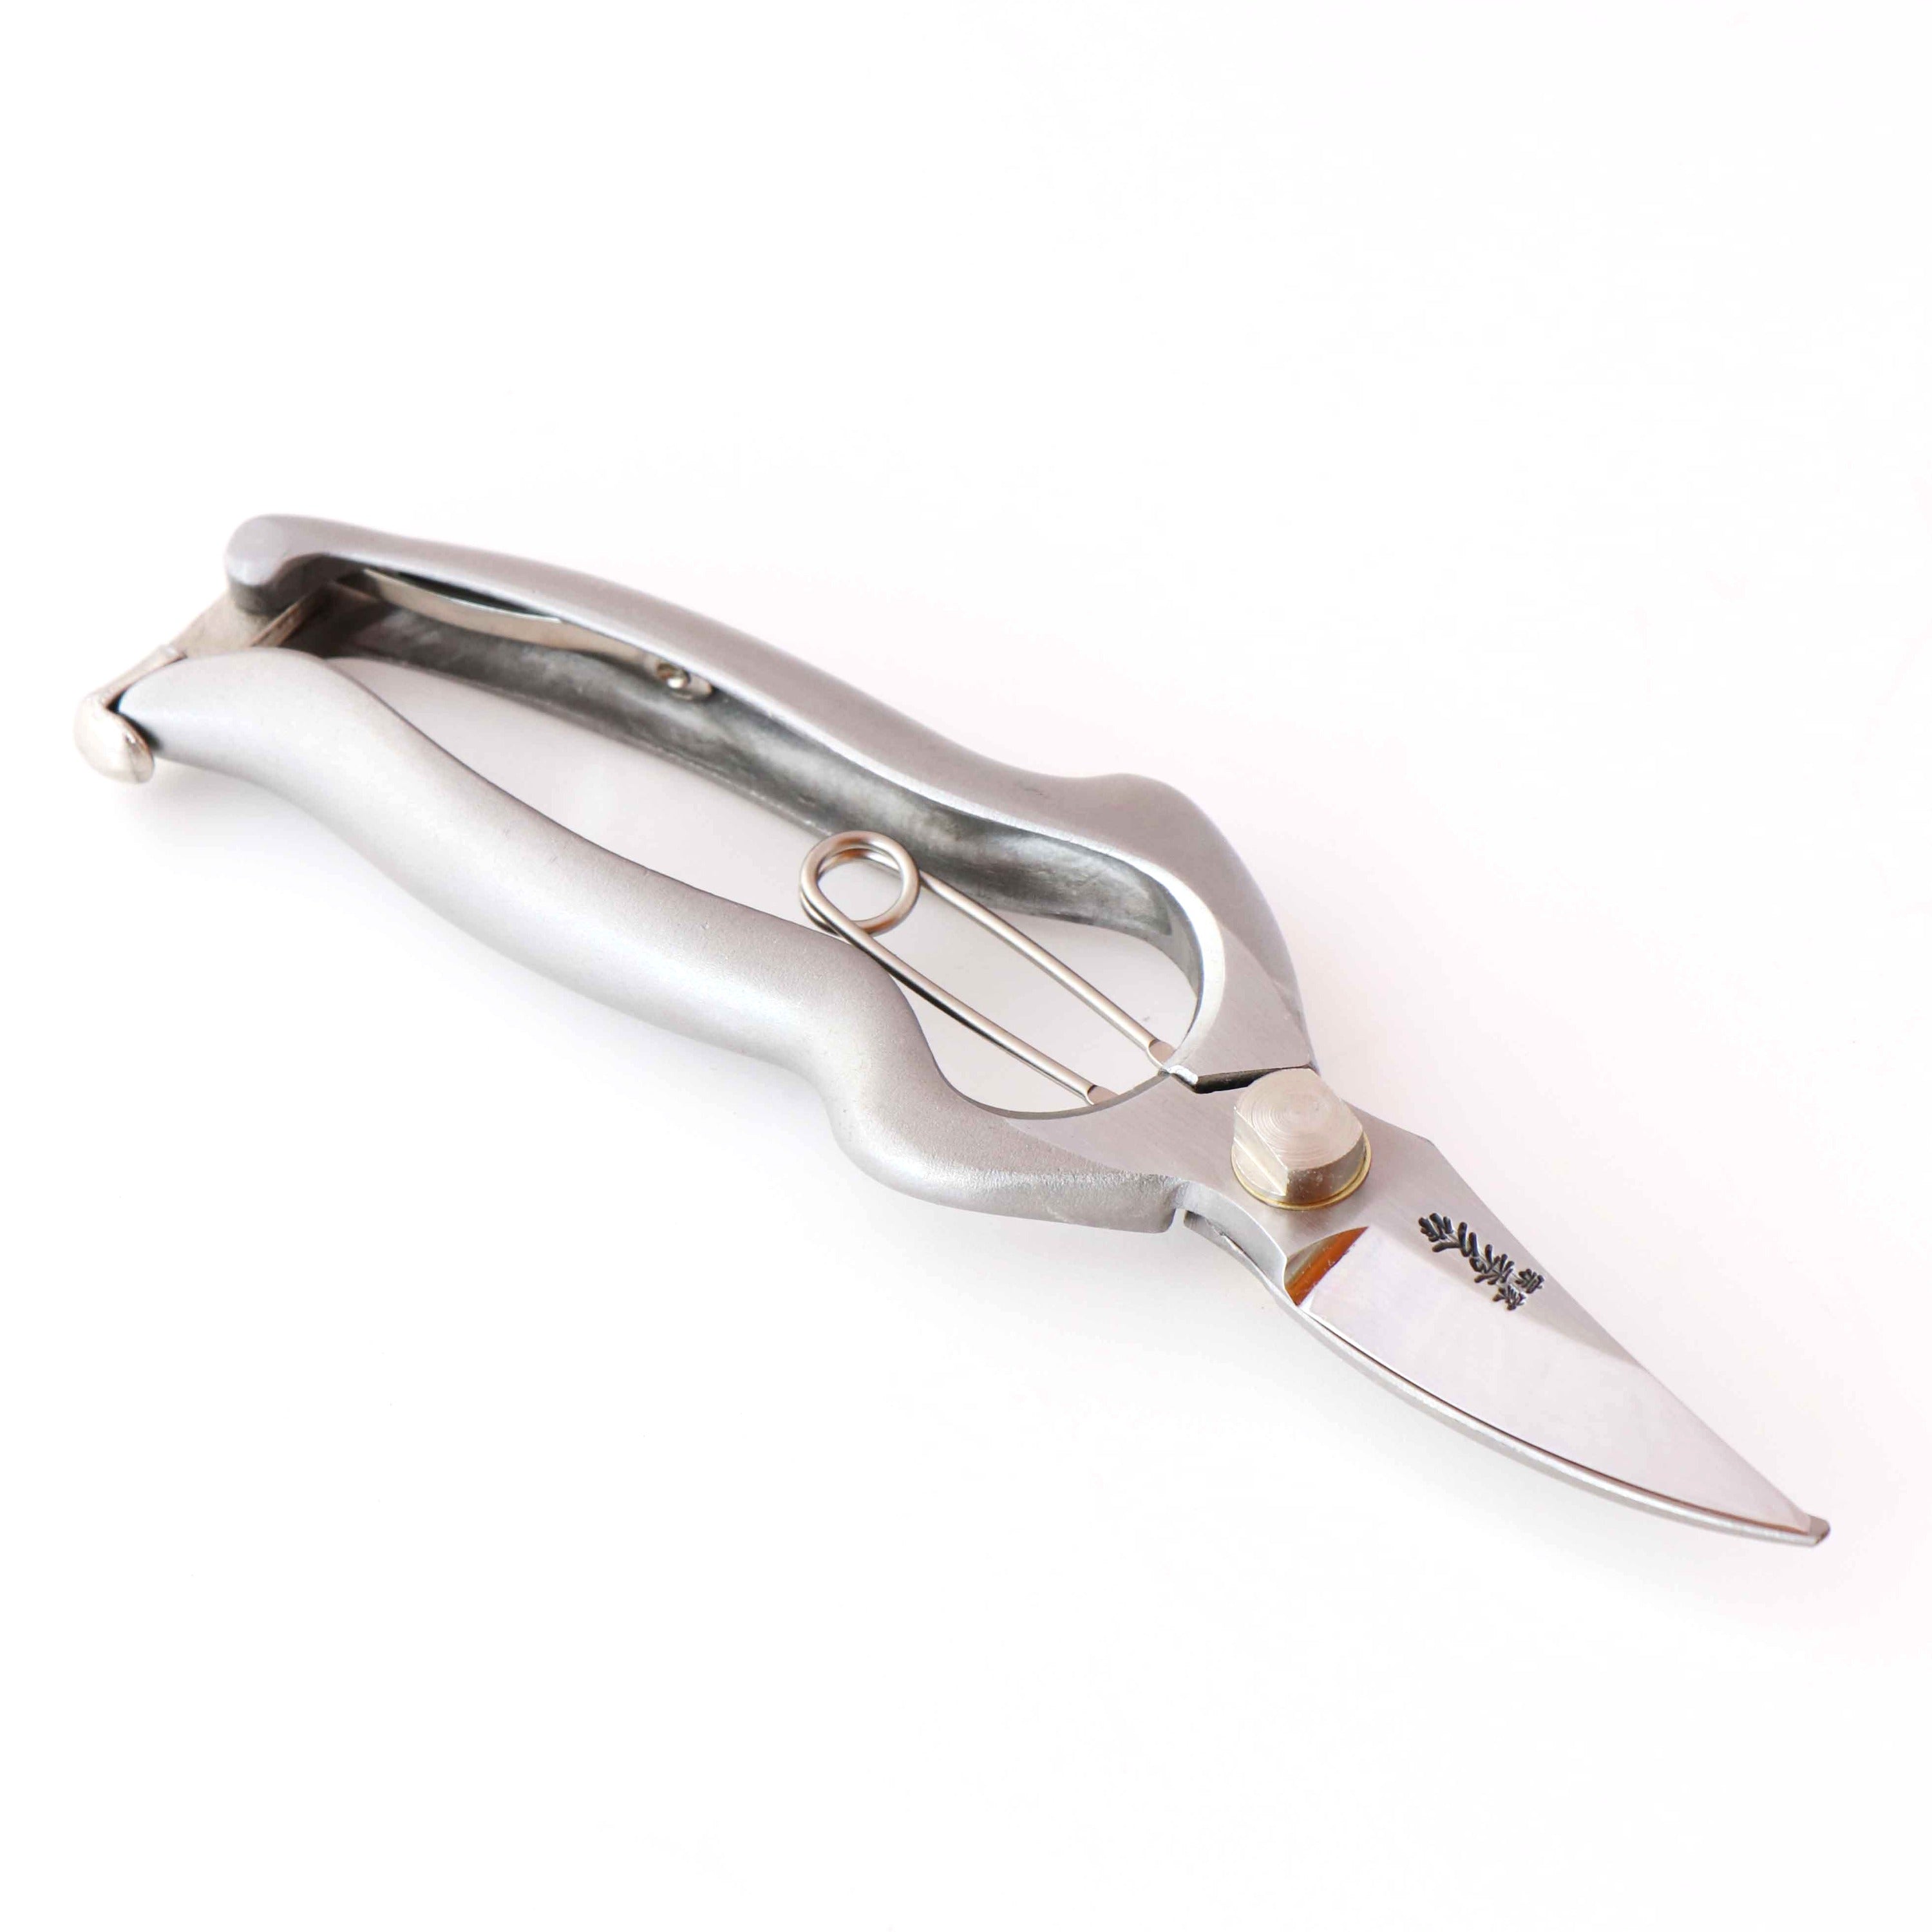
This guide covers our springless traditional shears: Okubo-style garden shears, warabi-te and tsuru-te flower shears, long-handle bonsai scissors, and Japanese snips — satsuki scissors and koeda-kiri. For spring-loaded tools, see How to Use Japanese Pruning Shears and Garden Snips.
Before you start
Keep your free hand away from the blade path.
Use each tool only within the cutting capacity stated for that model.
Never twist the tool sideways while material is held between the blades.
What changes when there is no spring

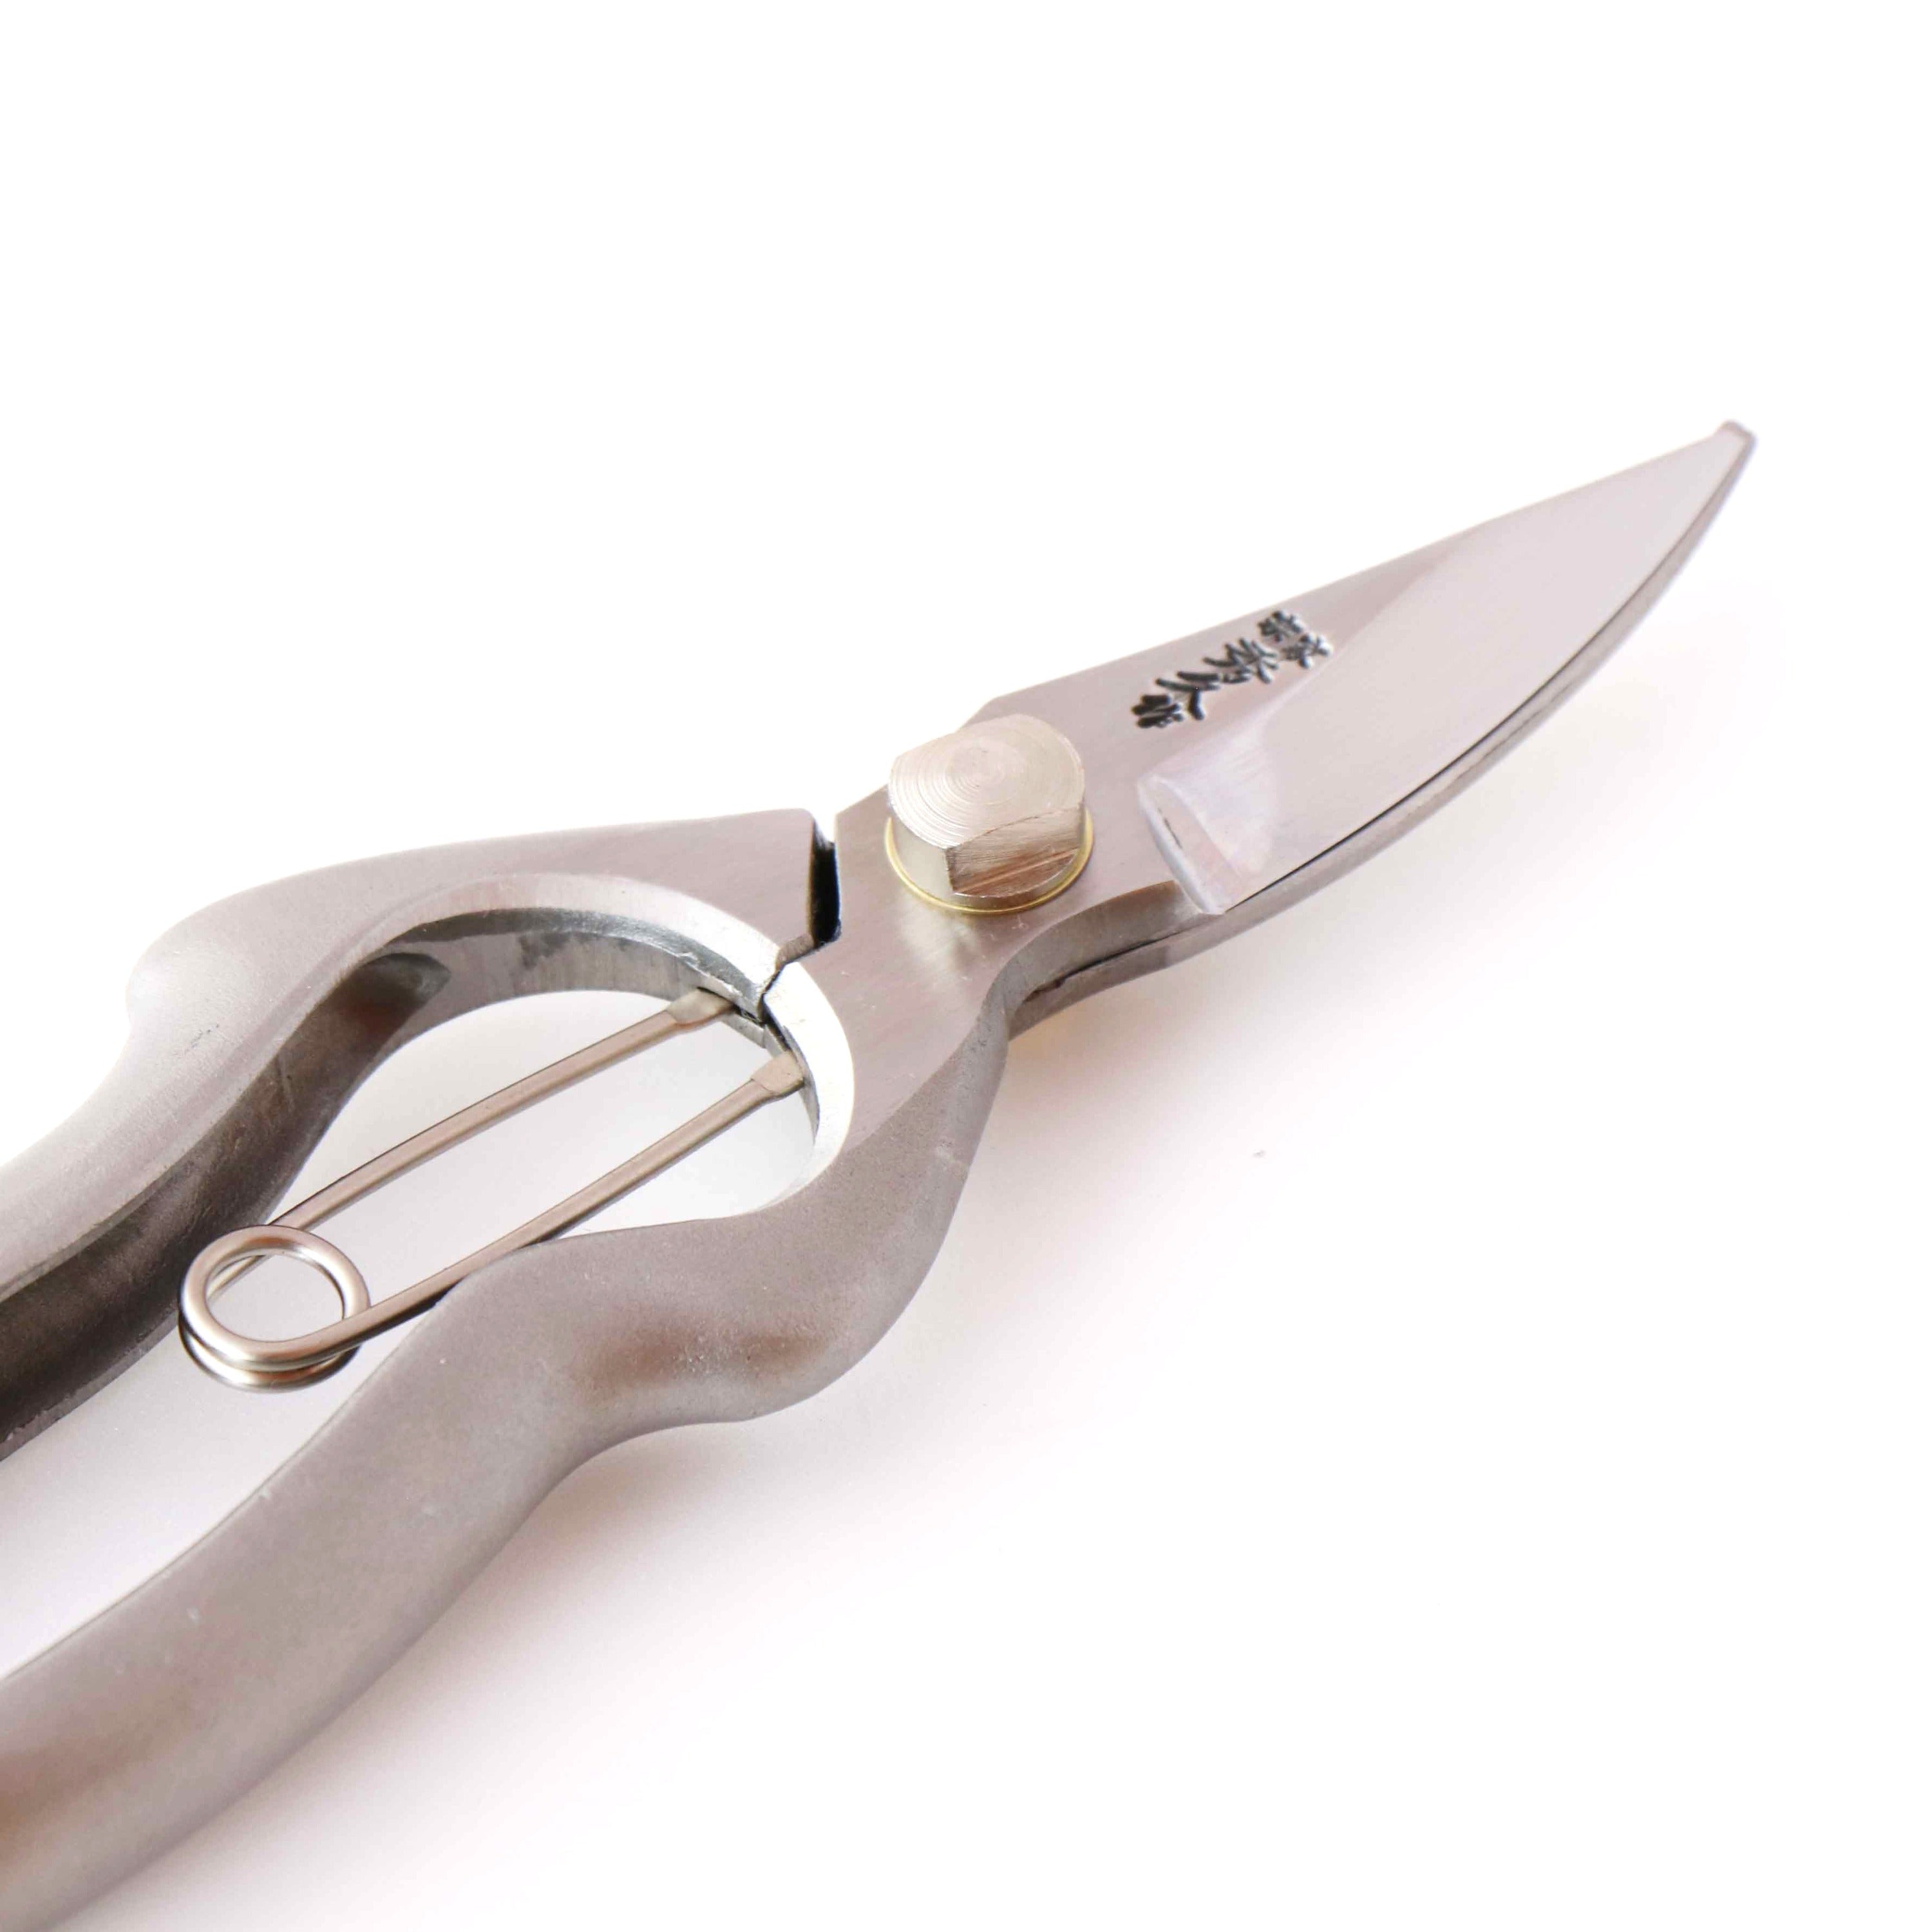
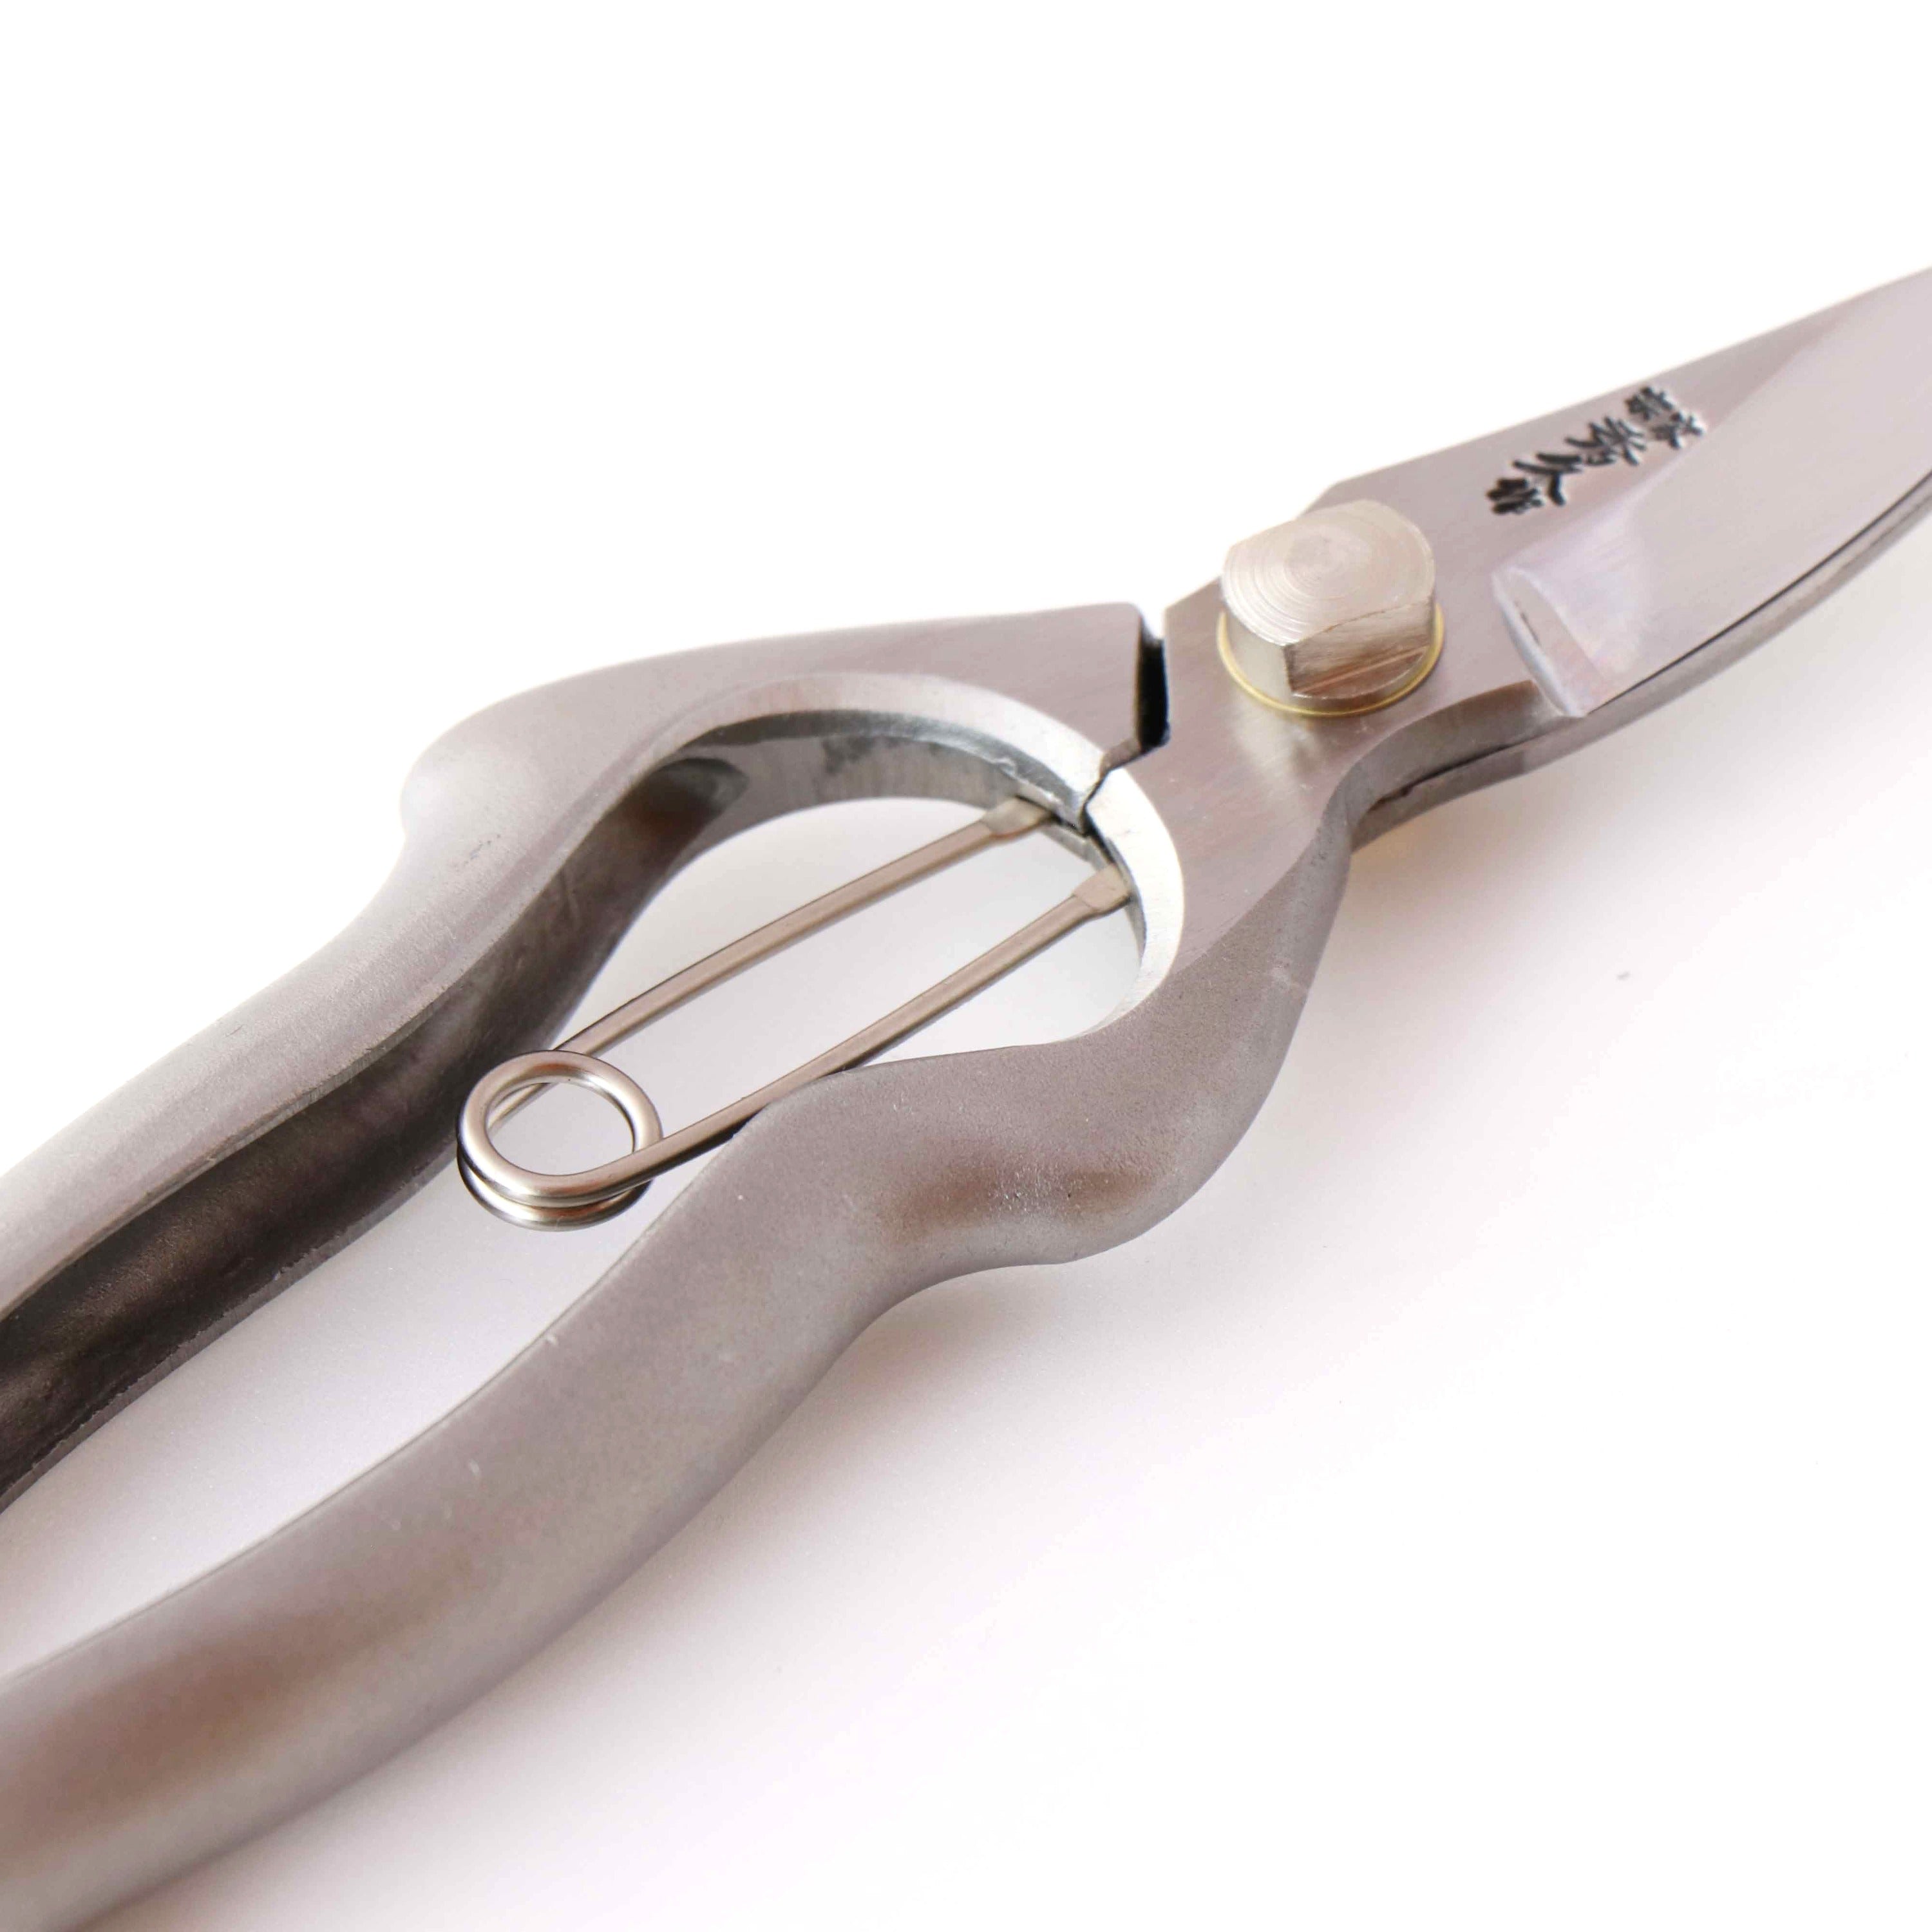
So where does the movement come from? These are pivoted shears: two forged blades turning around a single adjustable pivot. Nothing inside the tool stores energy on your behalf. The force comes from your fingers. The weight of the handles can assist the movement, while the pivot keeps it smooth.
A well-adjusted pivot is set to minimize play without creating unnecessary drag. The reverse face of each blade also carries a shallow concave relief known as ura-suki, which keeps the two blades from rubbing against one another along their full length. Together, these reduce resistance and let the blades move smoothly without any spring assistance.
Three principles apply to the looped-handle tools in this guide; the warabi-te section notes where they differ. The sections that follow assume them rather than repeat them.

On looped handles, your index finger rests outside the loop. The next section explains why. It is worth reading before your first cut.
Support the handle securely. Do not hold the tool with your fingertips alone. Depending on the handle form, the shears are supported by the fingers through the loops, or by the palm. A stable hold is what keeps the blade tip where you aim it.
Position first, then apply force. Hold lightly while you place the blades. Apply firm pressure only at the moment of the cut, and release afterward.
The rhythm of a controlled cut is:
Open. Position. Close. Reopen.
On a looped handle you open the blades by spreading your fingers. On warabi-te you relax them and let the handle fall. More on that below.
With any of these tools:
Never use closed blades to pry.
Never use two hands to force a one-handed tool closed.
Switch to a larger tool when the material exceeds the cutting capacity given on the product page for your model.
How to hold looped-handle shears

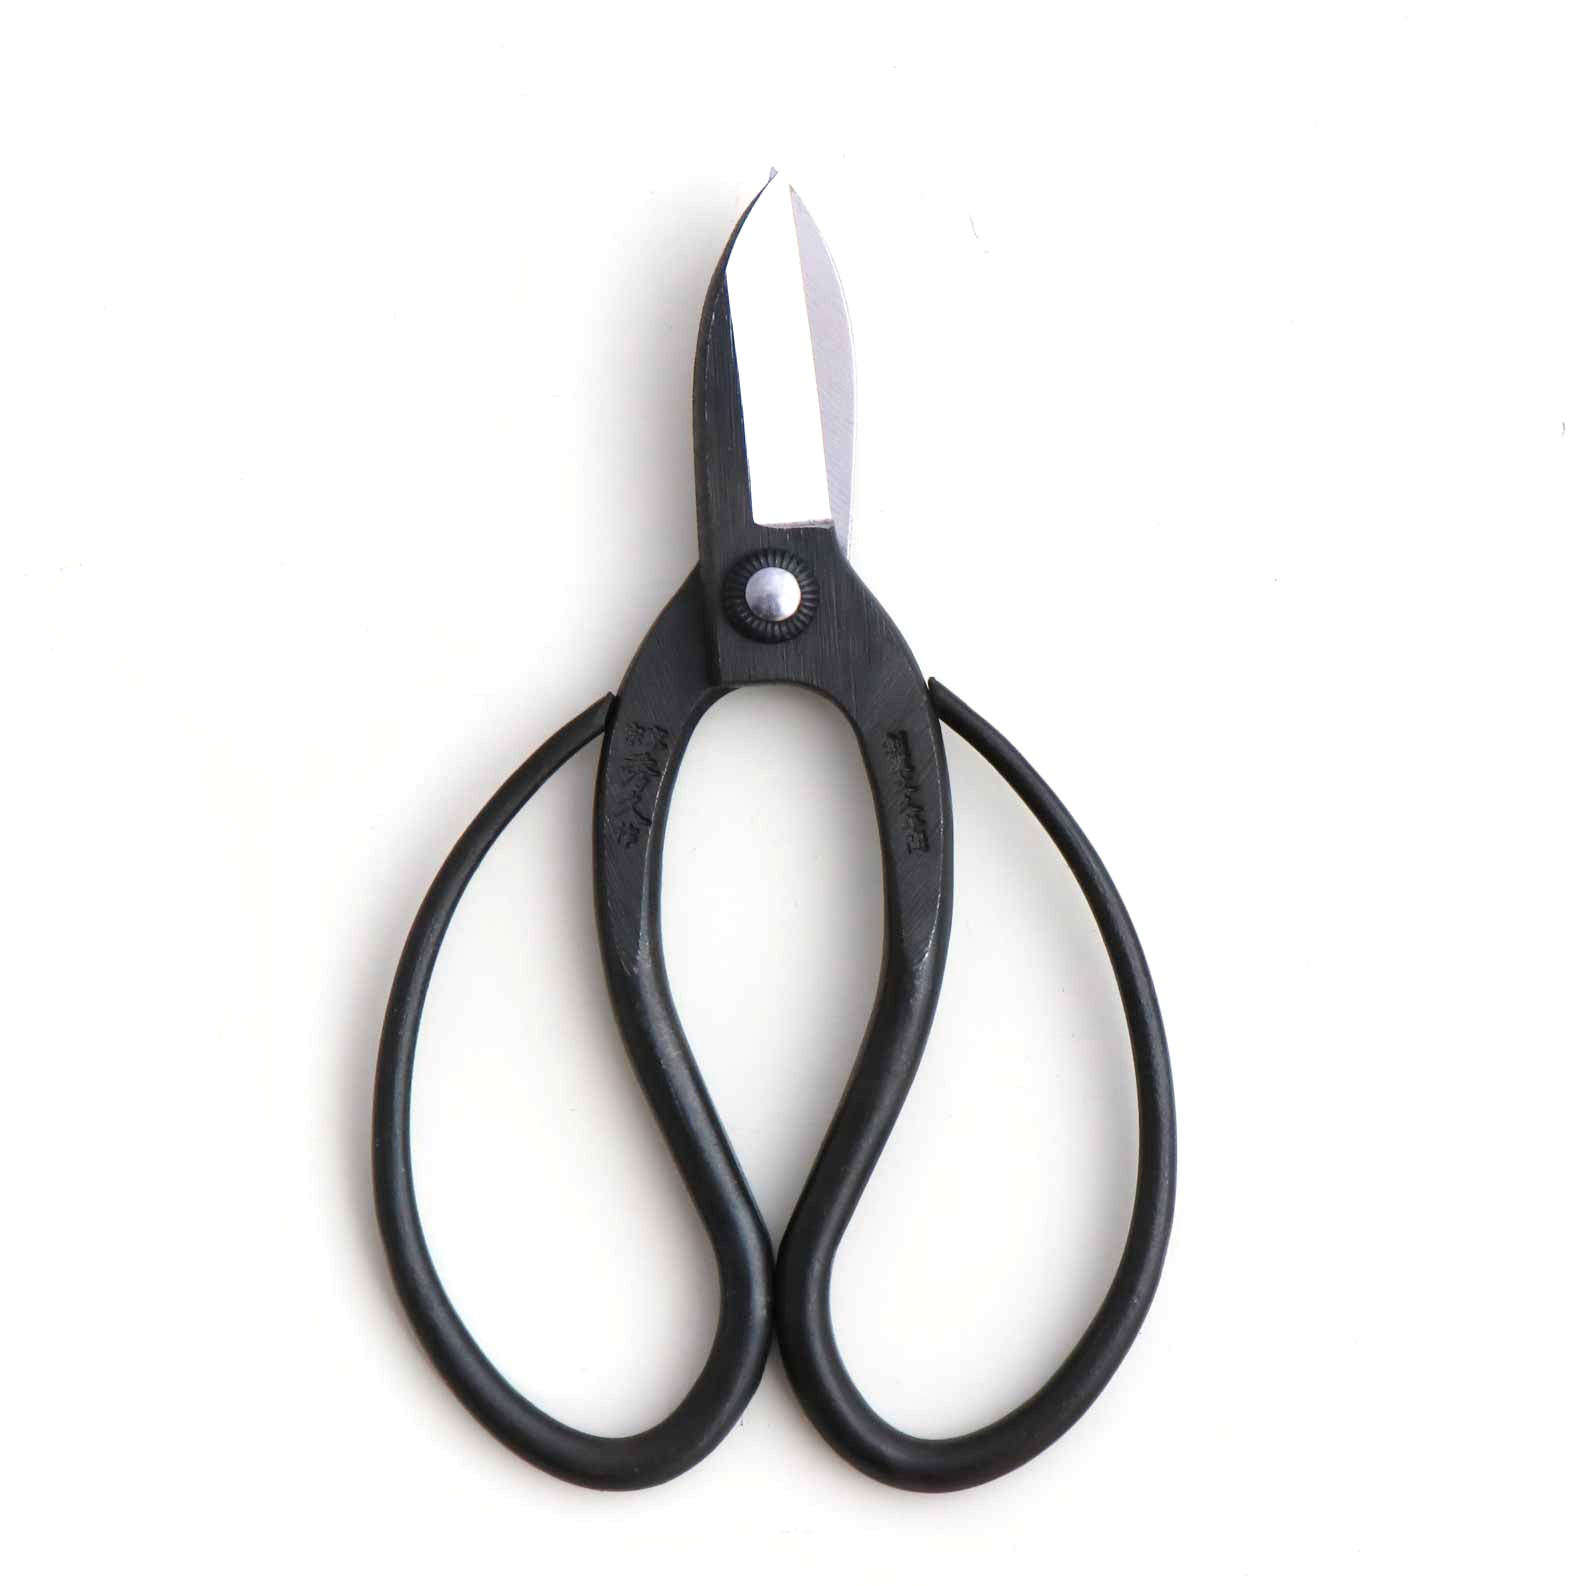
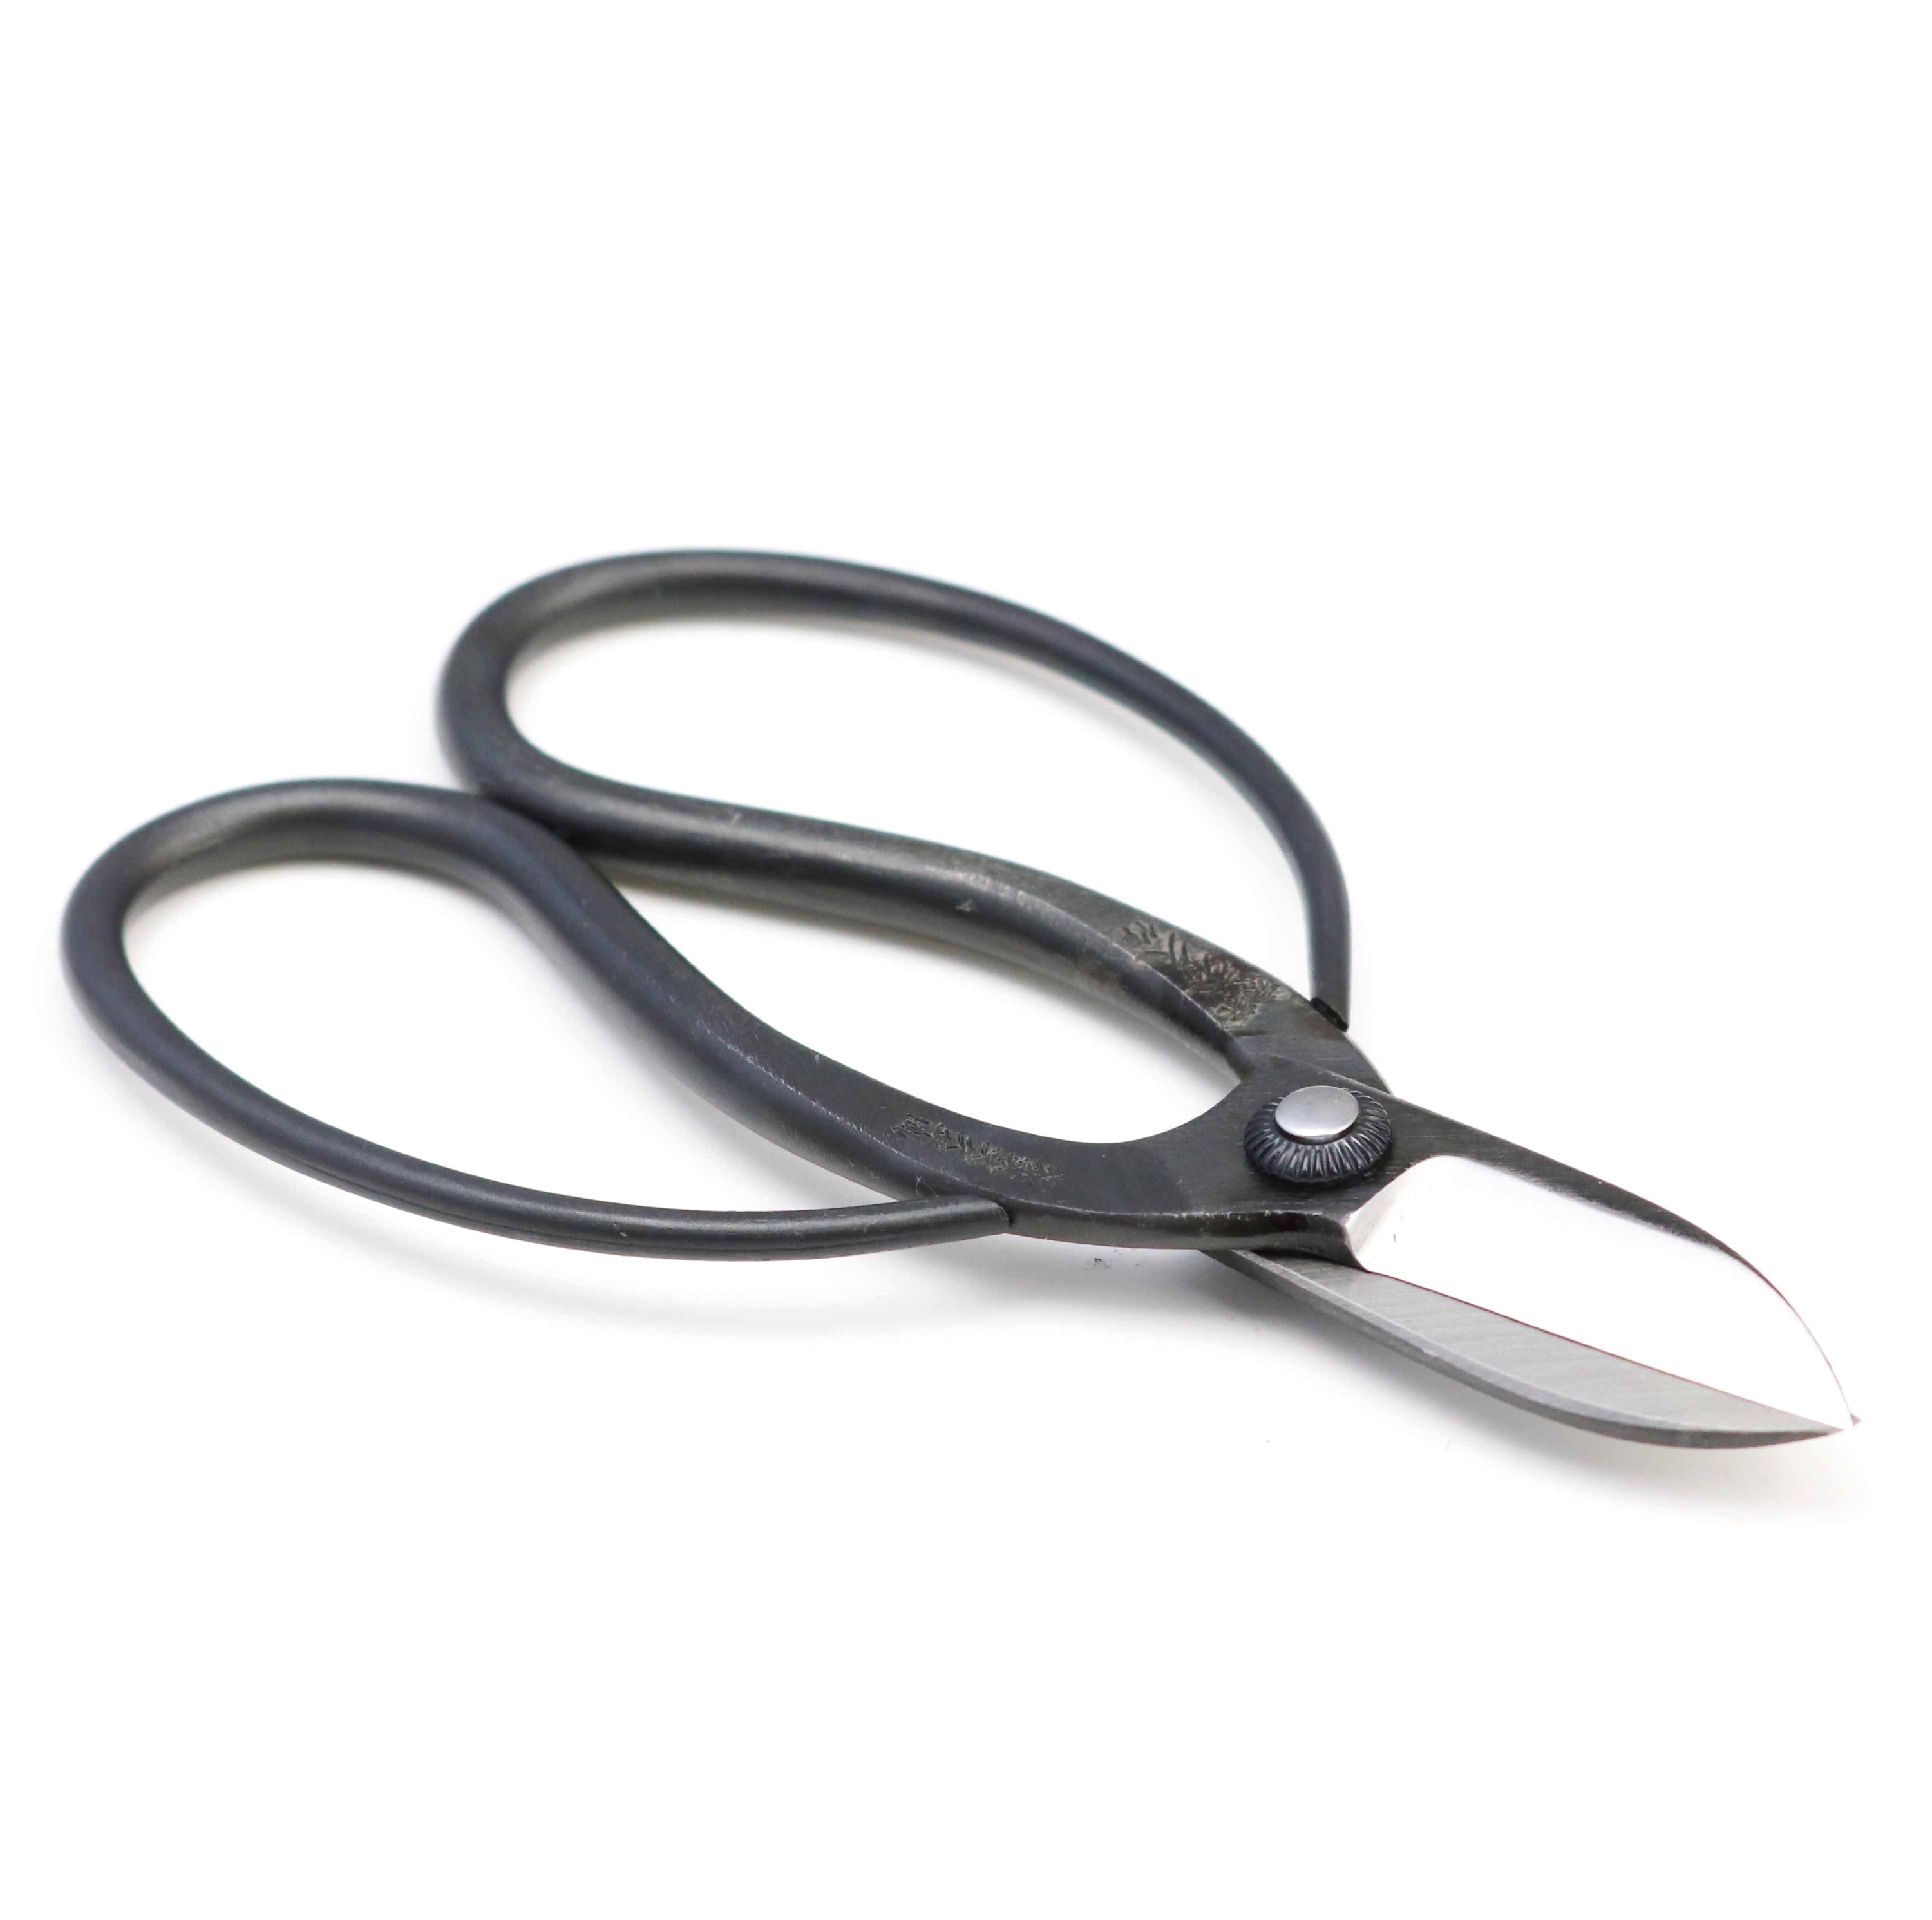
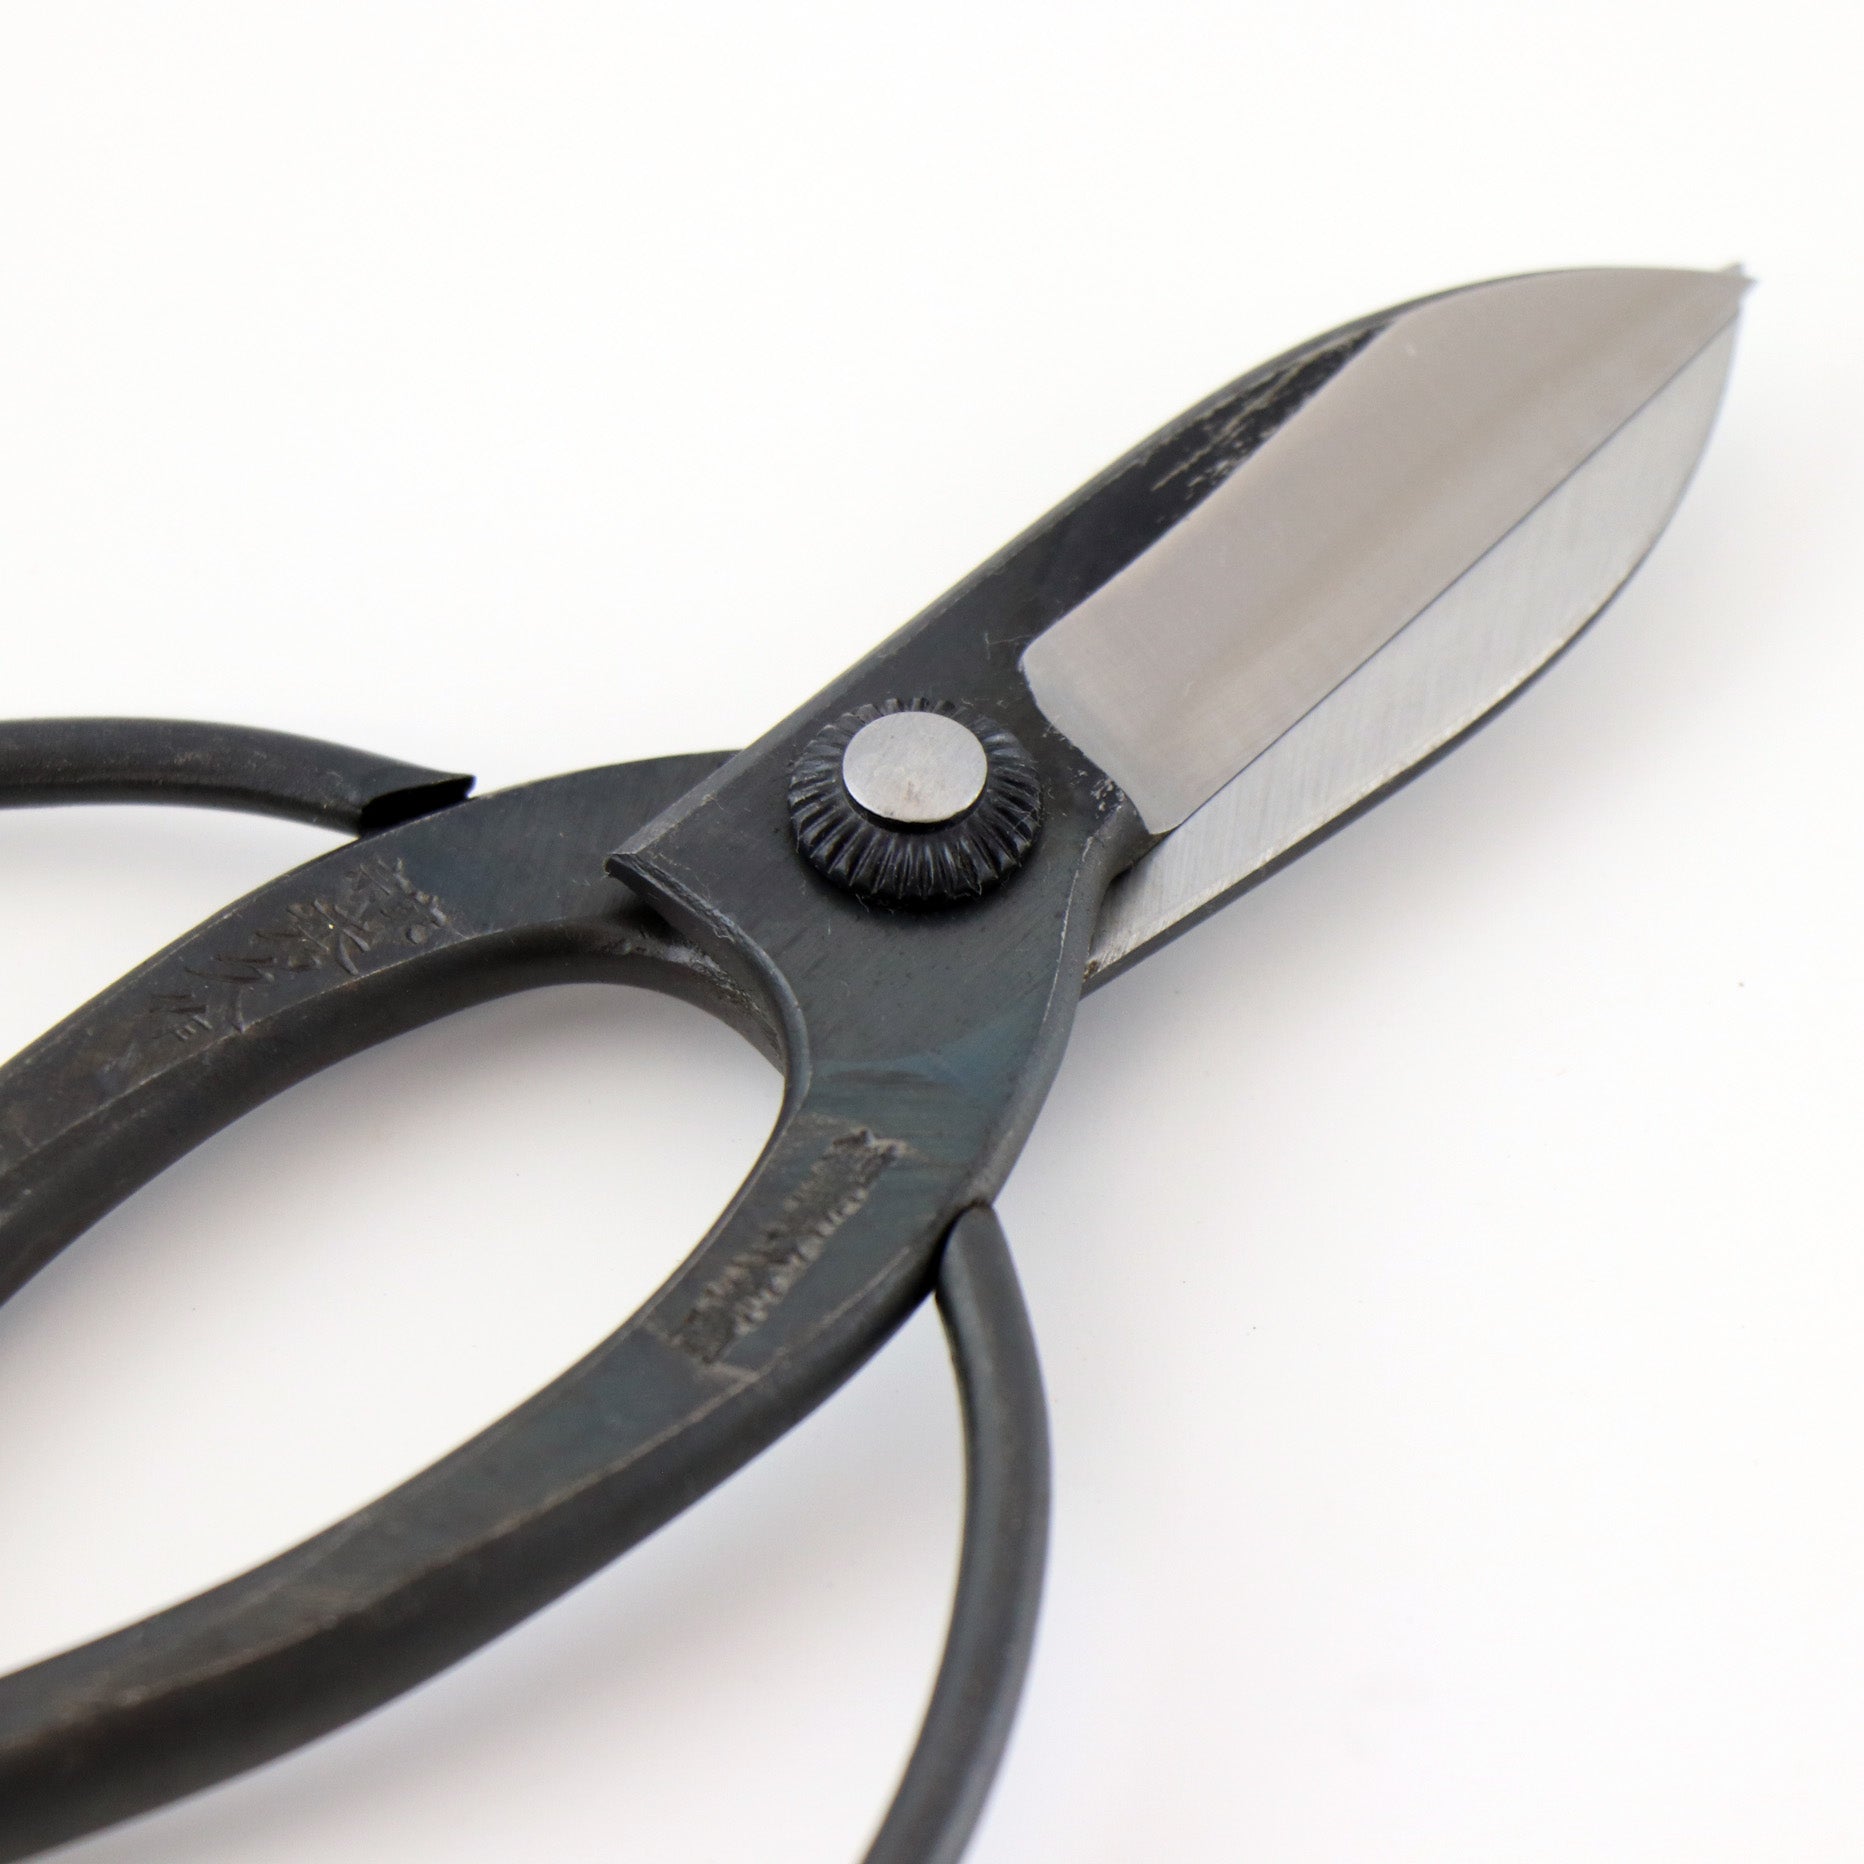
Okubo-style garden shears, tsuru-te flower shears, long-handle bonsai scissors, and Japanese snips all have looped handles. At a glance they look like variations on a single shape, but the thickness and profile of the blade, the size of the loops, and the length of the handles all change according to the work the tool is built for. Satsuki scissors and koeda-kiri are shaped rather like household scissors with long handles, which makes them among the more familiar forms in the range.
The hold below applies to all of them.
Where to seat the loops. Your thumb goes through one loop. Two or three fingers go through the other, depending on the size of the loop. Your index finger stays outside, resting against the loop.
Japanese shears of the Okubo style have two large, symmetrical loops, so it feels natural to put all four fingers into the larger one. Do that, and the wrist loses much of its range, making the tool harder to steer.
You already do something similar. Think of a pair of household scissors: a small loop for the thumb, and a larger loop for the other fingers. With many of them, the index finger naturally rests outside the larger loop, along the blade, rather than inside it. Traditional Japanese garden shears use a similar principle. It is only because the loops are so much bigger that the habit is easy to lose.
Three things the free index finger gives you
Stability. The loop is held between your index and middle fingers, so the shears stay steady in your hand even when the blades are open.
Control of the tip. Extend the index finger and point it in the direction you want to cut. You are aiming with a finger rather than with the whole tool, which makes placing the blade tip intuitive.
Freedom in the wrist. Keeping the index finger outside the loop preserves the range of your wrist, so you can change the angle and direction of the shears as the work requires.
In garden work, guiding the blade tip to one exact point matters more than anything else, and the index finger is what puts it there.
Seat the loops at a depth where your fingers can still open and close freely. There are two positions to avoid: pushed in so far that the loops press against the base of your fingers, and held so shallowly that your fingers have to stretch. Between those, the tool should feel steady under a light hold.
Closing the blades and opening them again. Bring your fingers together to close the blades; on a looped handle, the thumb does most of that work. To open them, spread the fingers inside the loop. There is no spring, so the return is a deliberate movement rather than a rebound. Between cuts, let your hand relax instead of holding the handles closed.
Fine positioning and cutting a branch. Point with the index finger to set the direction and place the cut. Extending it makes placement more intuitive. For close work, hold lightly and watch the blade tip. For a slightly thicker twig, place the material nearer the heel of the blade, where the leverage is better, rather than at the tip. If one steady squeeze will not complete the cut, stop and check the position of the branch rather than squeezing harder.
Okubo-style garden shears — T1, T1S, T12


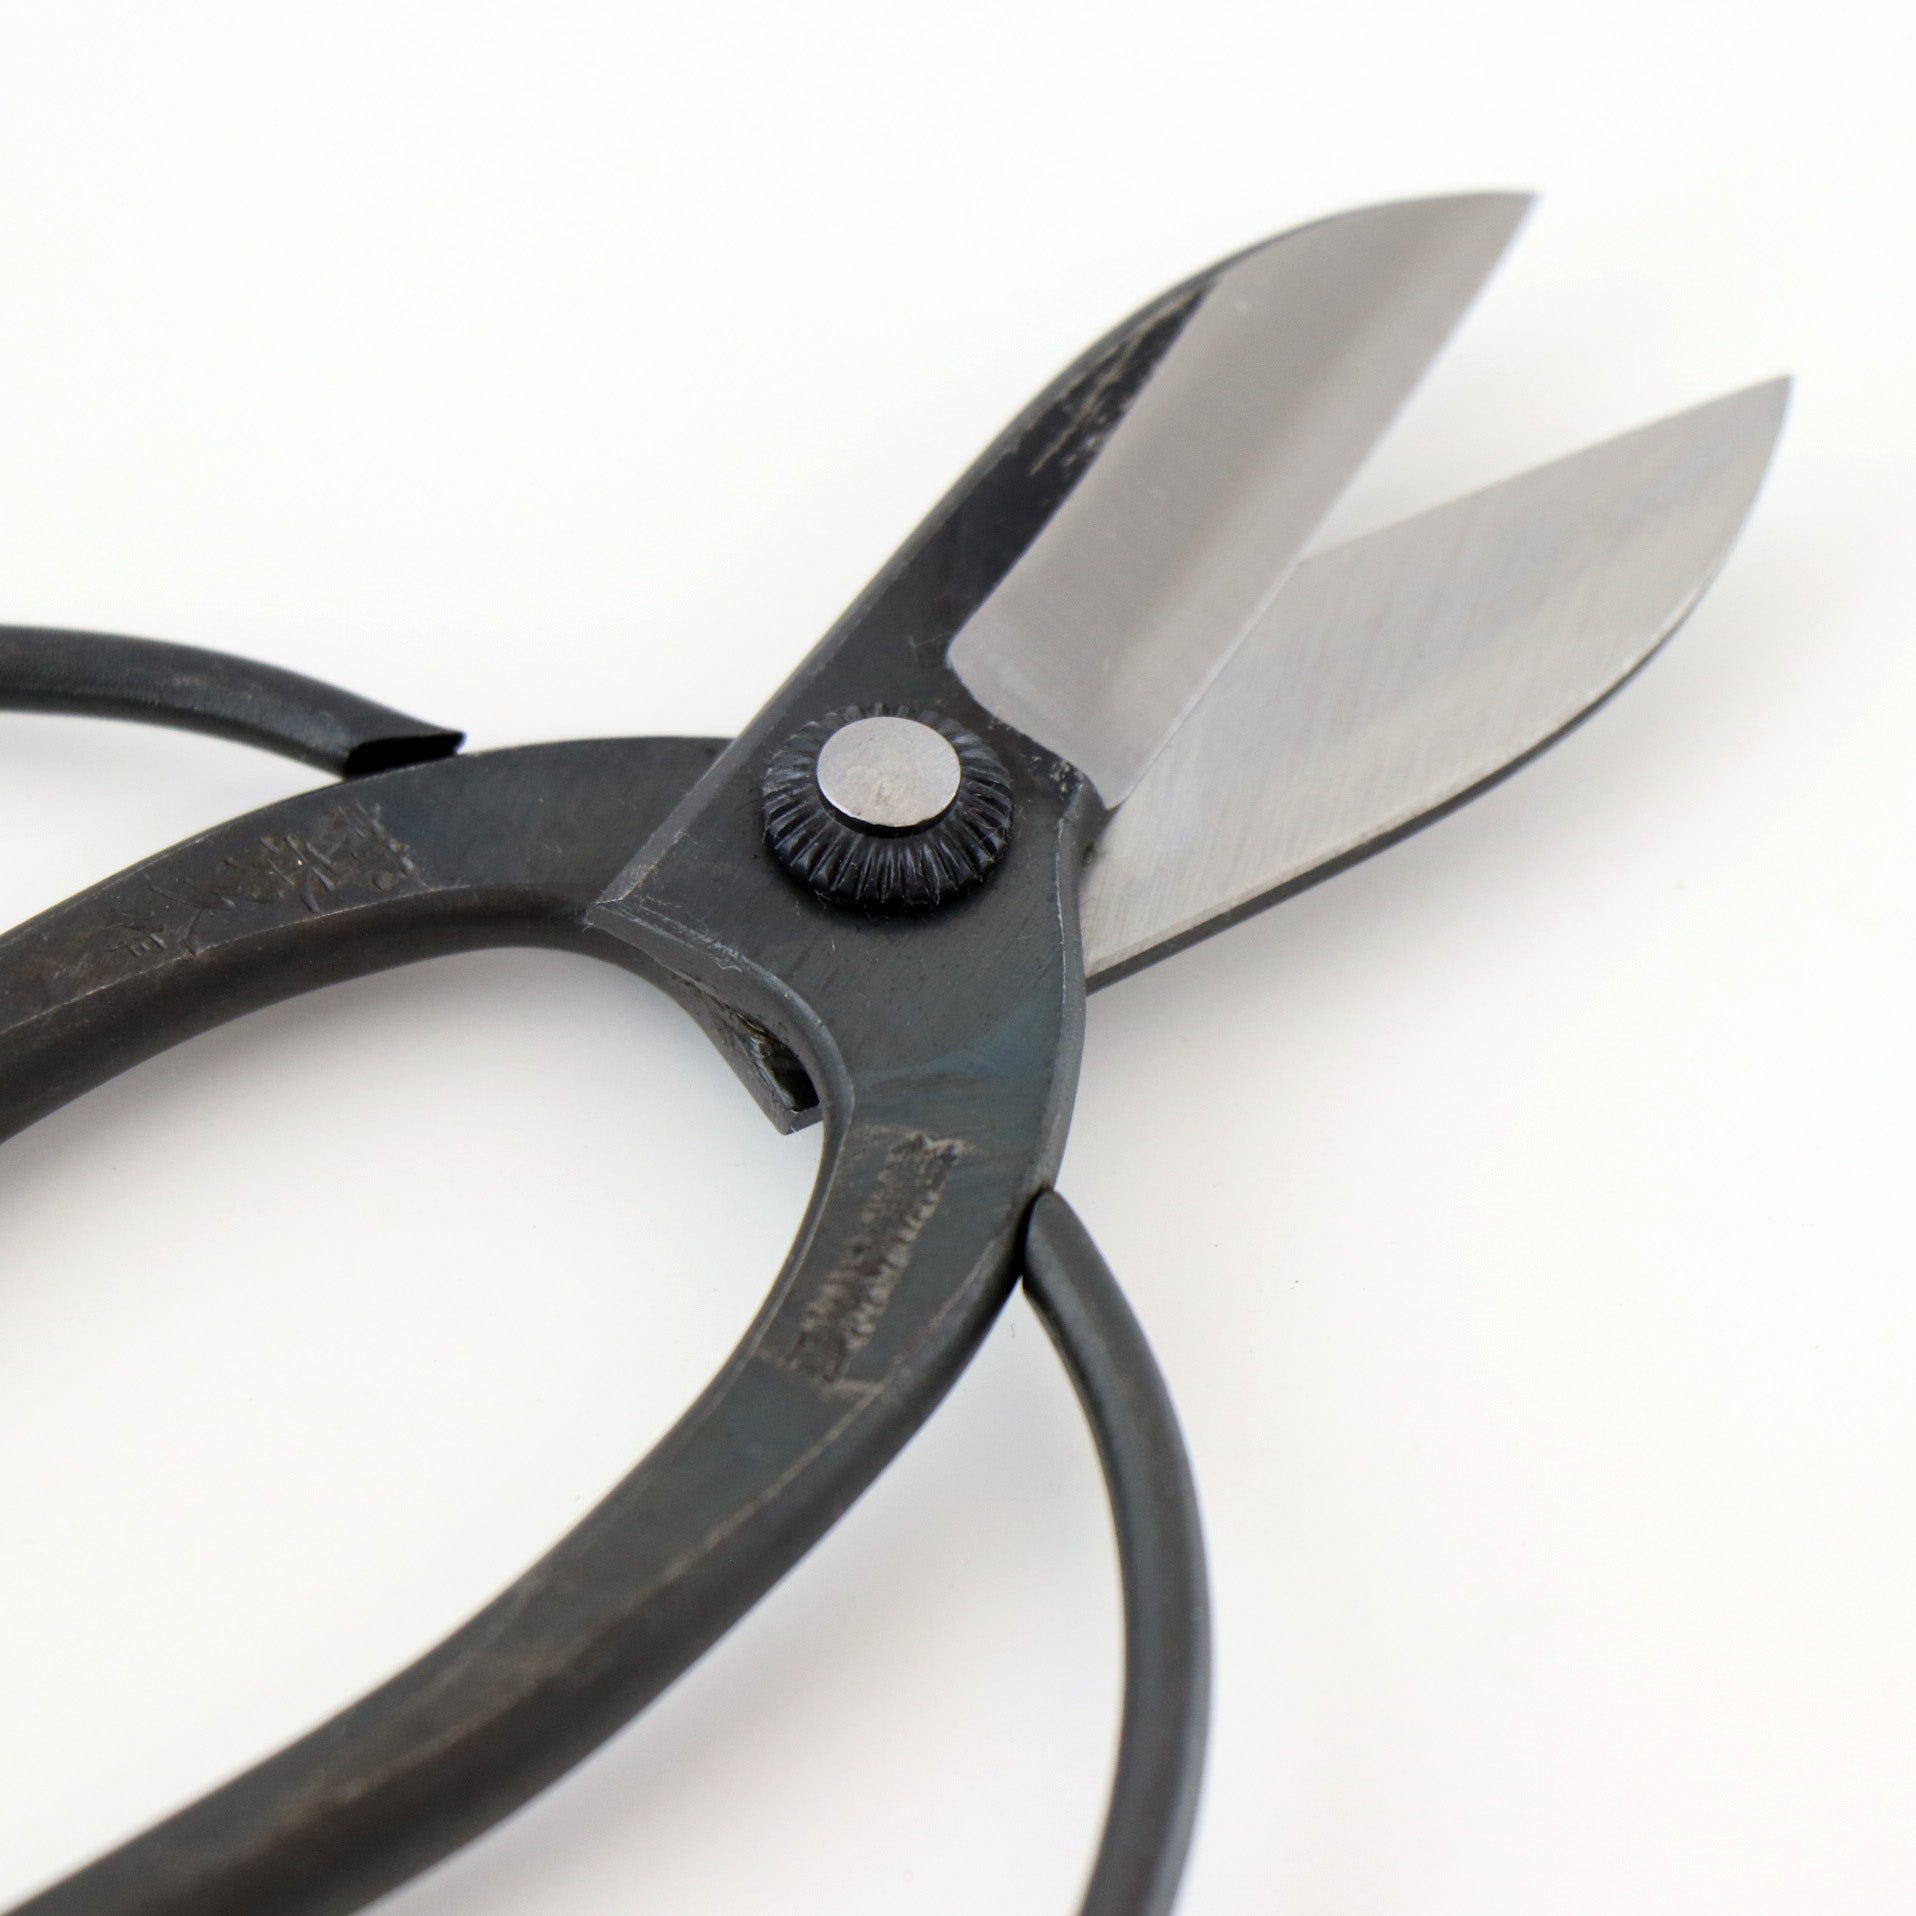
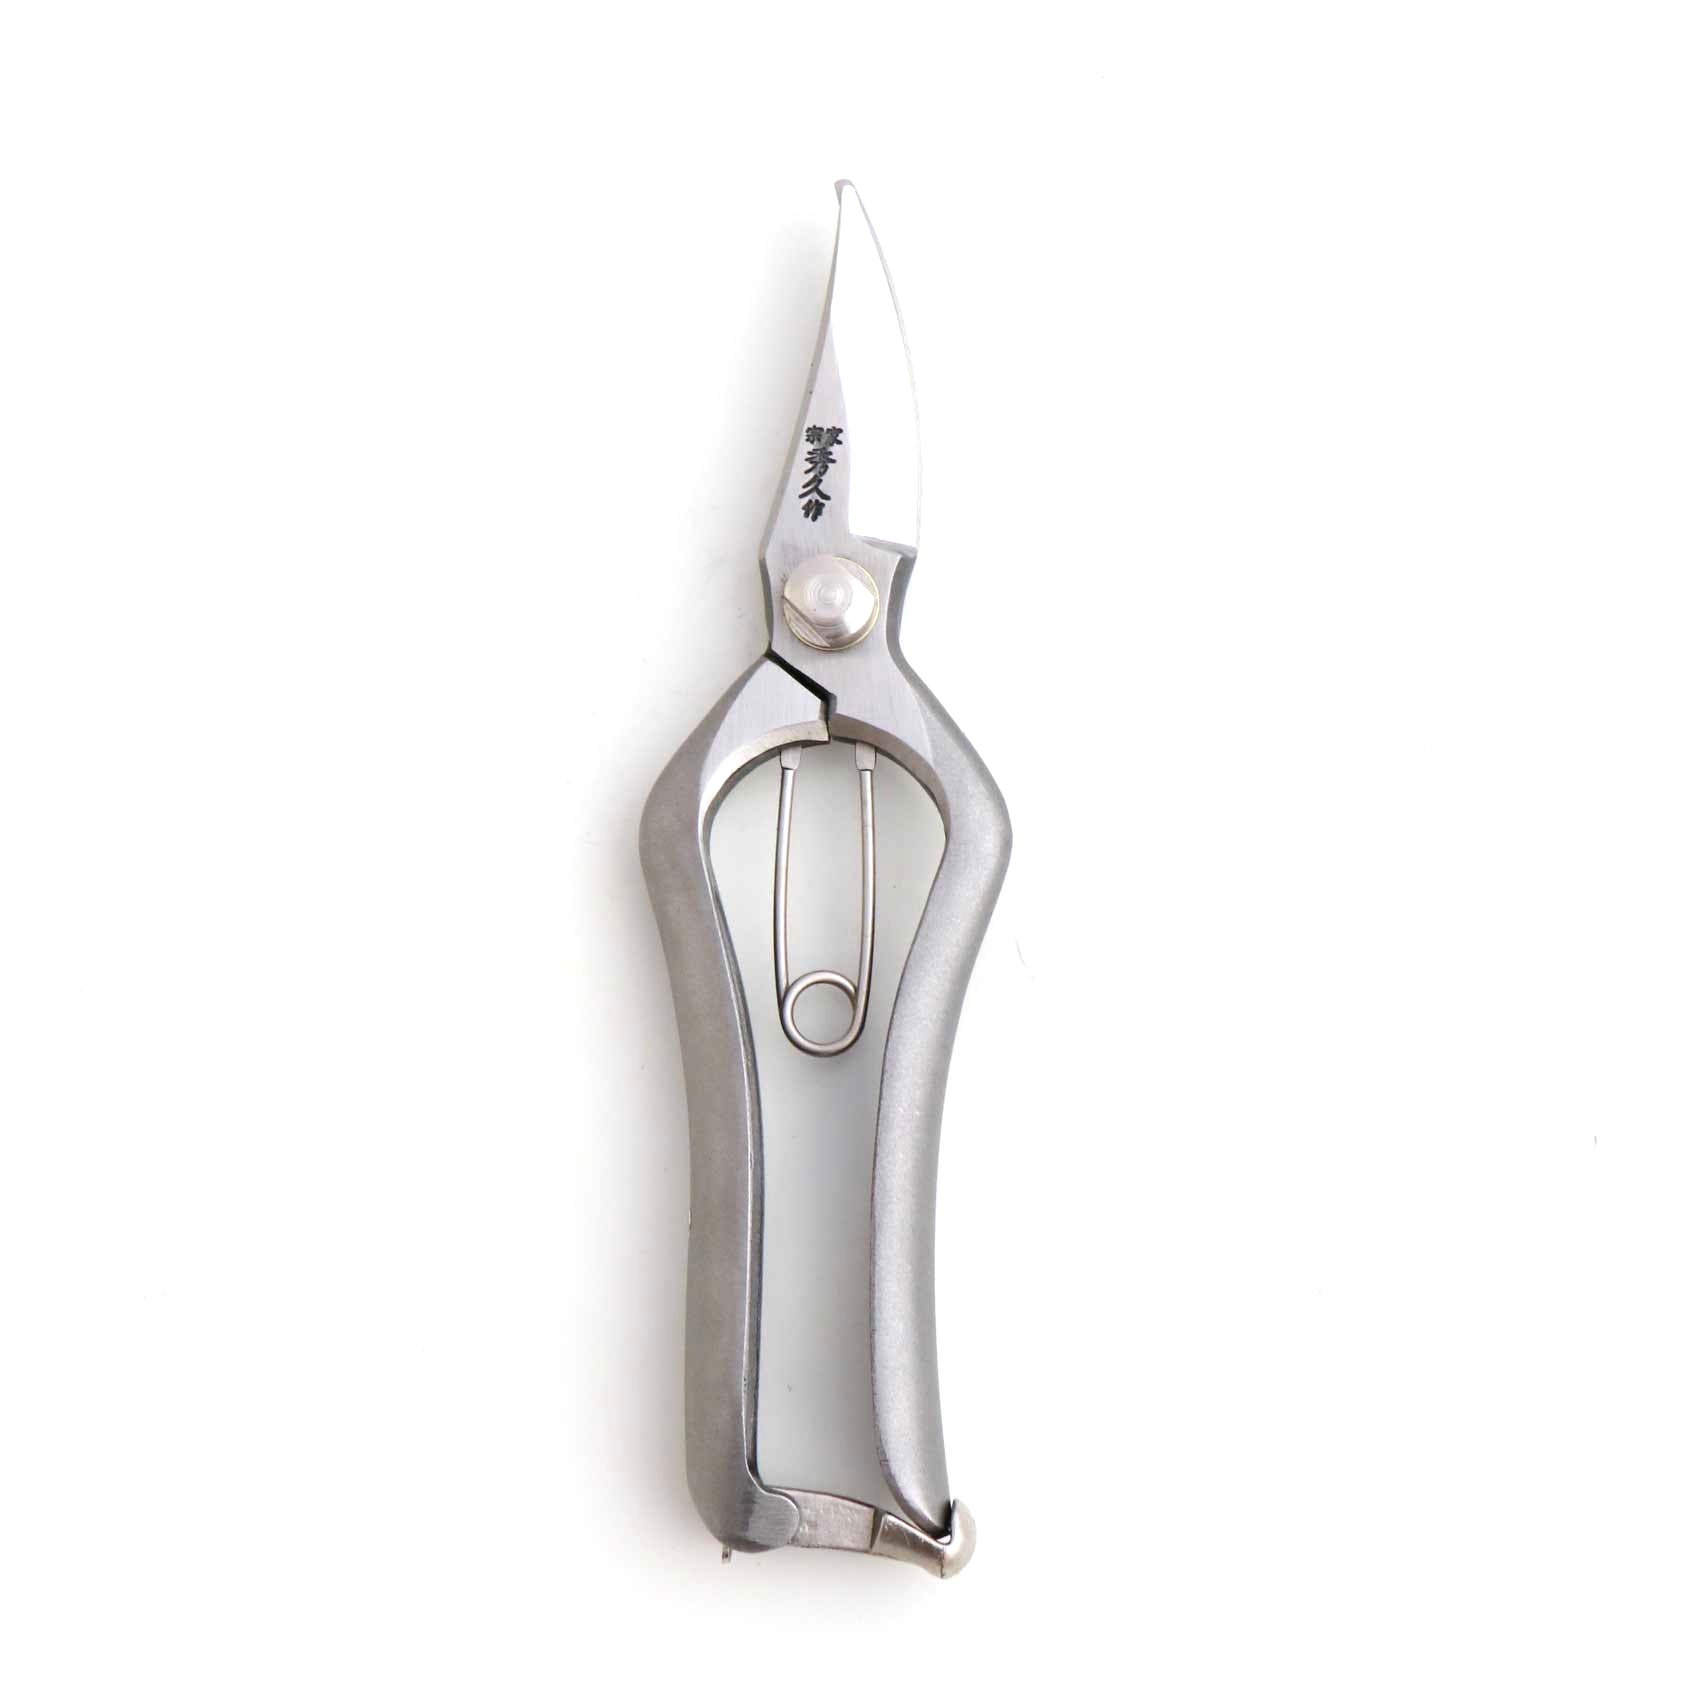
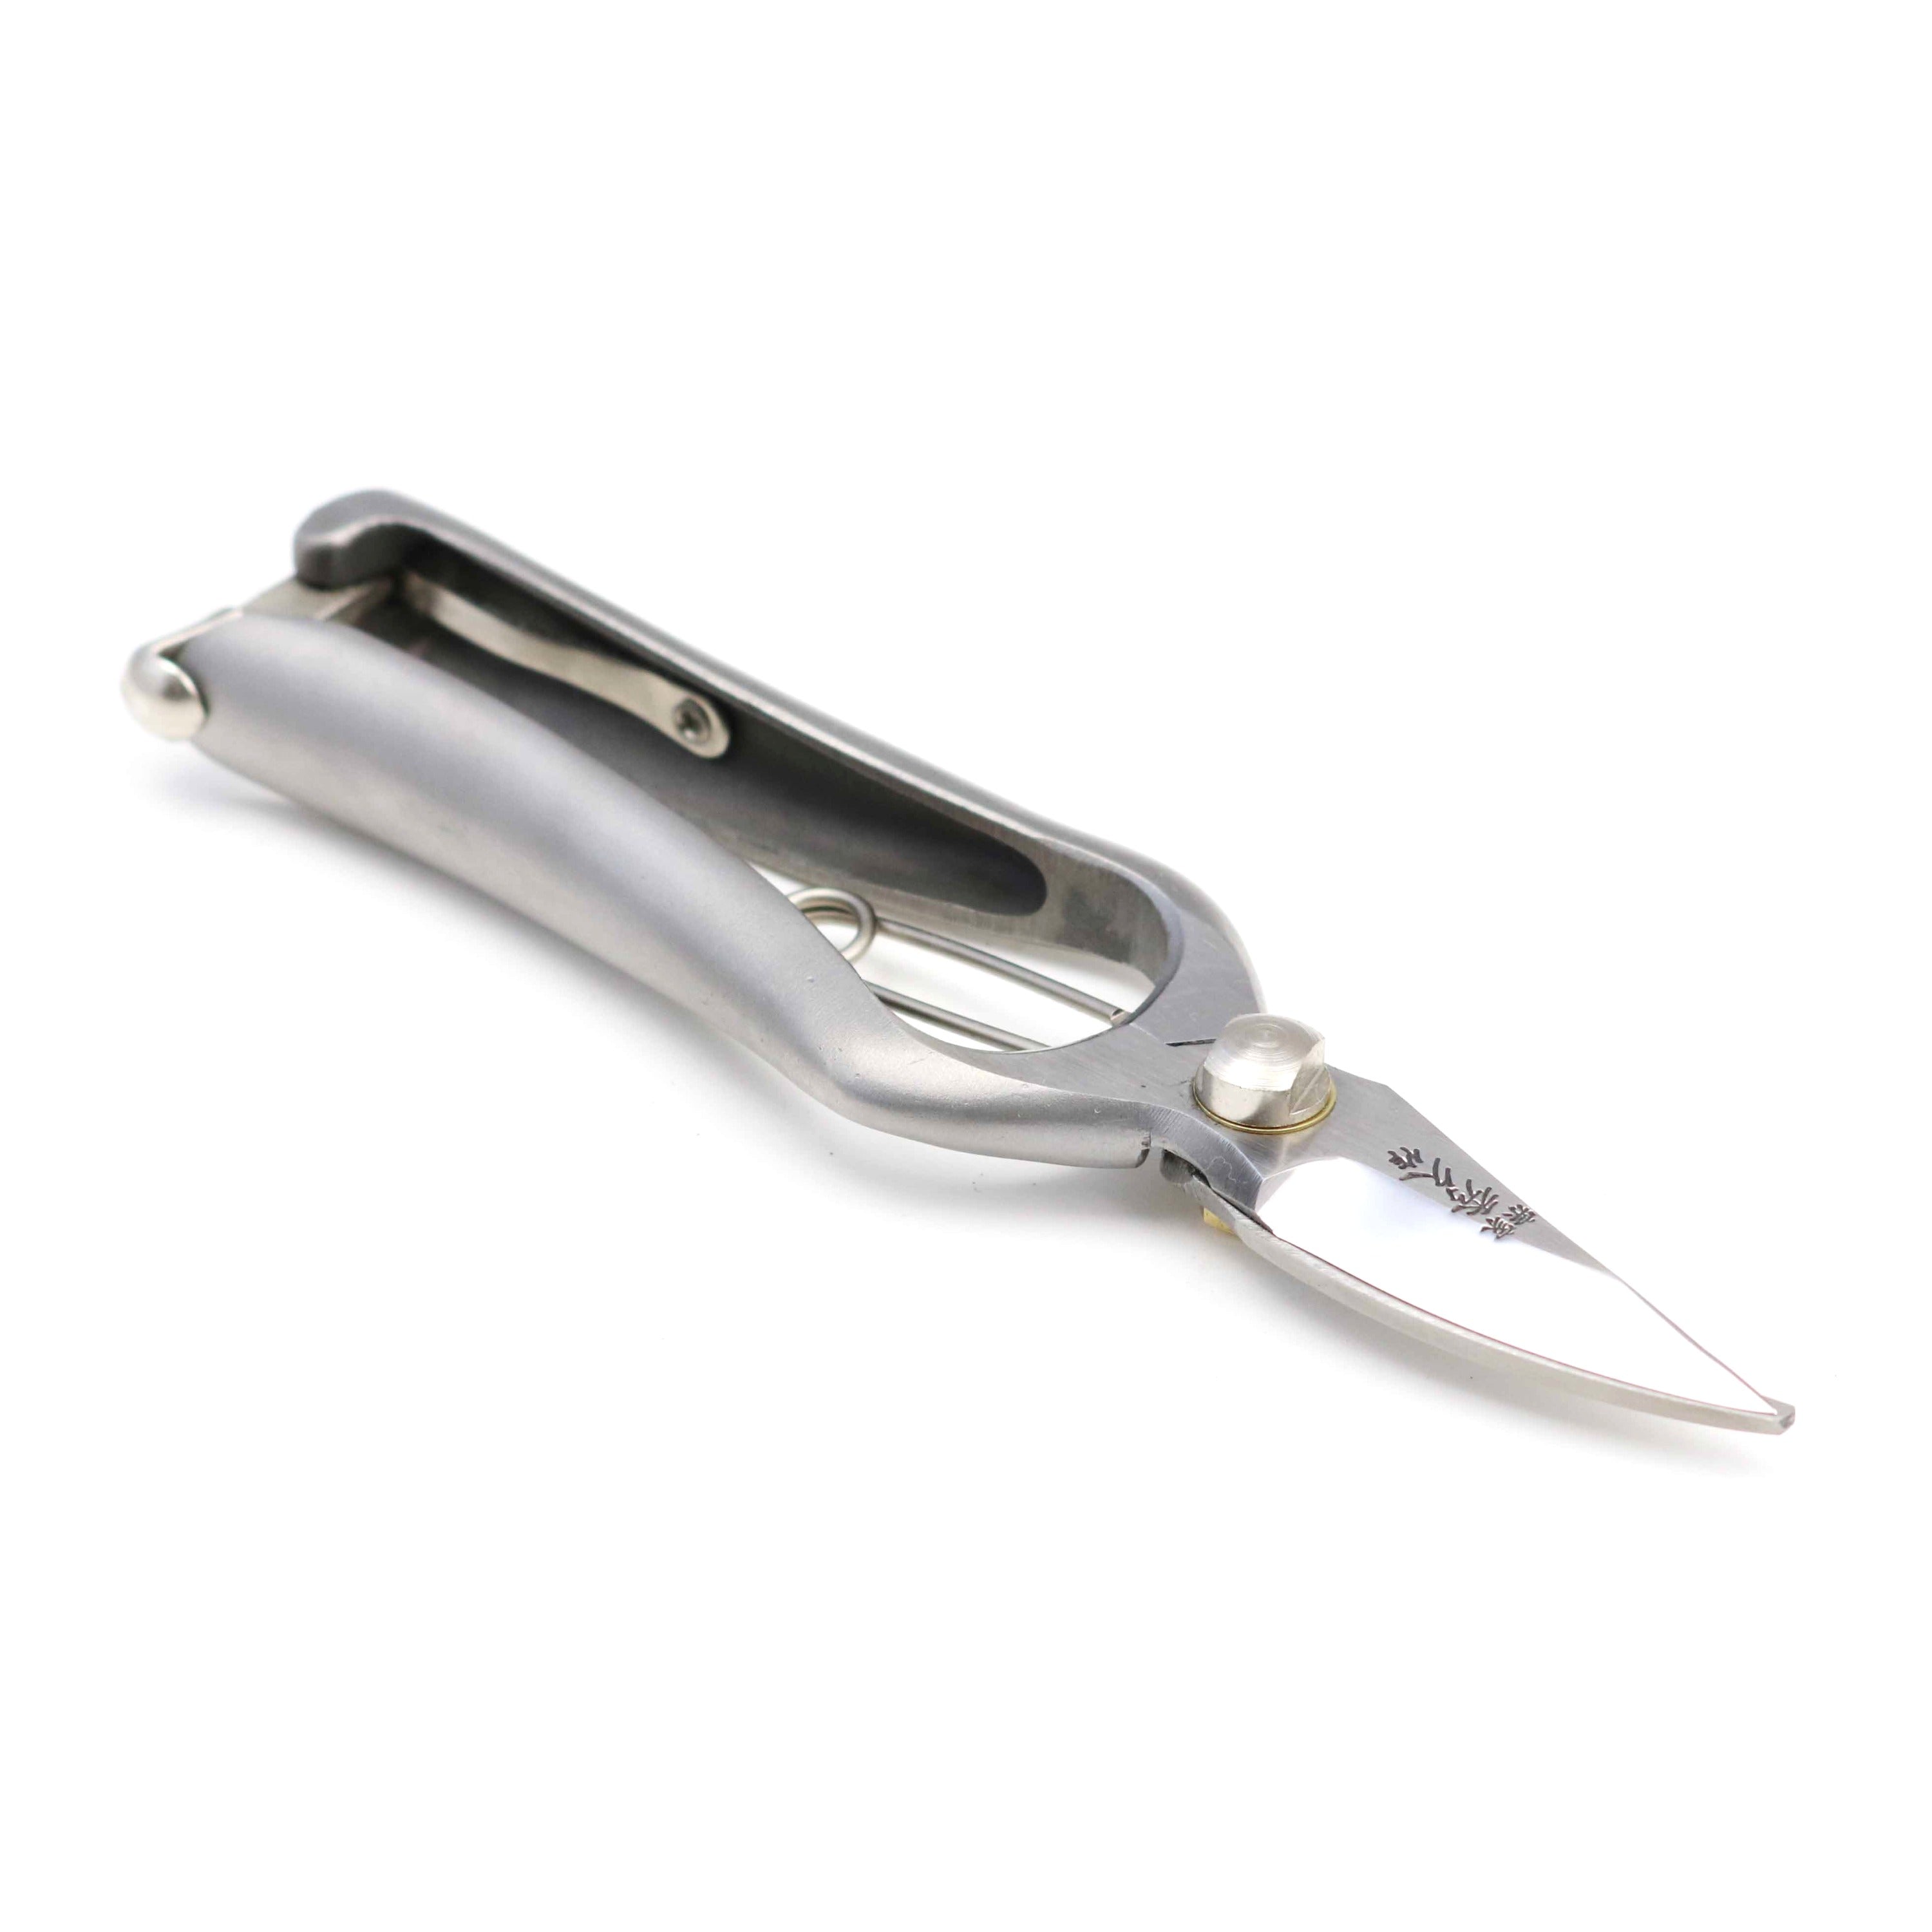
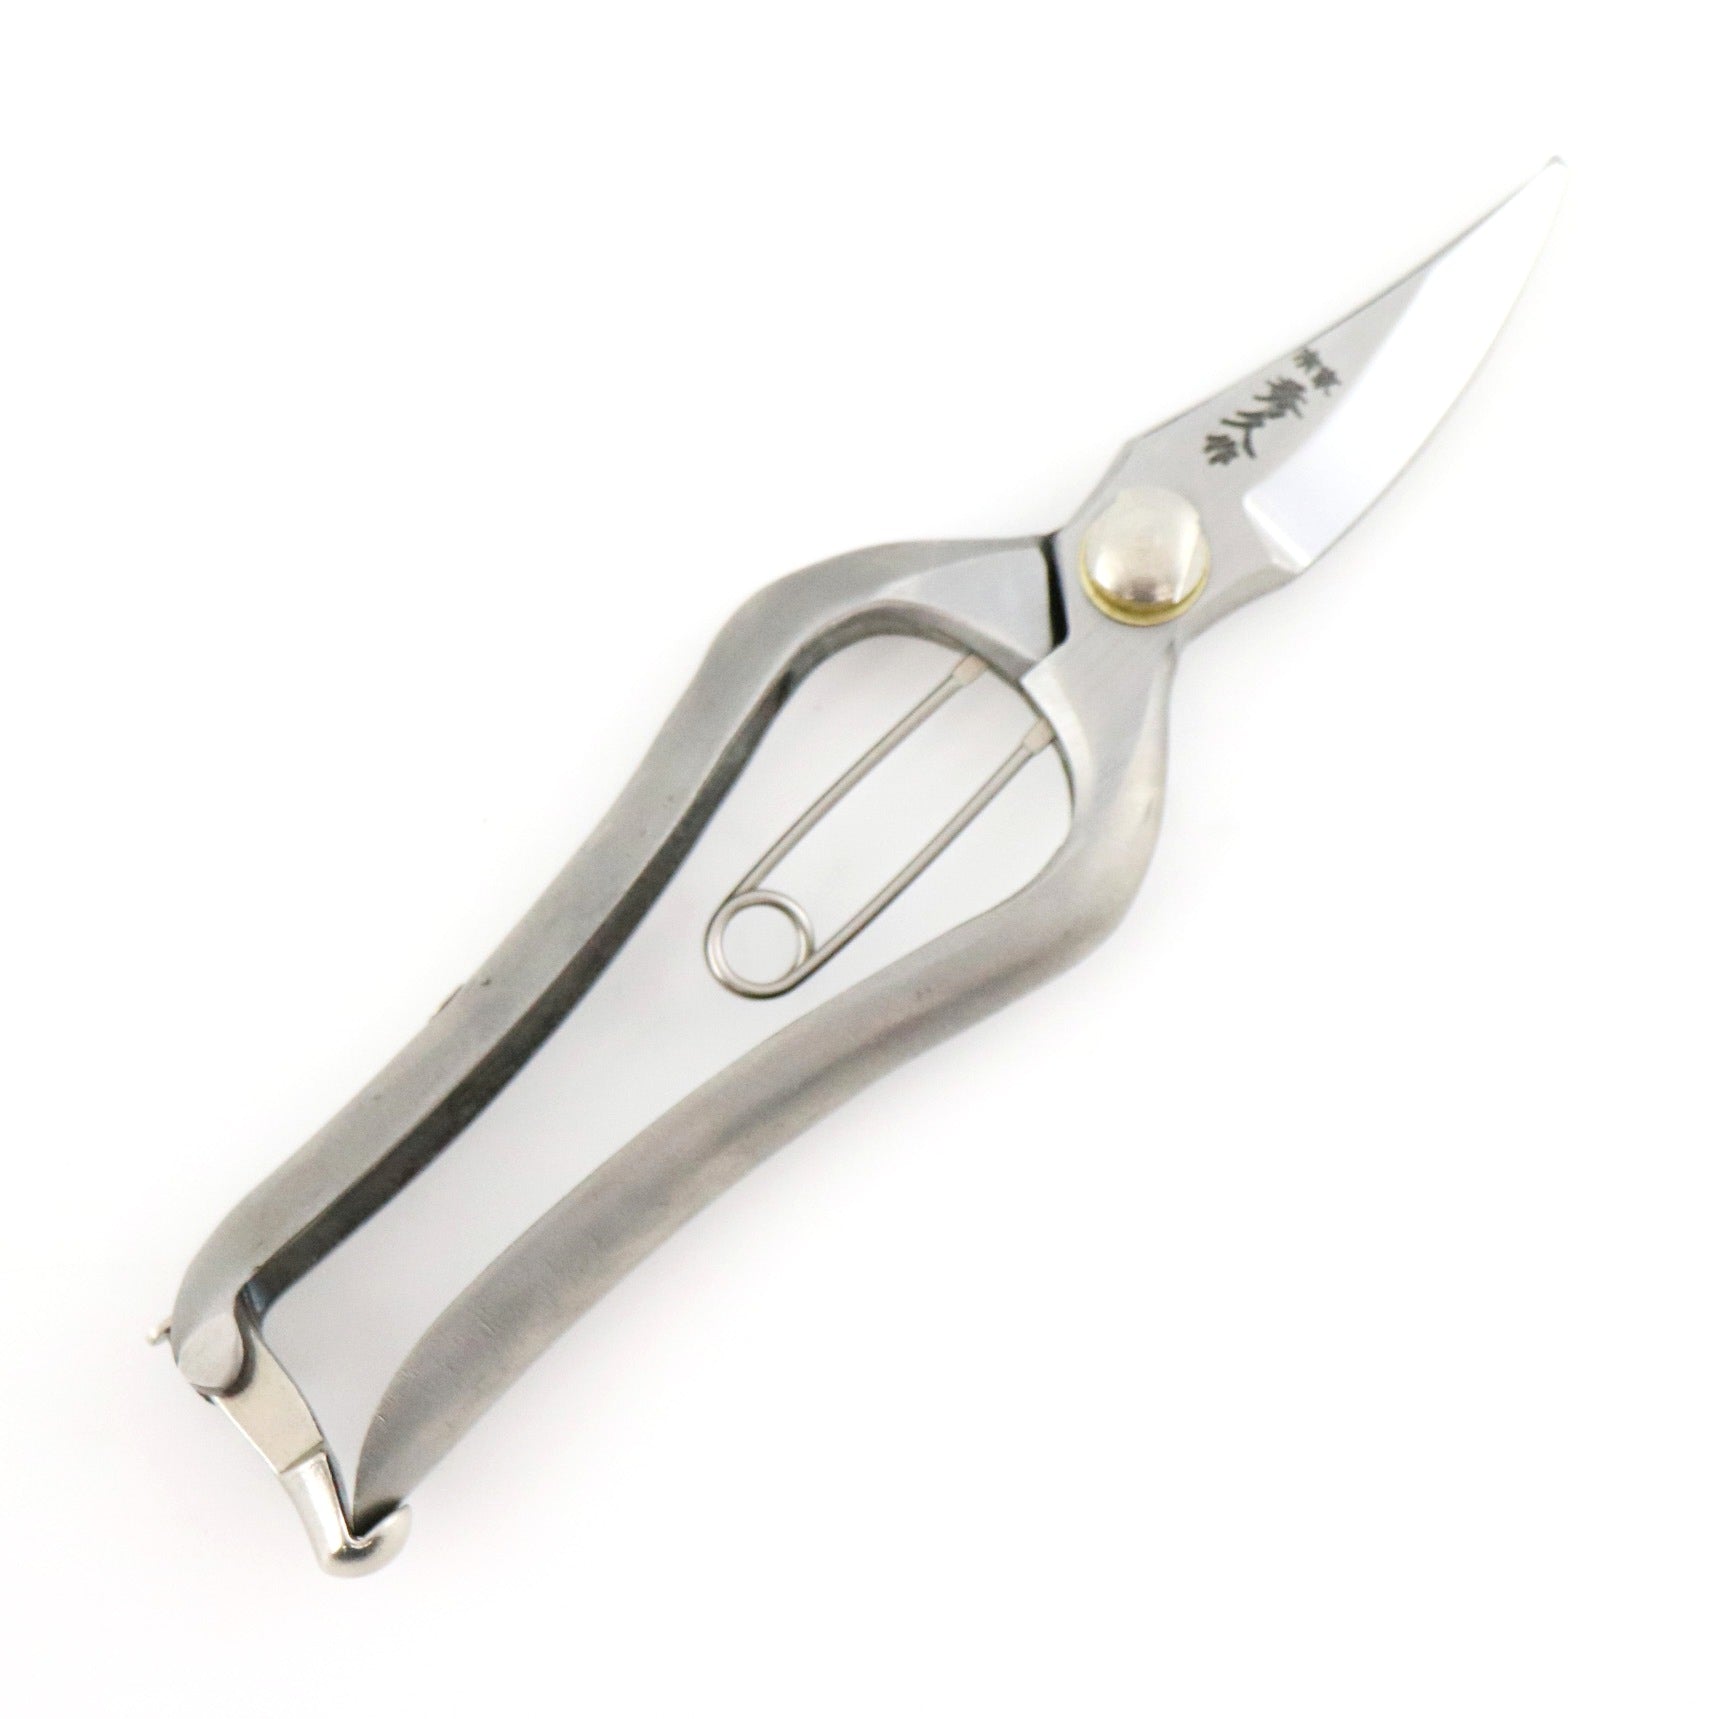
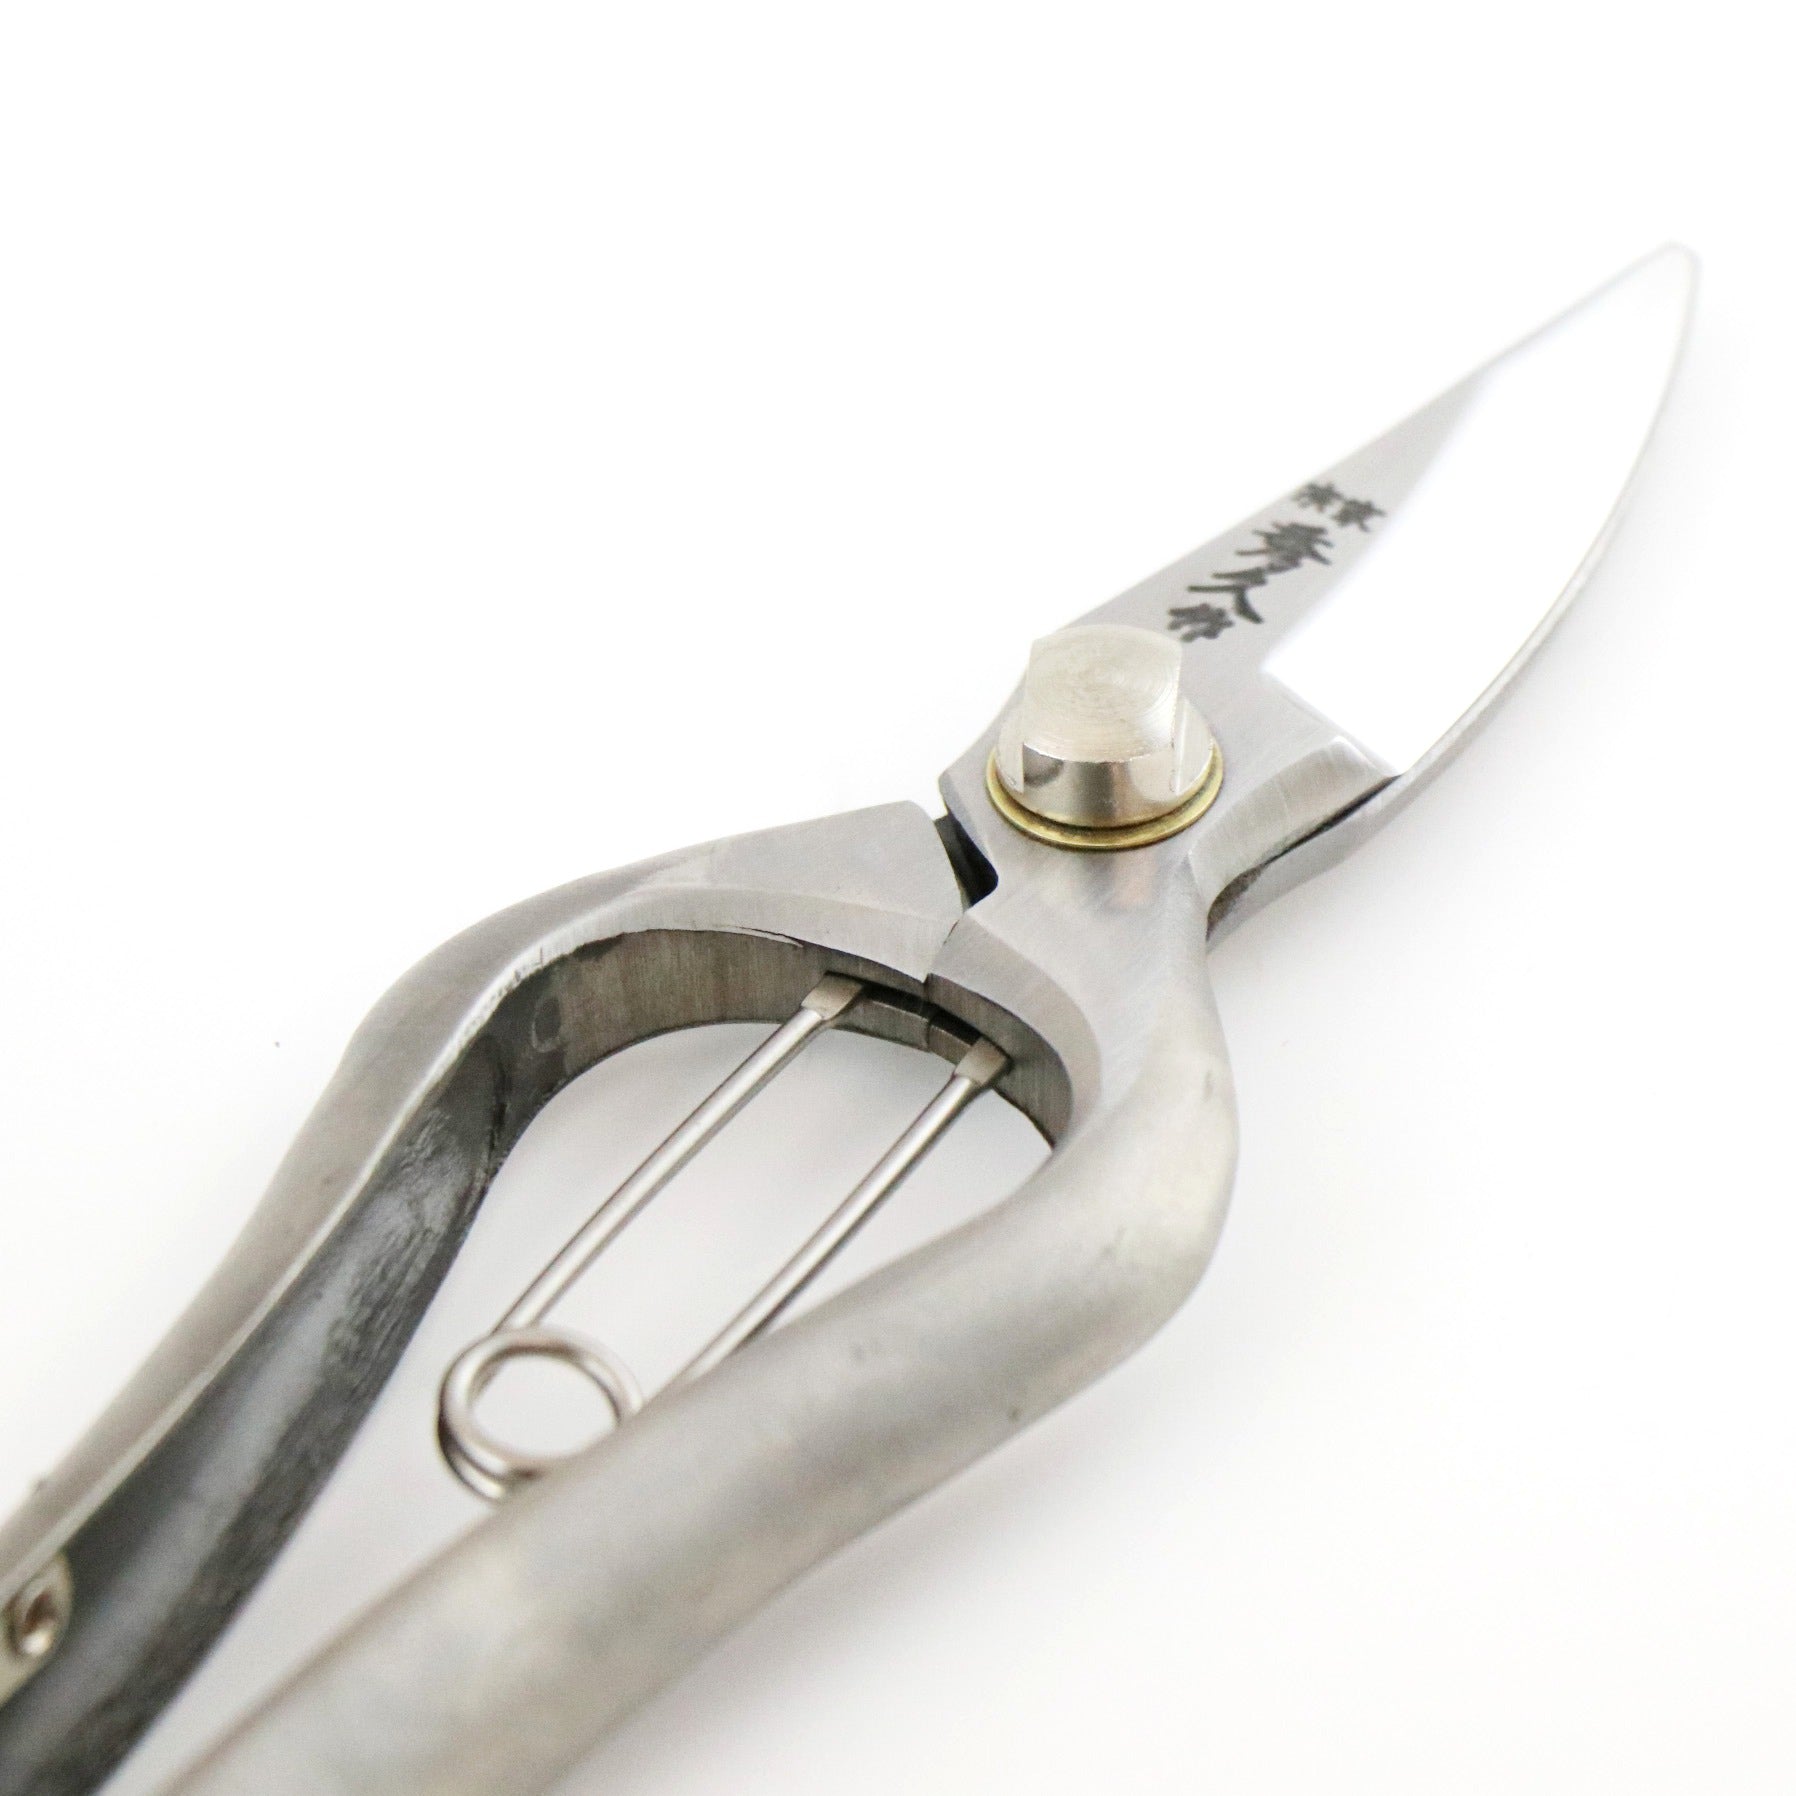
Okubo is a traditional Japanese garden-shear pattern — ueki-basami — characterized by two large, butterfly-shaped loops, straight blades, and no spring. It is the most versatile of the traditional forms, handling pruning, thinning, cutting back, and light shearing with a single tool. That is often why it becomes the first traditional shears a gardener owns. For selection and specifications, see How to Choose Traditional Japanese Garden Shears.
Tsuru-te flower shears — T9, T11 series


Photo: Holding the T9. Note the position of the index finger.
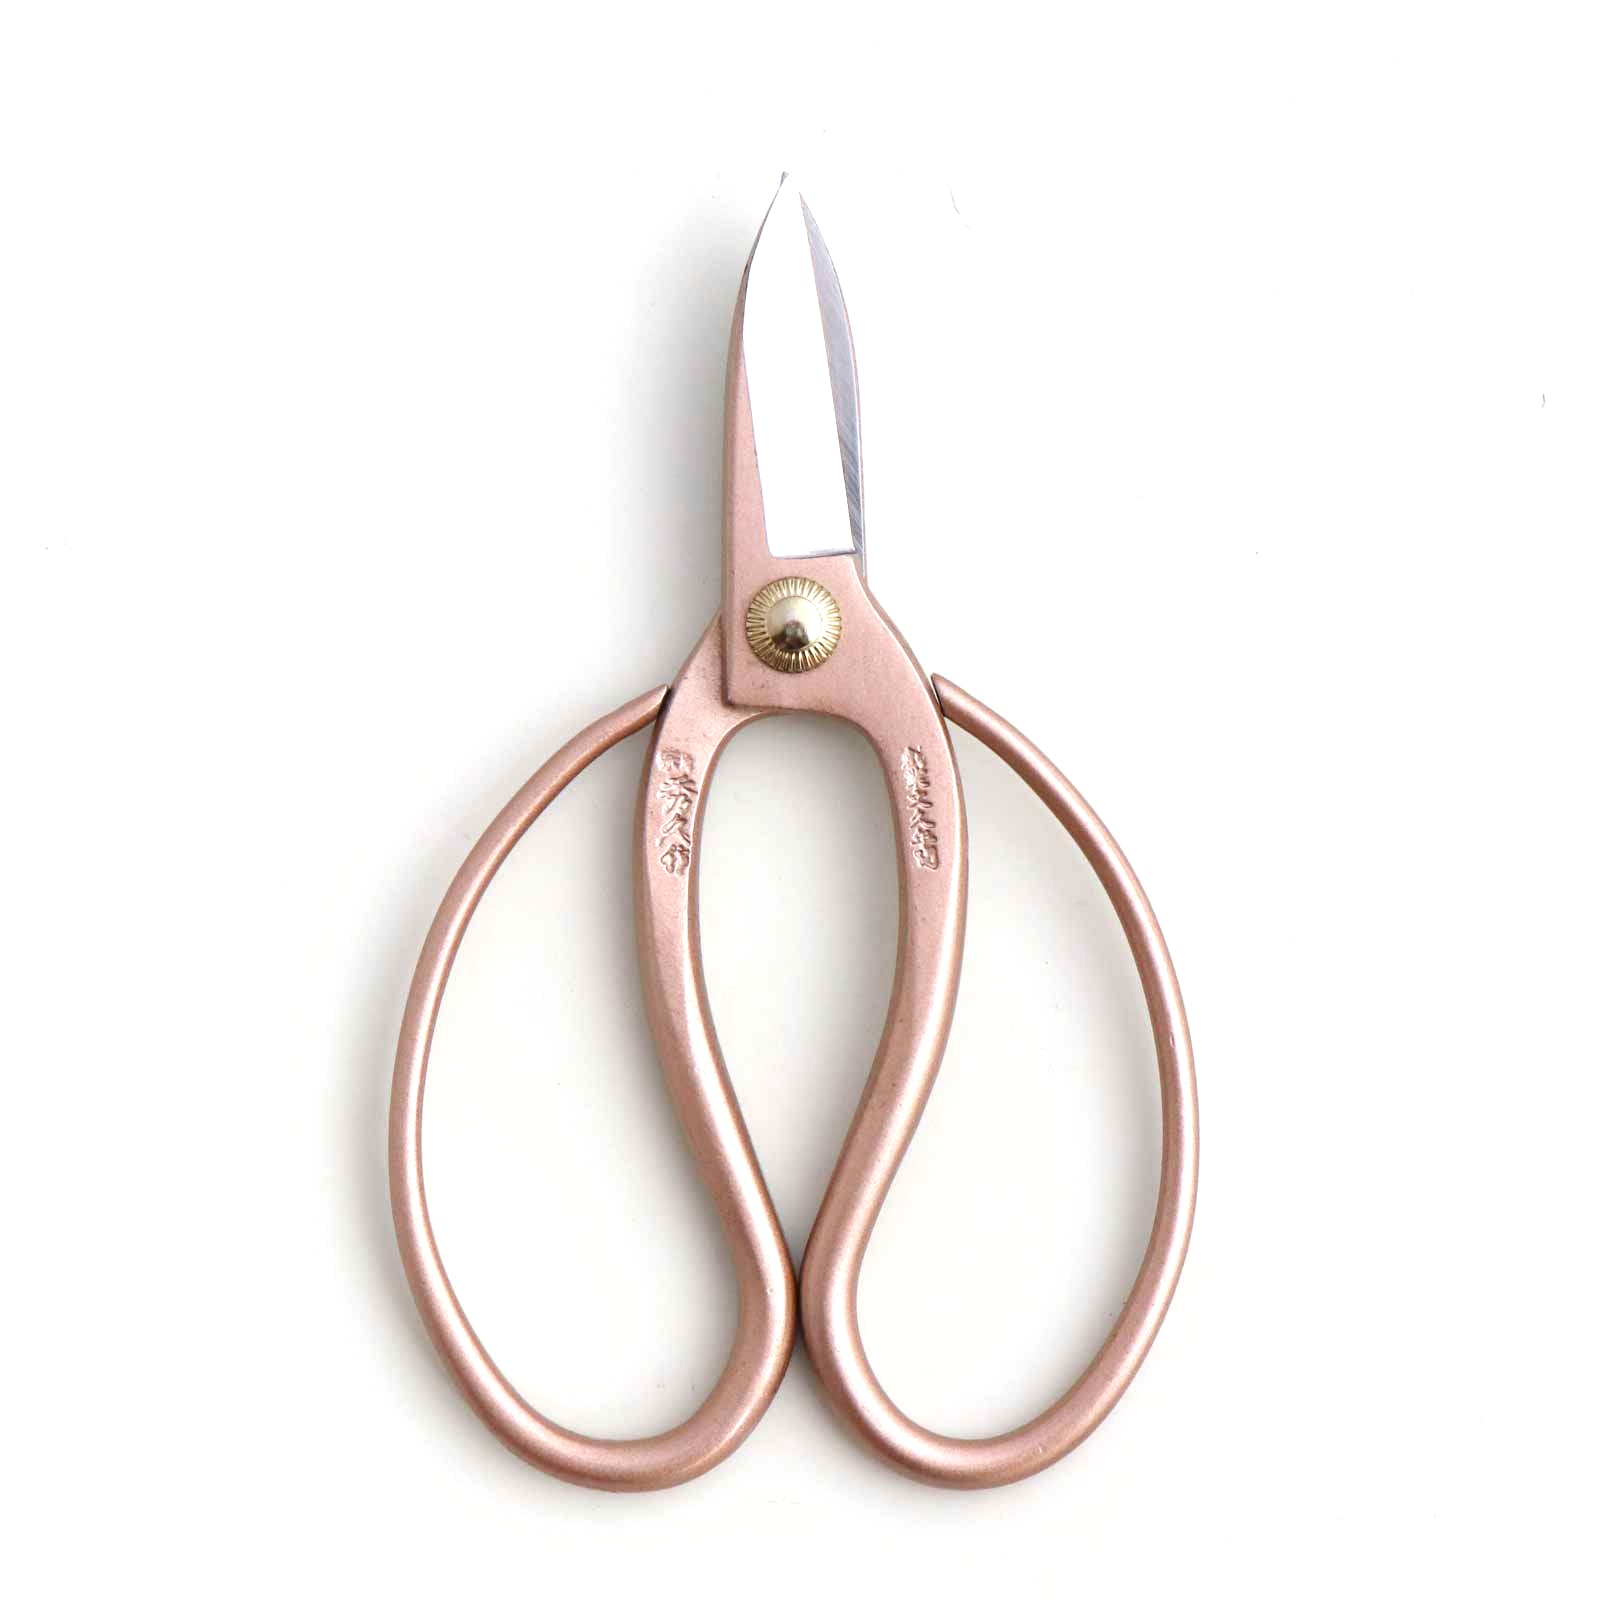
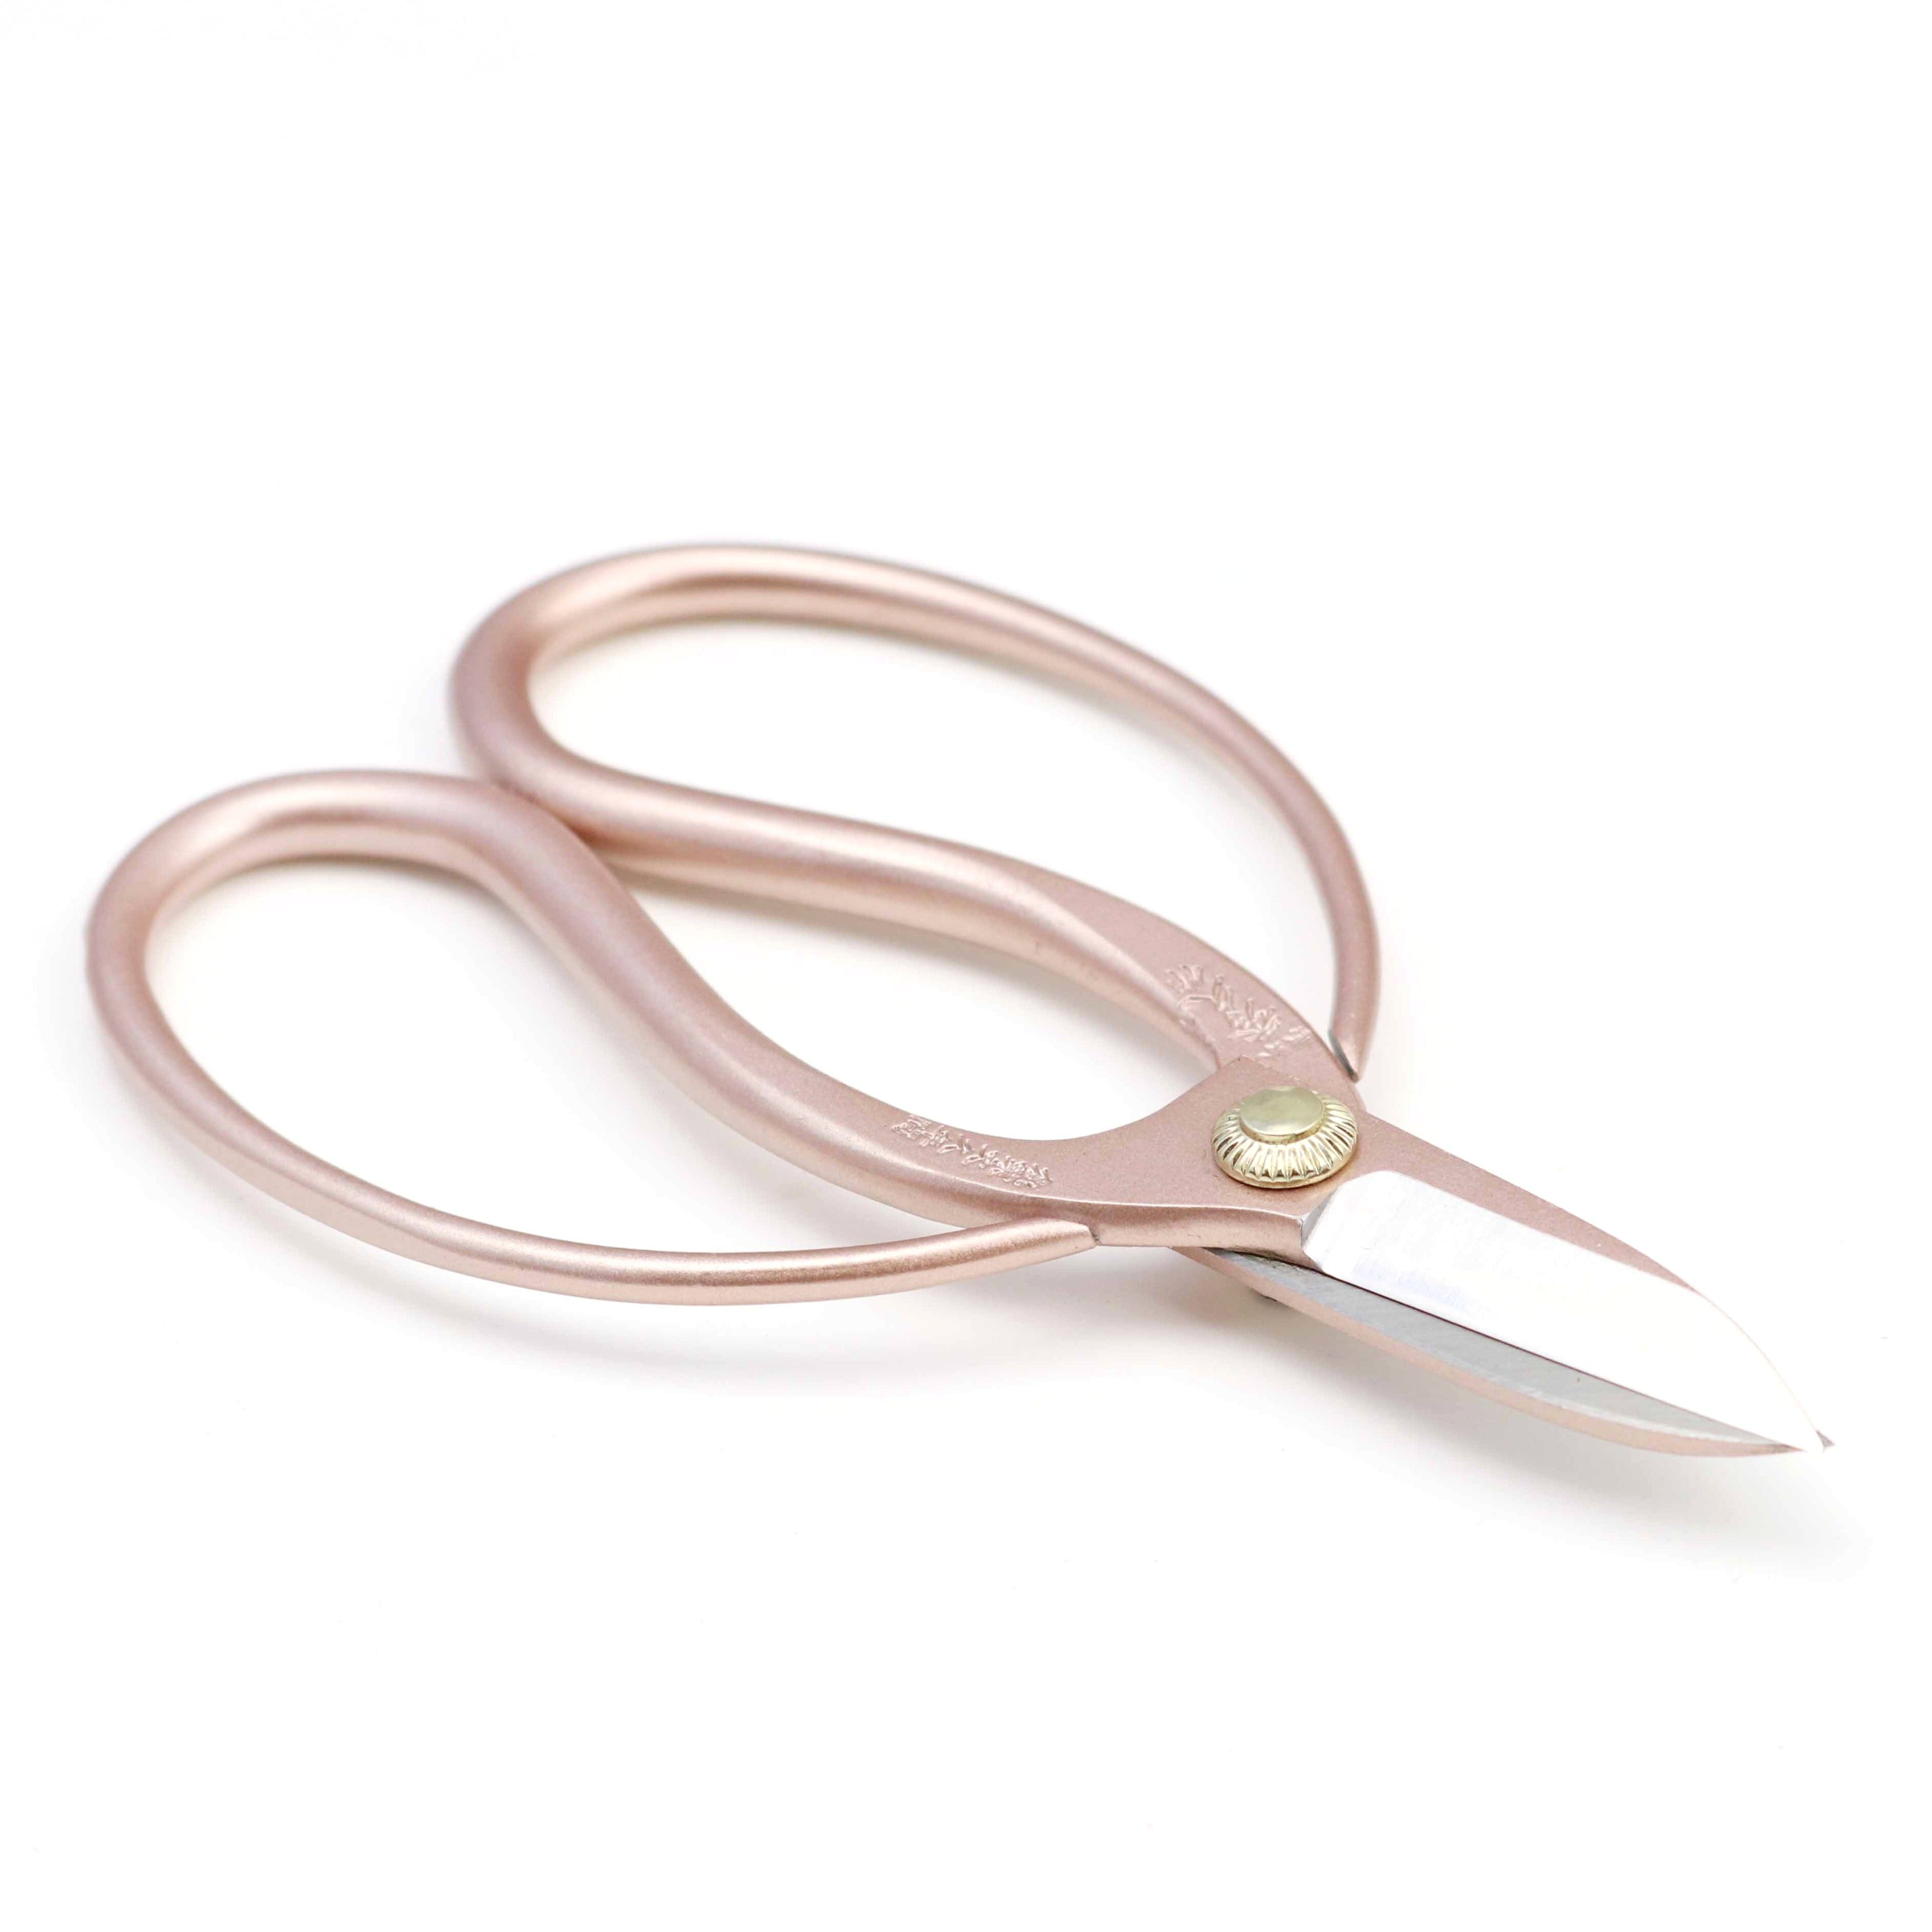
Tsuru-te, a name that means “vine-like hand,” is the traditional looped form of Japanese flower shears, with a wide loop on each handle. Because your fingers sit inside those loops, the tool moves as an extension of your hand, and the shape feels familiar even if you have only ever used Western scissors. Returning the blades, however, is still your own hand’s work: spread your fingers to reopen them.
Cut thicker stems nearer the heel of the blade. If the handles of your pair do not form loops but curl at their ends, see the warabi-te section below. For the differences between the two forms, see Japanese Ikebana & Flower Shears Explained: Warabi-te, Tsuru-te, and Multi-Purpose Pruning Shears.
Long-handle bonsai scissors — T4-3, T4-3S


Photo: Holding the T4-3. Note the position of the index finger.
Short, slim blades and long handles. The proportions serve one purpose: to make precise cuts deep inside dense growth without disturbing surrounding branches.
Hold them as described above, with the index finger outside the loop. Here, the wrist freedom that the hold gives you is especially important. These scissors are light and turn in almost any direction with a small movement of the wrist. Use the wrist, not the whole arm. Decide on your hold before the blades go into the foliage, so that you do not have to keep adjusting it once they are inside. And do not close the blades on anything you cannot see. Before closing, check that no other shoot or leaf has entered the blades. In crowded growth, the direction of the blade tip matters more than the force behind it.
Japanese snips — satsuki scissors and koeda-kiri — TH10, TH11 series, T4-4, T4-6


Photo: Holding the T4-4. Note the positions of the index finger and little finger.
Satsuki scissors take their name from the satsuki azalea, one of the classic bonsai subjects. Koeda-kiri are, literally, “small-branch cutters.” Both have narrow, pointed blades on long, slender handles. That combination is what lets them reach into crowded branches and leaves to prune a thin shoot. Their loops are close to those of household scissors, so the shape is a relatively familiar one. Hold them as described above, with the index finger outside the loop.
Use precise finger control. The goal is accuracy, not power. Hold lightly while you aim the blade tip, and close the handles only as firmly as the cut requires. If you feel resistance in a stem, switch tools rather than squeezing harder.
Use the slightly flared handle tips. The tips of the handles flare out a little, and that flare is functional. It stops the handles from slipping out of your hand, and it helps you return to the same hold through long spells of continuous cutting.
Working inside dense growth. Enter the foliage with the blades closed, or only slightly open. Open them at the point you intend to cut. Confirm that no surrounding bud or leaf sits between the blades, then close. Adjust the direction with a small rotation of the wrist.
The two overlap in use, but satsuki scissors are for buds, leaves, and soft growth, while koeda-kiri are for thin woody branches in tight spaces. That is why koeda-kiri work best when you guide with the tip and cut nearer the heel. For selection, see How to Select the Bonsai Scissors.
How to hold warabi-te flower shears — T8, T10 series


Photo: Holding the T8PG Ikebana Floral Shears. The upper handle is held between the thumb and the palm.
Warabi-te is the handle form that puzzles people most. The name means “bracken-like hand,” and it describes the way each handle curls at its end, like the tip of a young fern. There are no finger loops at all.
“How on earth do you open these?”
It is a fair question. Warabi-te becomes completely natural once you have the knack, but at first it does take some getting used to — and the closest comparison is the way you hold chopsticks. When you use chopsticks, one stick stays still against the base of your thumb while only the other one moves. Warabi-te shears work on the same principle: one handle stays still, and the other moves.
How to hold them. Begin by wrapping your palm around the shears, and settle the upper handle gently between your palm and the base of your thumb. Focus on keeping the upper handle stable against your palm. Everything else follows from it.
How to open the blades again. After a cut, the blades do not open by themselves. To open them, relax your other fingers. The lower handle falls under its own weight, and the blades open. You can also open them by pressing the handle lightly outward with your fingers, though that movement takes a little practice.
The first few times, this is something you do consciously. After that it becomes natural, and most people stop noticing it. If a new pair feels stiff at first, it may simply be that the opening movement is not yet familiar. If something still does not feel right once you are used to the movement, please get in touch with us.

Photo: To open warabi-te shears, simply extend your fingers while keeping your thumb in place. The weight of the handle allows the shears to open naturally.
Use a lighter hand on stems. Flower shears are made to slice a stem, not to crush it. Place the blades gently, and cut thicker stems nearer the heel of the blade. Firm pressure belongs only to the moment of the cut.
Common grip mistakes
Looped handles
All four fingers inside the loop. The most common mistake, and the one that most restricts control: the wrist loses its range, and the blade tip becomes harder to steer.
Fingers pushed too far into the loops, so they cannot spread far enough to open the blades.
Held so shallowly that the fingers are stretched and the tool is unsteady.
The loops gripped as if in a fist, which limits how far the blades open.
The handles held closed after the cut instead of released.
Warabi-te
The upper handle not stable against the palm, so the tool has to be forced open and closed.
The handles held with the fingertips alone instead of supported by the palm.
Common to all springless shears
Gripping firmly from the positioning stage, rather than only during the cut.
Cutting a thick branch at the blade tip instead of nearer the heel.
Twisting the tool sideways while material is held between the blades.
Placing the free hand in the path of the blades.
Quick reference: how each model is held
Model |
Handle form |
Main support |
Looped (ueki) |
Thumb and three fingers. Index finger outside the loop |
|
Looped (ikebana floral) |
Thumb and three fingers. Index finger outside the loop |
|
Looped (long-handle bonsai) |
Thumb and three fingers. Index finger outside the loop |
|
Looped (satsuki) |
The fingers, steadied by the flared handle tips |
|
Looped (koeda-kiri) |
Thumb and two or three fingers. Index finger outside the loop |
|
Warabi-te (ikebana floral) |
The palm, with the upper handle stabilized at the base of the thumb |
For left- or right-handed versions, please check the product page for your model.
A note on materials. Unless the individual model specifically permits it, do not use these shears on wire, plastic, artificial stems, bamboo, very dry wood, or frozen branches. For intended materials, cutting capacity, handedness, and care, always follow the instructions given for your model.
One small change, and the tool becomes your own
Springless shears are not more difficult than spring-loaded ones. They ask for one additional movement: after the cut, you open the blades yourself. Once your hand knows where the tool sits and how it returns, that movement dissolves into the work and you stop noticing it.
And if you take one thing away from this guide, let it be where the index finger goes. On a looped handle, keep it outside the loop and point it in the direction you want to cut. That alone changes how accurate the tool feels, from the very first cut.
After use, wipe sap and moisture from the blades and store the tool dry. If the action begins to feel tight, do not force the handles — see How to Care.
If you are not sure which handle form you have, our collections are grouped by type: garden shears, ikebana and flower shears, and bonsai scissors.
Our shears are hand-forged in Sanjo, Niigata, where five generations of the Toyama family have made them since 1861.




Share:
How to Use Japanese Pruning Shears and Garden Snips
Putting Japanese Garden Tools into People's Hands in Singapore — Planters Market x SGF 2026 Exhibition Report